Sofa Gap Console Organizer
Created 1 months ago
Description
Gaping voids behind the sofa exist solely to swallow remotes and trap charging cables. This station drops directly over the gap between two console tables. It bridges the space entirely, holding a full-size tissue box, routing two charging cables cleanly out of sight, and keeping remotes exactly where you left them.
- Gap clearance: The 507mm base includes 30mm resting flanges on both ends to span gaps safely and distribute the load.
- Tissue compartment: A 230x124mm central cavity fits standard flat rectangular tissue boxes underneath a flush, drop-in cap.
- Cable management: The right-side phone station features a generous rear-access hollow designed to hide a multiport charger and feed cables directly up into the two 15-degree angled slots.
- Print specs: Prints as two pieces. The main body needs a large print bed (or slicer splitting) due to the half-metre span. No supports required.
Photos
Technical views
More like this
Explore more in Storage & Organization →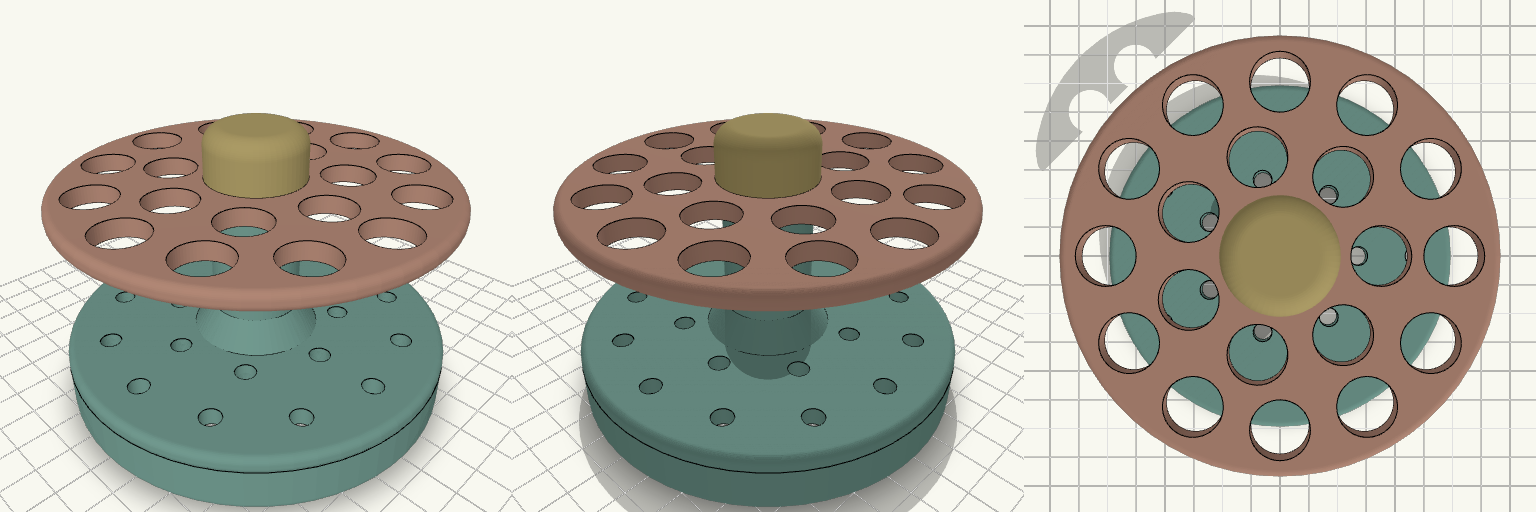
Mini 19-Cone Henna Carousel Stand
A compact two-tier henna cone stand: 110 mm trays, 60 mm apart, holding 19 cones tip-down, joined by a 25 mm central column and a screw cap. The top tray's 15 mm holes sit directly over 6 mm tip holes in the lower tray. A foot ring under the lower tray keeps cone tips off the table. Remix hooks Tray spacing: 60 mm now. Raise it for longer cones. Ring layout: 12 holes at 43 mm radius plus 7 at 25 mm radius. Wall between rings is about 3 mm, so adding holes means growing the tray. Tray diameter: 110 mm. Scale it up and add a third ring for more capacity. Hole size: 15 mm top, 6 mm bottom. Adjust to your cone brand. Pairs with: a turntable disc or non-slip mat under the foot ring.
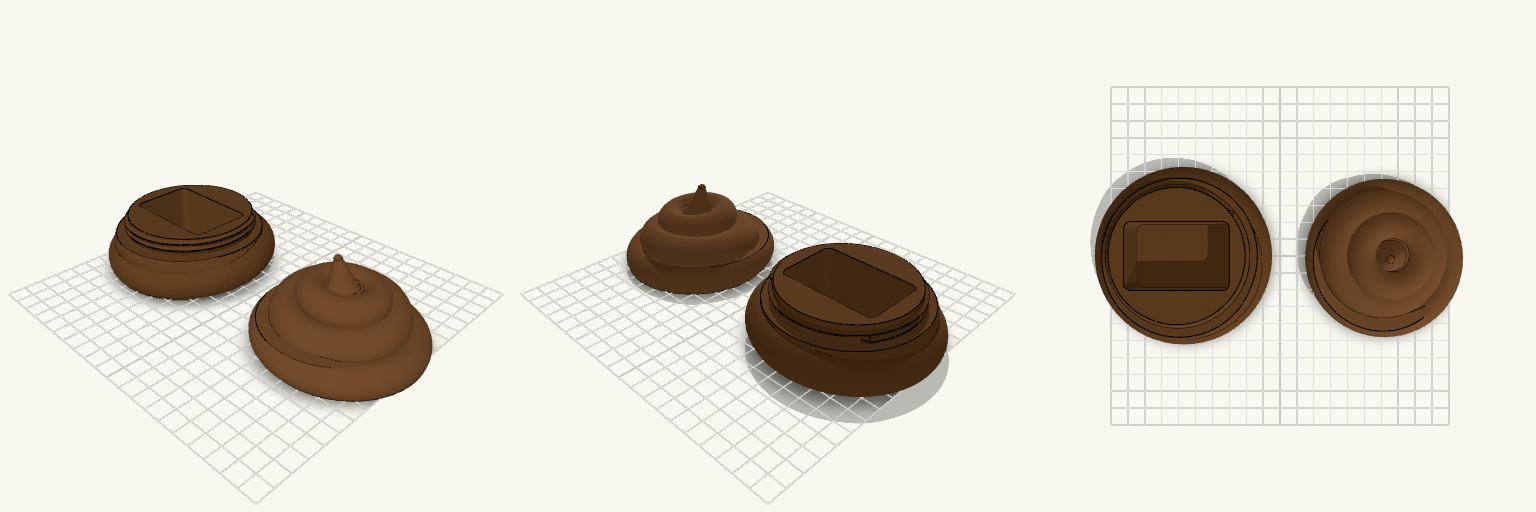
Screw-On Dog Poop Remote Hider
A two-piece container disguised as a lumpy dog poop, made to hide a garage remote in a front garden bed. The base holds the remote in a 57 × 37 mm cavity and has a wide threaded neck; the cap screws onto it to close the container. The coils are stacked slightly off-centre and tilted, and the cap narrows to a curled tip, so the shape reads as a real pile rather than a machined one. The cavity takes a 55 × 35 × 15 mm remote with about 1 mm of play per side, and it is deeper than 15 mm, so the remote's thickness doesn't set the fit. The remote drops in from above through the neck. The underside of the base is closed off with a solid disc up to the thread shoulder, so there is no open path in from below. A flat 86 mm shoulder sits under the thread, and the cap's rim seats against it when screwed down, which keeps most of the weather out. A threaded joint printed this way can still seep in heavy rain, so a bead of silicone on the shoulder or a thin rubber gasket will close it properly. Print both parts side by side on the plate — no supports or assembly hardware needed, just screw the cap on once the remote is inside. Print it in a single brown so it passes as what it pretends to be outdoors. Cavity: 57 × 37 mm, sized for a 55 × 35 × 15 mm garage remote Base: 102 × 102 mm, 34 mm tall; screw-on cap: 92 × 92 mm, 50 mm tall Thread: 78 mm across, wider than the cavity so the remote passes through the neck Closed base: solid disc under the coils, so water has no path in from underneath Sealing shoulder: 86 mm flat rim under the thread; add silicone or a gasket for full rain protection Two printed pieces: base and screw-on cap Check your remote's measurements before printing if it is larger than the cavity
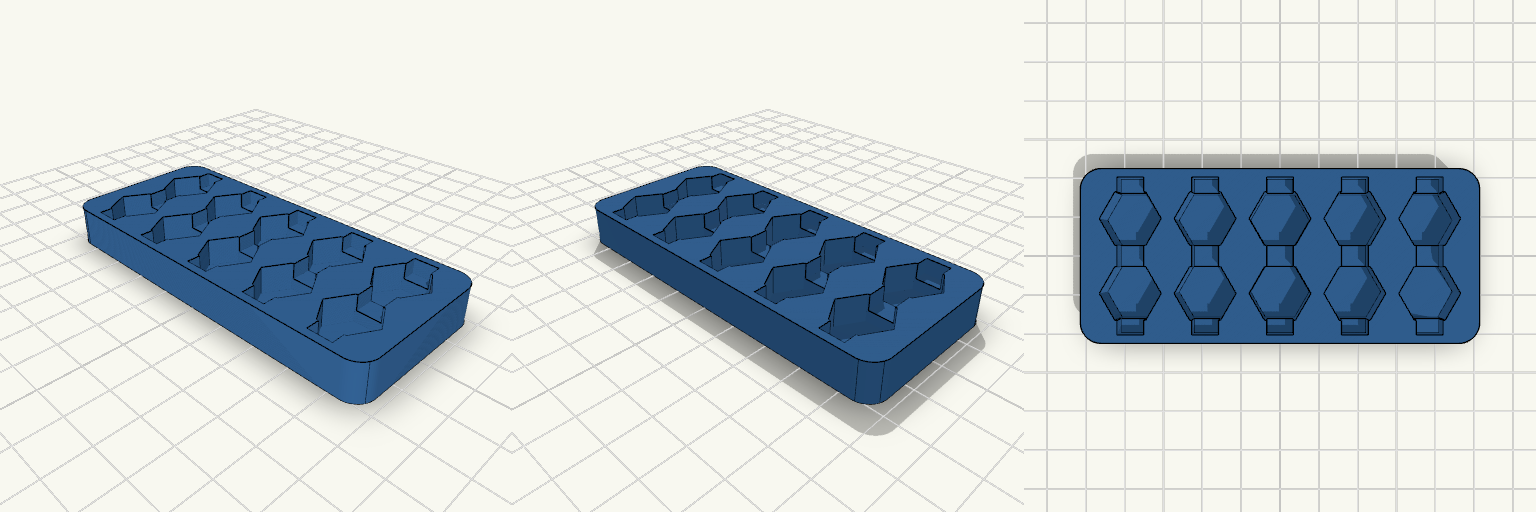
Low-Profile Extractor Set Tray
A slim, flat drop-in tray in the spirit of a toolbox foam insert, with ten hex pockets in two rows of five. Each pocket fits a thread extractor with a 12.8 mm hex base, and a finger slot across each one makes lifting them out easy. Overall size: 96 × 42 × 10 mm Pockets: 13.7 mm across flats, 7 mm deep, 3 mm solid floor Extractors stand upright, so the tall ends project above the tray Rounded vertical corners for easy fit into a case
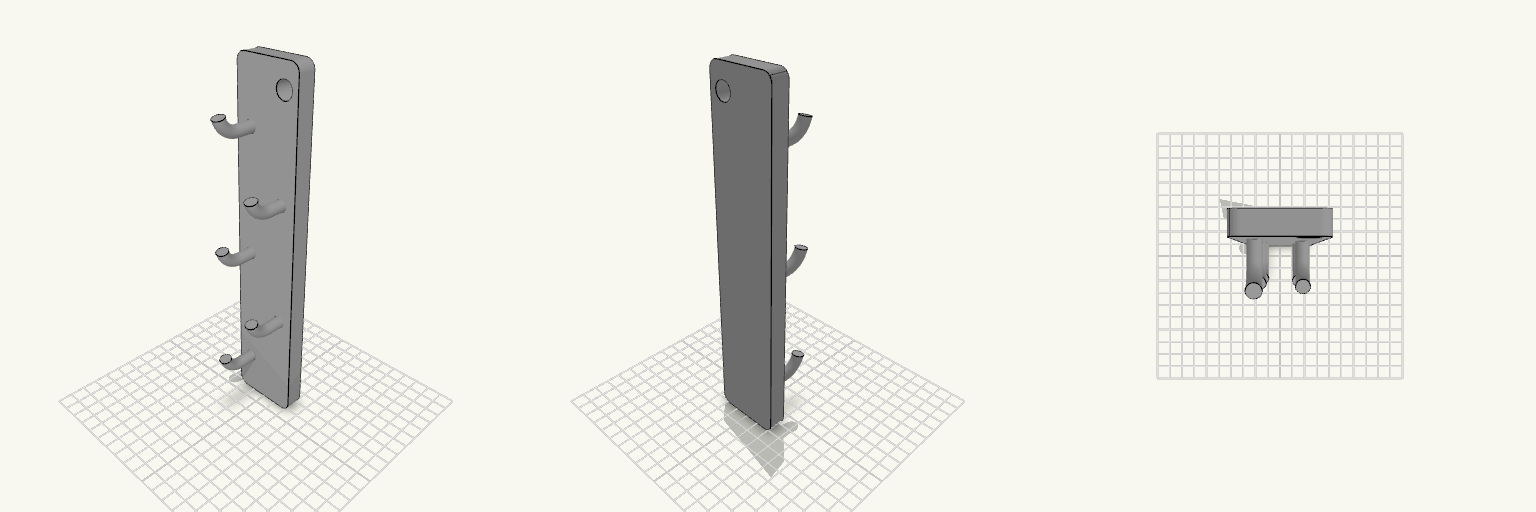
Staggered 5-Key Hook Extender
A tall back plate that hangs from a key rack and holds five keys on alternating left and right pegs, so fobs dangle without touching each other. The plate is 46.2 mm wide, 240 mm tall and 12 mm thick, with a 12 mm hang hole at the top right. Each peg is 8 mm in diameter, runs straight for 12 mm, then curves upward through 75° to keep rings seated. Remix hooks Plate thickness (12 mm): the easiest stiffness lever. Pegs are set into the plate face, so going thicker needs no other changes. Peg spacing (42 mm pitch): raise it for longer fobs, lower it to fit more pegs on a shorter plate. Bend angle (75°) and straight run (12 mm): lengthen the run for larger rings, ease the angle for a flatter peg. Hang hole (12 mm): resize to match your rack hook. Pairs with: any horizontal key rack with a post or screw head that fits the hole.
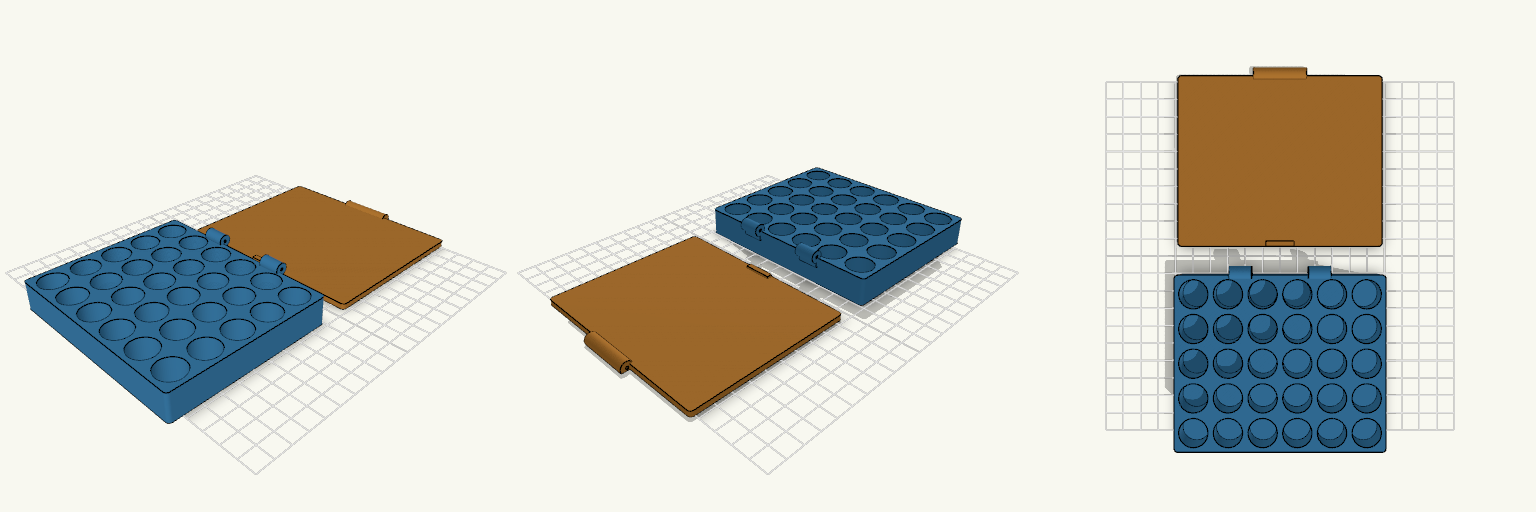
Apothecary Grid Hinged Pill Box
A pharmacy-drawer grid in miniature: thirty round wells in a 6×5 layout, topped by a lid that swings open on a real pin hinge at the back edge. The lid prints flat beside the tray and clicks into the hinge ears once a short pin is slid through. 30 slots, 16 mm wide and 14 mm deep Hinge pin hole sized for a 1.75 mm filament offcut, about 56 mm long Front finger tab on the lid for easy opening Lid and tray print without supports in separate pieces
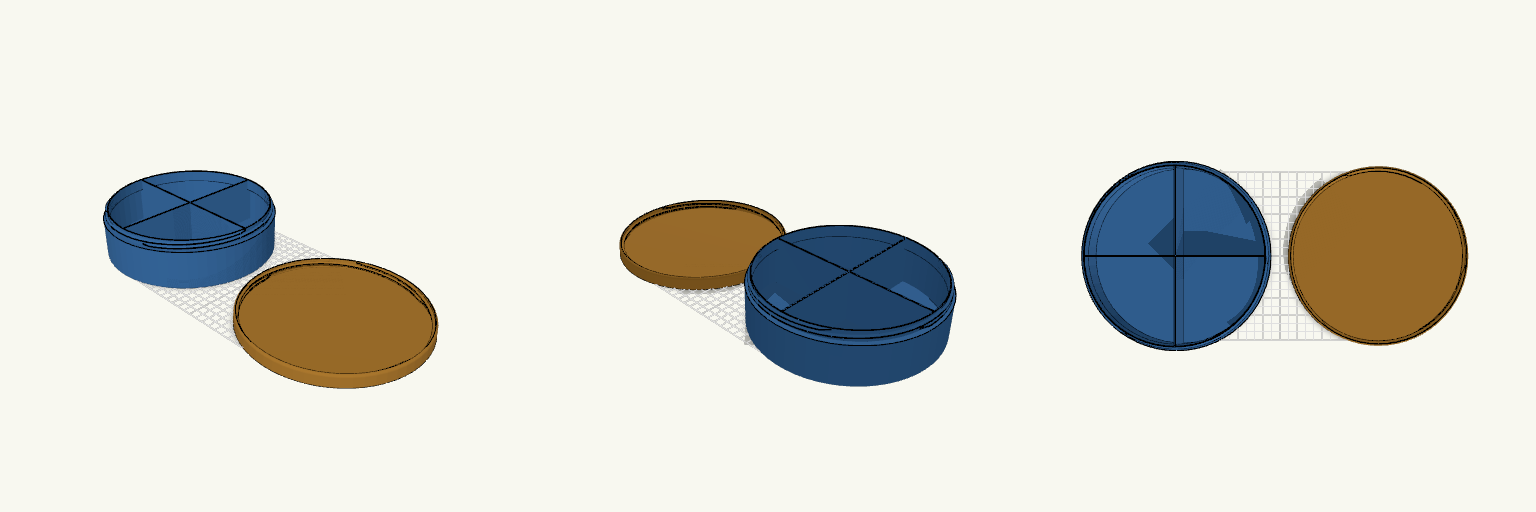
4 Bölmeli Vidalı Kapaklı Saklama Kabı
210 mm çapında ve 60 mm yüksekliğinde yuvarlak bir saklama kabı. İçi çapraz iki bölmeyle dört eşit gözeye ayrılmış; kapak kapalıyken gözeler birbirine karışmaz. Kapak, gövdenin üstündeki dış dişe vidalanarak kapanır, böylece taşırken kendiliğinden açılmaz. Gövde duvarları, taban, bölmeler ve kapak üstü ince tutulmuş, böylece baskı kısa sürer ve malzeme az gider. Gövde: 210 mm çap, 60 mm yükseklik, dört eşit bölme Kapak: 210 mm çap, 14,3 mm yükseklik, gövdeye vidalanır Diş: 12 mm boy, 5 mm adım, 3 ağızlı (hatve 15 mm), 0,5 mm boşluk; kapatmak için yaklaşık 0,8 tur (yaklaşık 290°) çevirmek yeterlidir Et kalınlıkları: yan duvar ve taban 1,6 mm, iç bölmeler 1,2 mm, kapak üstü 2,4 mm Baskı: gövde ve kapak ayrı ayrı basılır; kapak ters çevrilmeden, düz yüzü tablaya gelecek şekilde basılır Diş çapı 204 mm'ye çıkarıldığı için gövdenin üst kısmındaki basamak her yanda yaklaşık 3 mm'ye iner; boyun iç çapı 197 mm'dir. Dişin dibindeki duvar ince kaldığından o bölgeyi basarken katman ayarlarına dikkat etmek gerekir. Bölmeler dişli boyun bölgesinde de gövdenin içinde kaldığı için kapak takılıyken de ayrım korunur. Geniş çapı sayesinde dökme parçaları, vida ve küçük donanımı ya da atölye malzemesini tek kapta ayrı gözelerde tutmak için uygundur.