25mm Wand Soldering Station Stand
Created 1 months ago
Description
This unified bench stand secures a standard 25mm soldering wand and a 1-ounce flux tin. The 40-degree cradle angle positions the heating element directly over the forward sponge tray, keeping the benchtop clear of dripping solder and preventing the flux jar from tipping during use.
Fitment & Dimensions
- Cradle Bore: 27mm internal diameter, designed exclusively for 25mm wand handles. Thicker handles will bind; narrower irons may not seat securely.
- Flux Cup: 43mm bore with a 25mm depth. Fits standard 40mm/1oz rosin tins with slip clearance. Measure the specific flux jar before printing—larger footprint containers will not fit.
- Cradle Length: 50mm open-rib support.
Images
More like this
Explore more in Workshop & Tools →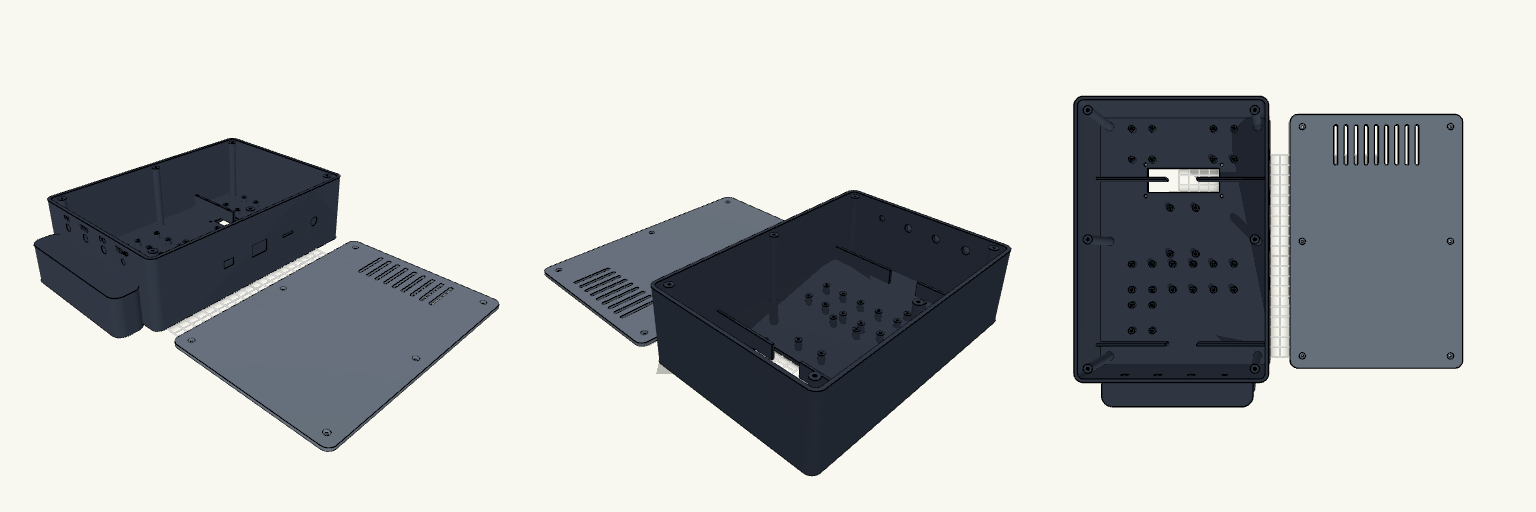
Biofloc Monitor Station Enclosure
An enclosure is only as good as the snarl of wires it prevents. This is a heavy-duty two-part monitor housing built specifically for FDM printing, designed to group, separate, and anchor a complete suite of biofloc water-quality electronics without turning into a bird's nest inside. The layout isolates the battery compartment at the bottom and keeps the DC buck converters and relay in a ventilated top section, leaving the central deck clear for the ESP32 and an array of sensor interfaces. Internal divider walls double as cable routing channels, forcing the wiring to stay orderly. Core Features Printability: Both halves print completely flat on the build plate (Z=0). The integrated bottom handle is flush with the front face to avoid overhangs. Dimensions: 170 mm width × 250 mm height × 75 mm depth. Hardware Required: 6× M3 screws for the rear cover; additional M3 hardware for the internal standoffs and the 16x2 LCD faceplate mount. Ports: Bottom panel holds 4× sensor ports (3× 8mm, 1× 6mm) with engraved labels. Right panel holds cutouts for 12V DC, an SD card slot, a rocker switch, and USB programming access.
small Bottle Syringe Clip
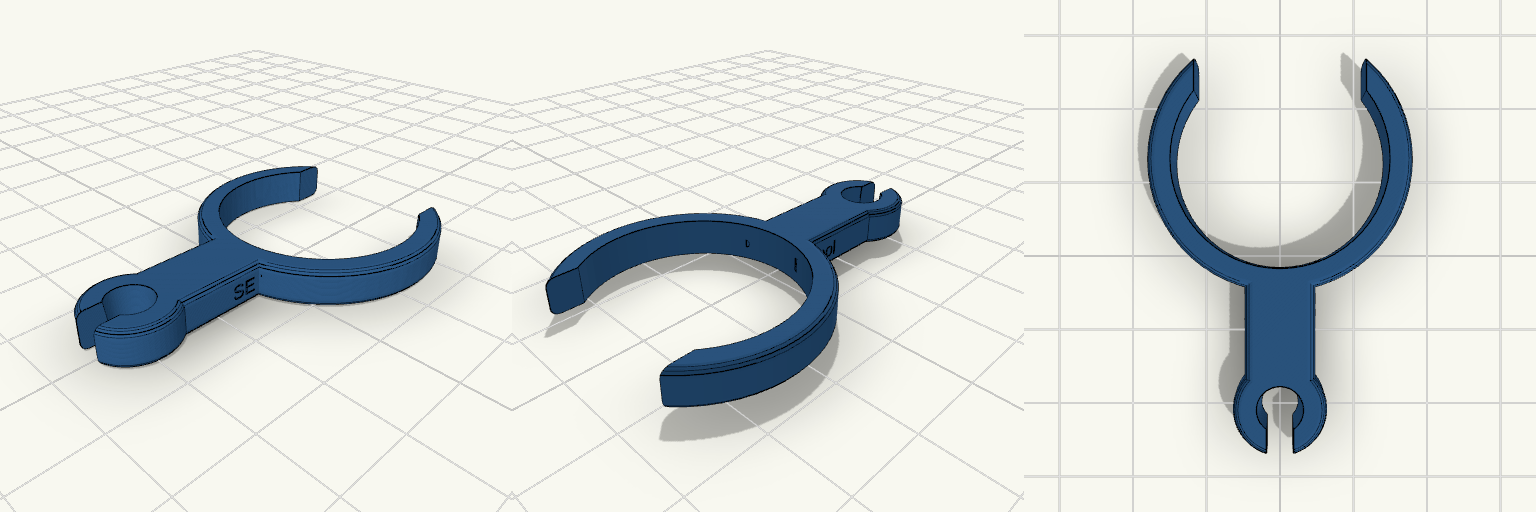
A custom-sized double ring designed to couple a 14.5 mm syringe to a 31 mm bottle neck. Syringe bore: 14.5 mm with an 8 mm front insertion slot Bottle bore: 31 mm (snaps on via a 22 mm back slot) Clearance: 4 mm bridge spacing The branding is now recessed 0.6 mm directly into the bottle ring's inner wall, keeping the outer profile completely flush. Check your syringe outer barrel measurement before running this.
Hilti Nuron Battery Mount
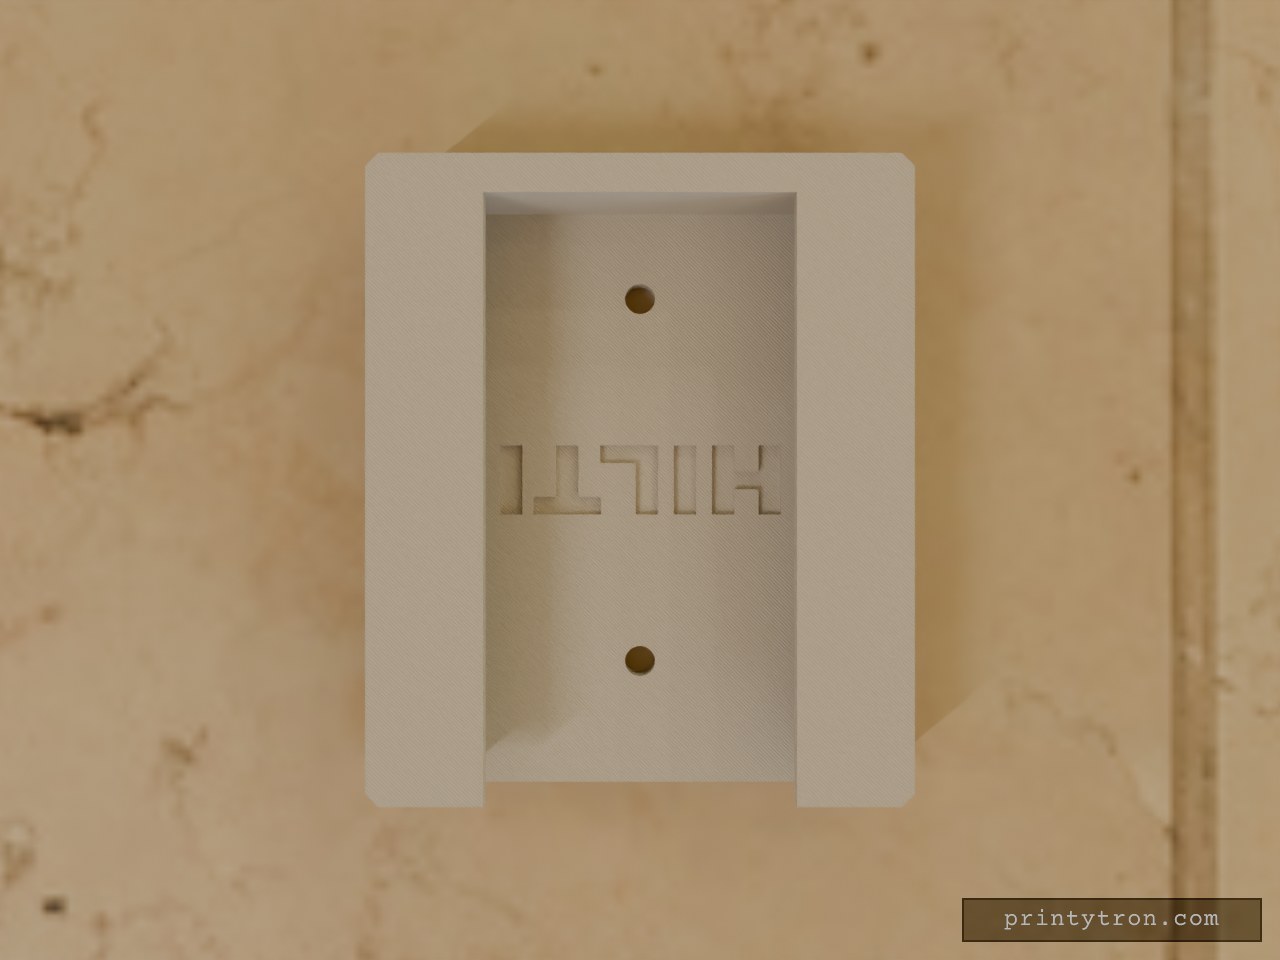
A wall-mounted receiver bracket for Hilti Nuron batteries. Heavy battery packs love to lever short brackets right out of the drywall. This bracket gives them a solid vertical footprint to spread that load, catching the battery's sliding interface on an internal U-channel with a dead stop at the base. Internal Channel: 63mm wide (48mm opening) Clearance: Counter-sunk screw holes keep the hardware below the sliding surface Detail: Features a debossed HILTI logo on the backplate that stays clear of the sliding path
28mm — Tapered Syringe Adapter
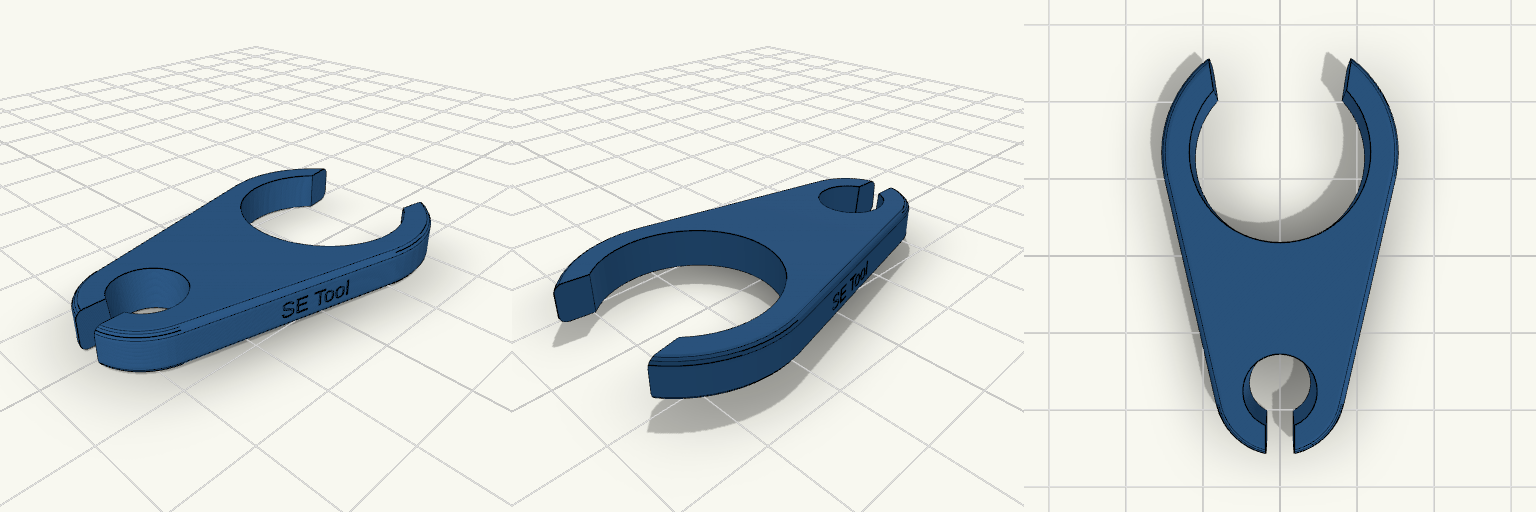
A specialized dual-ring tool designed to connect a small tapered syringe (5–6 mm) to a 28 mm bottle neck. Features Bottle Bore: 28 mm with a straight 8 mm snap-on cutout, finished with rounded entry tips. Syringe Bore: Tapered from 5 mm at the bottom to 6 mm at the top, ensuring a snug fit. Bridge: A short 6 mm tapered solid bridge connecting the two mounts smoothly. Branding: "SE Tool" engraved directly onto both side flanks of the tapered bridge.
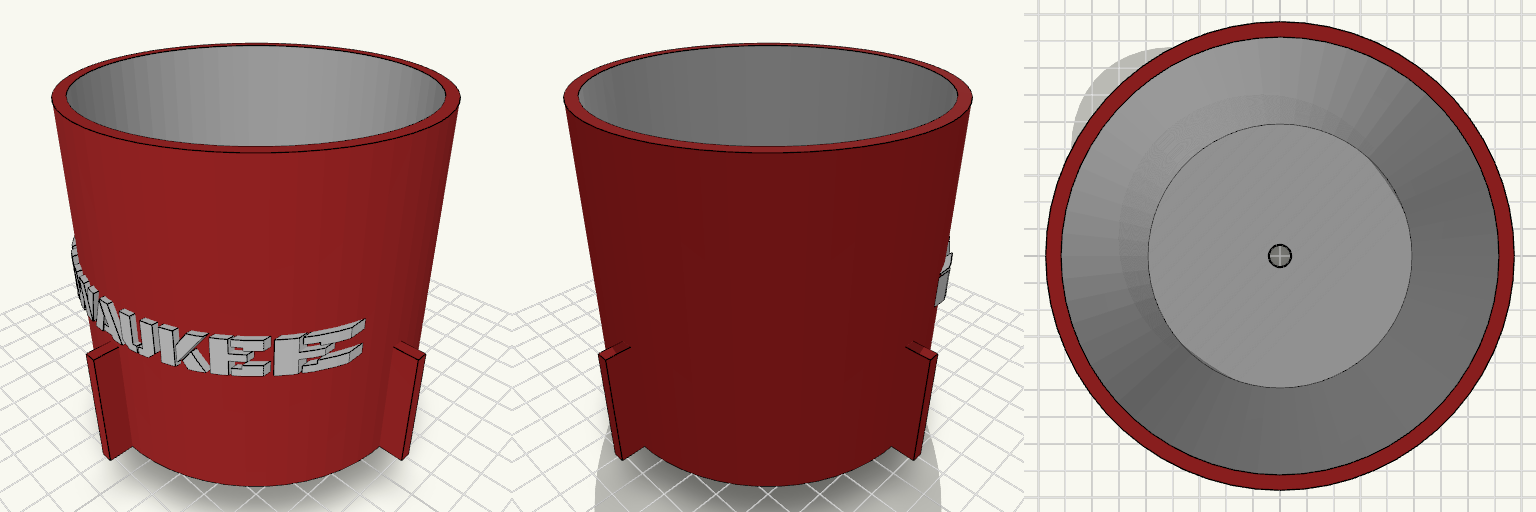
LockDrop — Packout Cup Holder
A rugged, drop-in cup holder designed to integrate perfectly with the Packout system. Secures easily onto any standard Packout lid using an integrated twist-lock cleat that sits flush for straightforward 3D printing. The main body accommodates standard tumblers and bottles while the heavy-duty walls and gussets ensure side-load stability. Features Twist-Lock Cleat: Drops into standard female Packout receivers with a friction fit. Flush Base Construction: Designed to print cleanly without complex supports for the bottom locking mechanism. Heavy-Duty Walls: Thickened sides with structural gussets engineered for shop environments. Front Branding: Embossed Milwaukee logo wrapping the front curve for a finished tool aesthetic. Drainage: Integrated center channel prevents liquid and debris buildup.
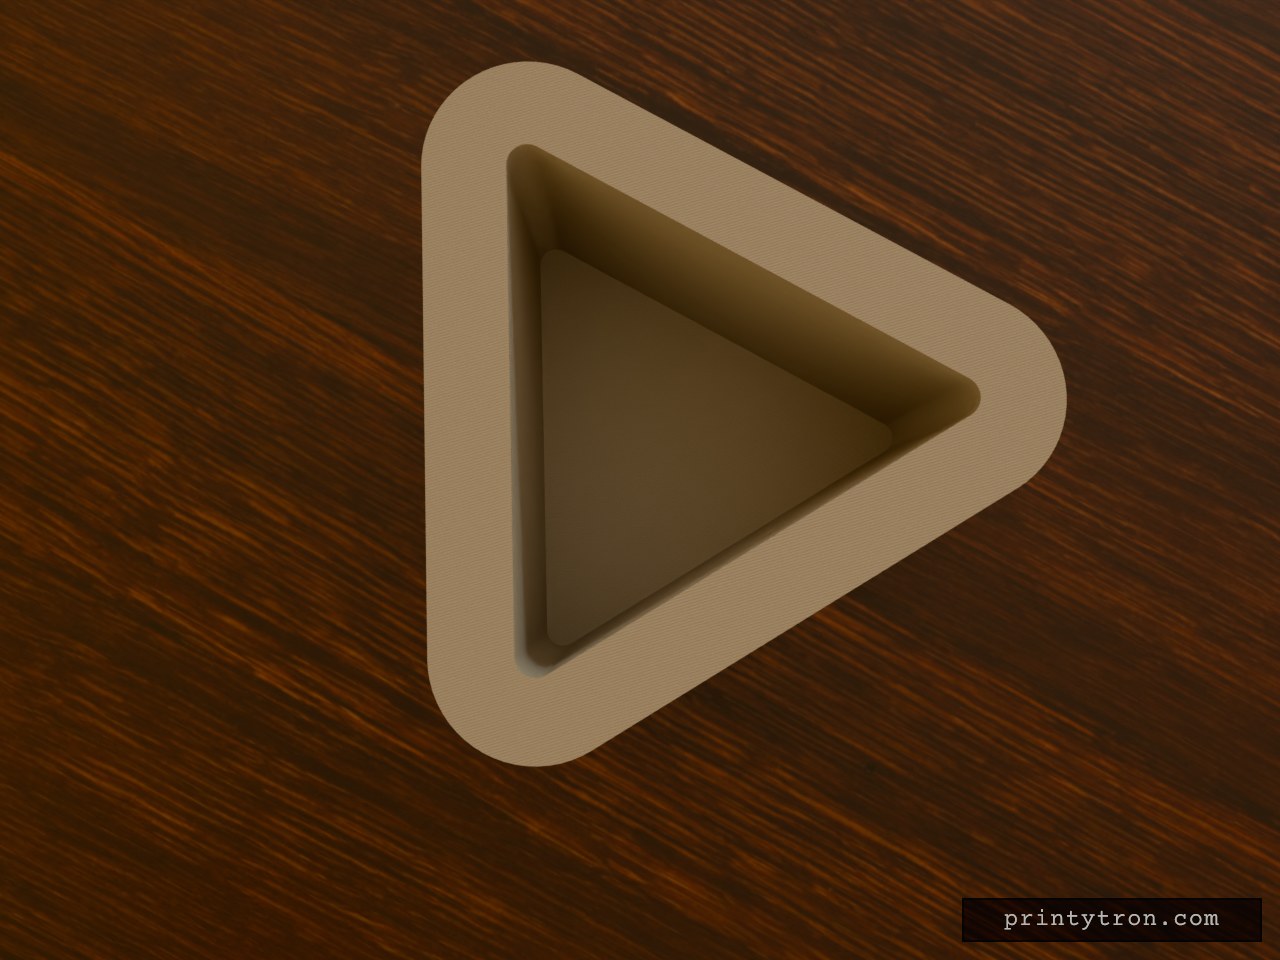
Flanged Triangular Drop Box
Drop-in triangular trays always slip through the hole they're meant to sit in. This is a heavy-duty triangular insert with a massive flange, designed to drop exactly 100mm into a cutout and stop dead on the rim. Dimensions Main Triangle: 150mm on all sides Drop Depth: 100mm total Flange Overhang: 30mm outward lip Wall Thickness: 5mm (strong enough for tools or heavy parts)