Armored Clamshell Card Lockbox
Created 1 months ago
Remixed once
Description
A heavily constructed, clamshell-style box dimensioned for credit cards, IDs, and a bit of folded cash.
The hinge is designed to print completely flat without supports, using a captive hook-and-pin mechanism. To assemble it, hold the lid straight up at a 90-degree angle and drop the hooks down onto the base pins. Once you swing it closed, the hooks wrap around the pins and are physically trapped by the back wall of the base—it cannot be pried apart at the hinge while closed.
Design Notes
- Hinge: Captive 90-degree drop-in hooks.
- Locking Interface: Heavy stacked front tabs with a 6.5mm hole for standard small luggage padlocks.
- Internal Clearance: Sized for standard credit cards (85.6 x 53.98 mm) with generous margins.
- Printability: Both halves print perfectly flat on the bed, requiring absolutely no supports.
Photos
Technical views
More like this
Explore more in Storage & Organization →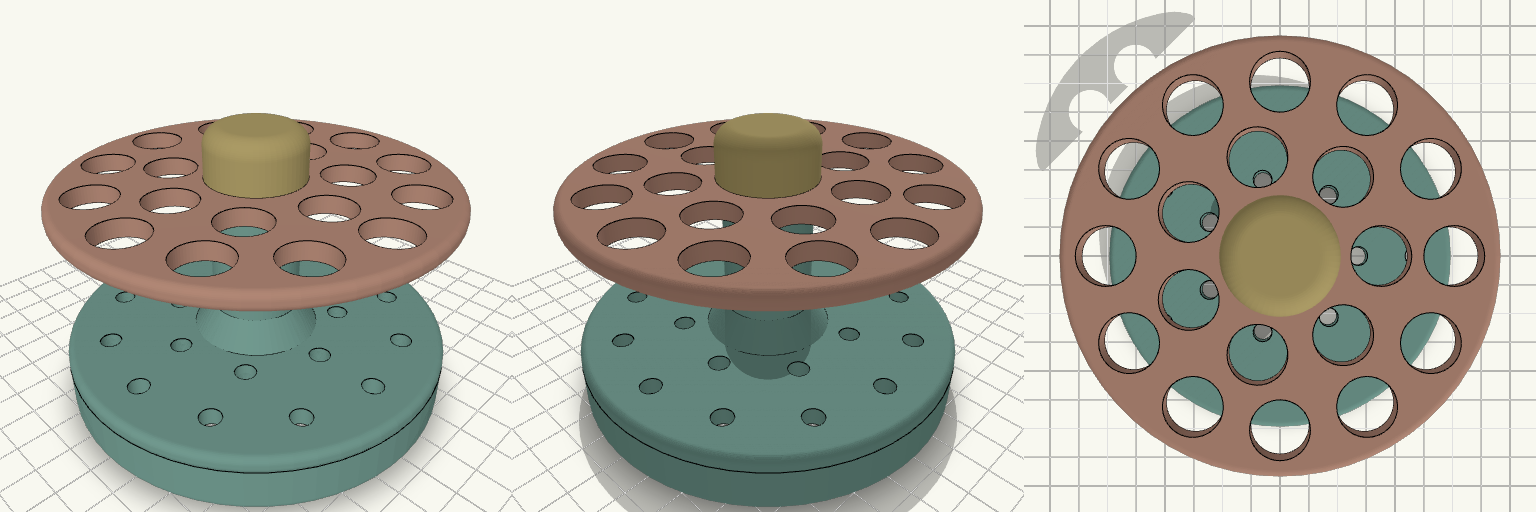
Mini 19-Cone Henna Carousel Stand
A compact two-tier henna cone stand: 110 mm trays, 60 mm apart, holding 19 cones tip-down, joined by a 25 mm central column and a screw cap. The top tray's 15 mm holes sit directly over 6 mm tip holes in the lower tray. A foot ring under the lower tray keeps cone tips off the table. Remix hooks Tray spacing: 60 mm now. Raise it for longer cones. Ring layout: 12 holes at 43 mm radius plus 7 at 25 mm radius. Wall between rings is about 3 mm, so adding holes means growing the tray. Tray diameter: 110 mm. Scale it up and add a third ring for more capacity. Hole size: 15 mm top, 6 mm bottom. Adjust to your cone brand. Pairs with: a turntable disc or non-slip mat under the foot ring.
Two-Piece Pro Controller Wall Holder
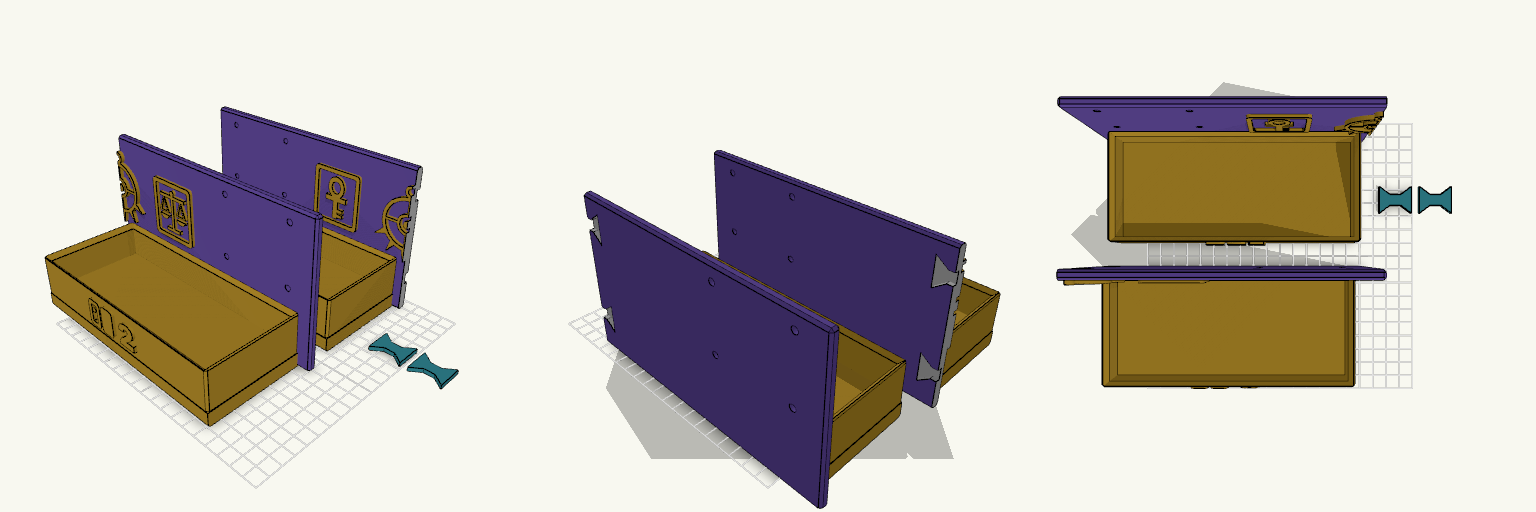
A 380 mm wall holder for a PS5 and a Switch Pro controller is too wide for most print beds, and a single plate can crack along its length. This version prints as two 190 mm halves that lock together with two butterfly keys. Fit and print Split line: centre of the plate, through the Yu-Gi-Oh! ring emblem Keys: two butterfly-shaped keys, 24 mm wide and 20 mm tall, 2.9 mm thick, printed flat Key pockets: cut 3.3 mm deep into the back face, 0.3 mm clearance all round Assembly: press the keys into the back pockets across the seam, then screw the halves to the wall. The wall holds the keys in Mounting: eight countersunk screw holes in total, four per half Printing: halves lie on their backs or stand on the shelf base. No supports are needed for the hollow blocks Pocket sizes are 166 mm wide and 70 mm deep, from typical controller sizes and not from measurements of a specific controller.
Exploding Kittens Drawer Card Case
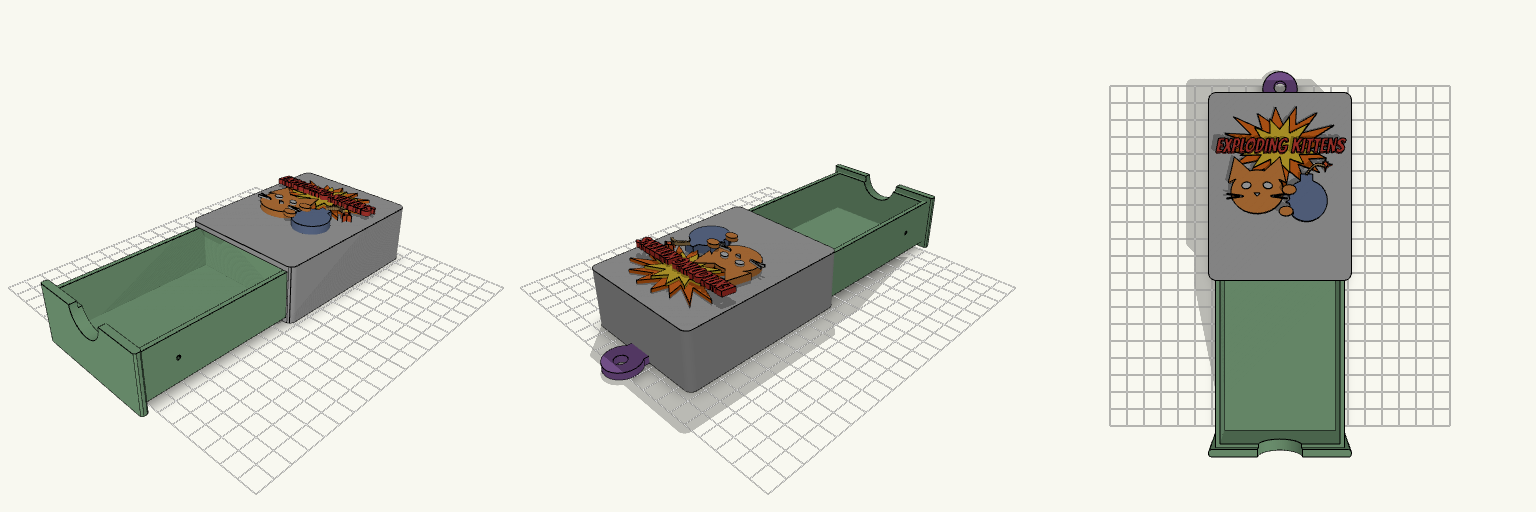
What it's for A two-part slide-out card case sized for a single poker-size deck, with the Exploding Kittens artwork carried on the top of the sleeve. The relief shows an angry cat beside a round bomb, bite marks cut into the bomb's edge, a dotted fuse and a spark. A large jagged orange explosion with an uneven outline and a smaller yellow core sits flat on the lid, centred on the title. Because the blast is fused to the surface rather than floating above it, the cat and bomb rise through it, so the explosion reads as a backdrop behind them and both stay clearly visible. The red "EXPLODING KITTENS" lettering stands on the core, kept low so it rises only about 3 mm above the blast. The drawer has a front pull panel with a thumb notch and slides out of the sleeve; a small snap detent on each side wall clicks it shut and lets go with a firm pull. A fused keychain loop on the back of the sleeve lets the case clip to a bag with a carabiner or split ring. Dimensions Sleeve: 76 × 100 × 34 mm, open at the front Drawer: 76 × 99 × 34 mm, with a front pull panel and thumb notch Card well: one compartment, about 64.6 × 91.5 mm, sized for a 63.5 × 89 mm deck Explosion: 57.8 × 44.8 mm blast, 2 mm thick, fused to the lid; core 42.2 × 29.2 × 1.5 mm on top of it Title lettering: 68 × 8 mm, standing on the core about 3 mm above the blast Bomb relief: 5 mm tall, with the paws and fuse lowered to sit level on top of it Keychain loop: 20 mm round lug, 4 mm thick, with a 7 mm hole, fused to the back of the sleeve and reaching about 70 mm out on Y Detents: one small bump per sleeve wall, with matching dimples on the drawer sides Print notes Print the sleeve upside down or with supports under the top, since the ceiling spans the full width. Print the drawer flat on its floor. The keychain lug sits flat on the build plate and needs no supports, but at 4 mm thick it is the lightest part of the case — thicken it if the case will hang from a heavy bag. The enlarged loop pushes the footprint out to roughly 70 mm on Y beyond the sleeve; check it against your plate before starting a full-bed print. Drawer clearance is 0.3 mm per side; adjust if the drawer binds. Sleeved cards need roughly 2 mm more in both the width and length of the well. The lowered red lettering sits directly on the orange and yellow blast, so contrast is low at small scales; check a render before printing the lid art very small. Detent tension has not been test-printed; sand or adjust the bumps if the drawer is too stiff or too loose. Remix ideas Widen the card well for a sleeved or double-sleeved deck. Burst the explosion over the top of the cat and bomb instead of behind them, accepting that it would hide most of the cat. Swap the round bomb for a C4 brick. Add a divider for tokens or a rules card. Thicken the keychain lug to 6 mm and widen the hole further for heavier bags. Trade the detents for a magnetic catch if you prefer a quieter close.
Staggered 5-Key Hook Extender
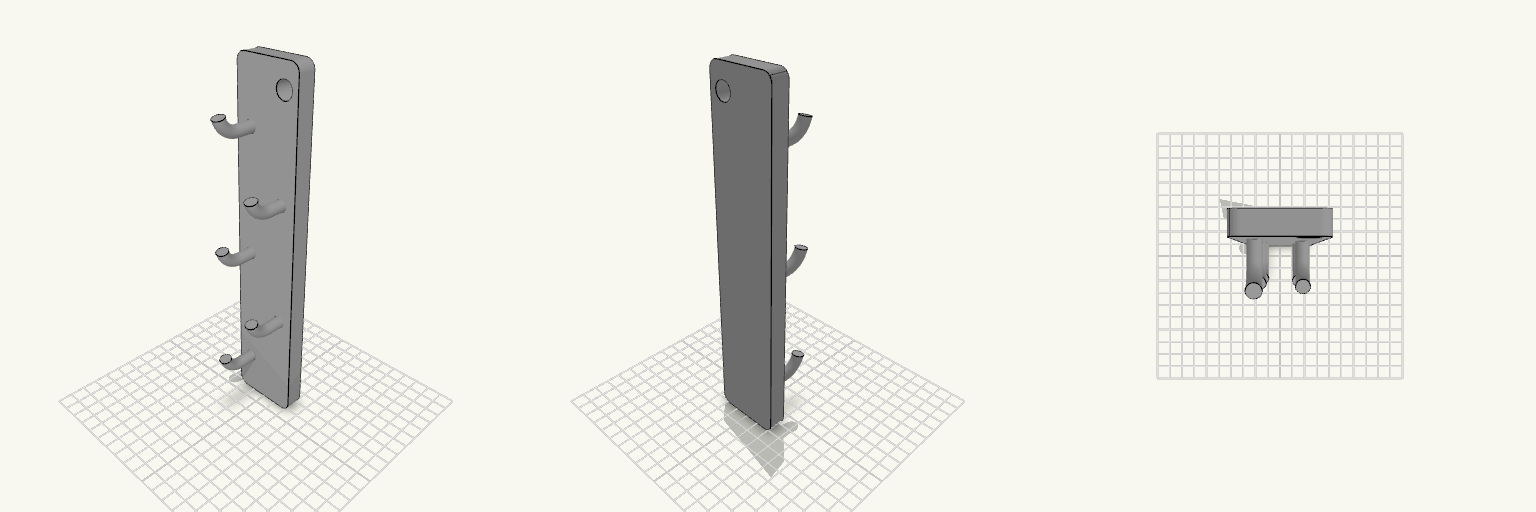
A tall back plate that hangs from a key rack and holds five keys on alternating left and right pegs, so fobs dangle without touching each other. The plate is 46.2 mm wide, 240 mm tall and 12 mm thick, with a 12 mm hang hole at the top right. Each peg is 8 mm in diameter, runs straight for 12 mm, then curves upward through 75° to keep rings seated. Remix hooks Plate thickness (12 mm): the easiest stiffness lever. Pegs are set into the plate face, so going thicker needs no other changes. Peg spacing (42 mm pitch): raise it for longer fobs, lower it to fit more pegs on a shorter plate. Bend angle (75°) and straight run (12 mm): lengthen the run for larger rings, ease the angle for a flatter peg. Hang hole (12 mm): resize to match your rack hook. Pairs with: any horizontal key rack with a post or screw head that fits the hole.
TANKER 3 Water
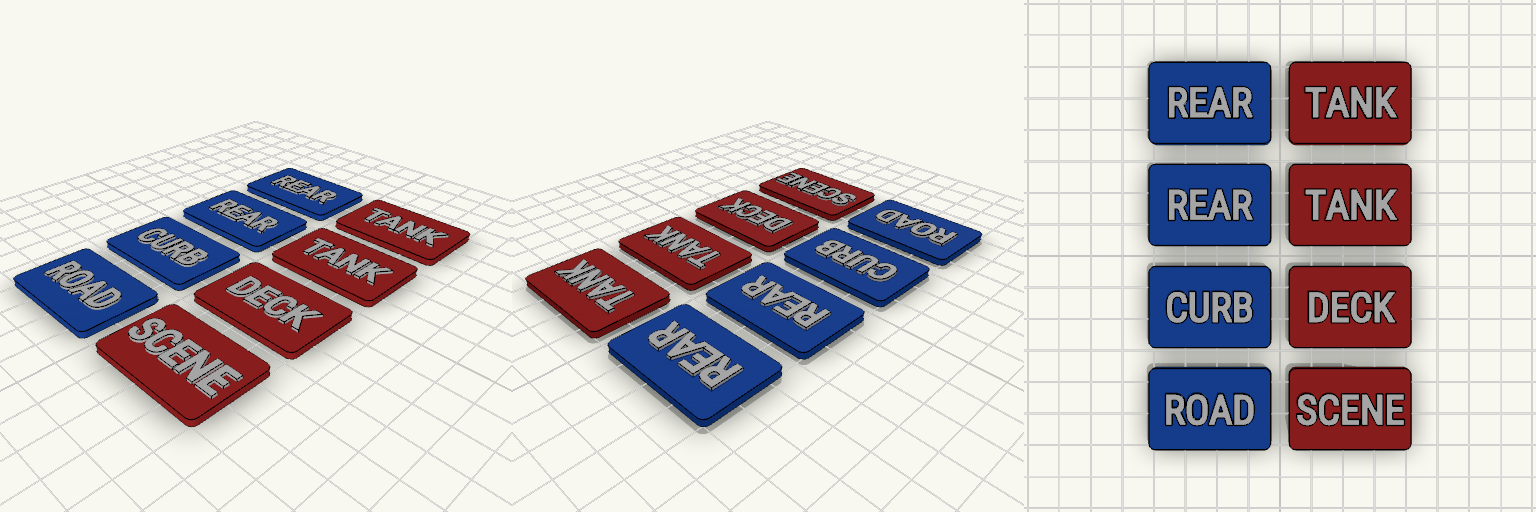
A matched set of eight small label plates with bold raised white lettering, styled like the enamel signage screwed to a garage wall, a shelf edge or the front of a storage bin. Each plate carries a single word — the four blue plates read ROAD, CURB, REAR and REAR, and the four red plates read SCENE, DECK, TANK and TANK — so a wall of bins, hooks, shelves or parking spots can be told apart at a glance. Colour does the sorting: blue for one group, red for the other, both with the same white lettering, so the two families stay distinguishable from across the room while reading as one set. The letters are thickened rather than enlarged, so the strokes carry weight without changing the plate size. The plates are plain rectangles with rounded corners and no fixing hole, leaving the full face free for the text — stick them on with double-sided tape or adhesive, or drill and screw them wherever they are needed. Dimensions Each plate: 1.5 in wide × 1 in tall (38.1 × 25.4 mm), 2 mm thick Rounded corners, no hanging hole Raised lettering: 0.8 mm proud of the face, strokes thickened for a heavier face Lettering centred horizontally and vertically on every plate Plates laid out 32 mm apart in two columns, blue set on the left, red set on the right Set contents Blue: ROAD, CURB, REAR, REAR Red: SCENE, DECK, TANK, TANK Print notes All eight plates sit flat on the bed and print without supports A single filament swap at letter height produces the two-tone face; painting the raised text works just as well The whole set prints in one go and comes off as eight separate tags The same layout takes any short word you want to swap in, as long as the plate size and the two-tone face stay the same.
Apothecary Grid Hinged Pill Box
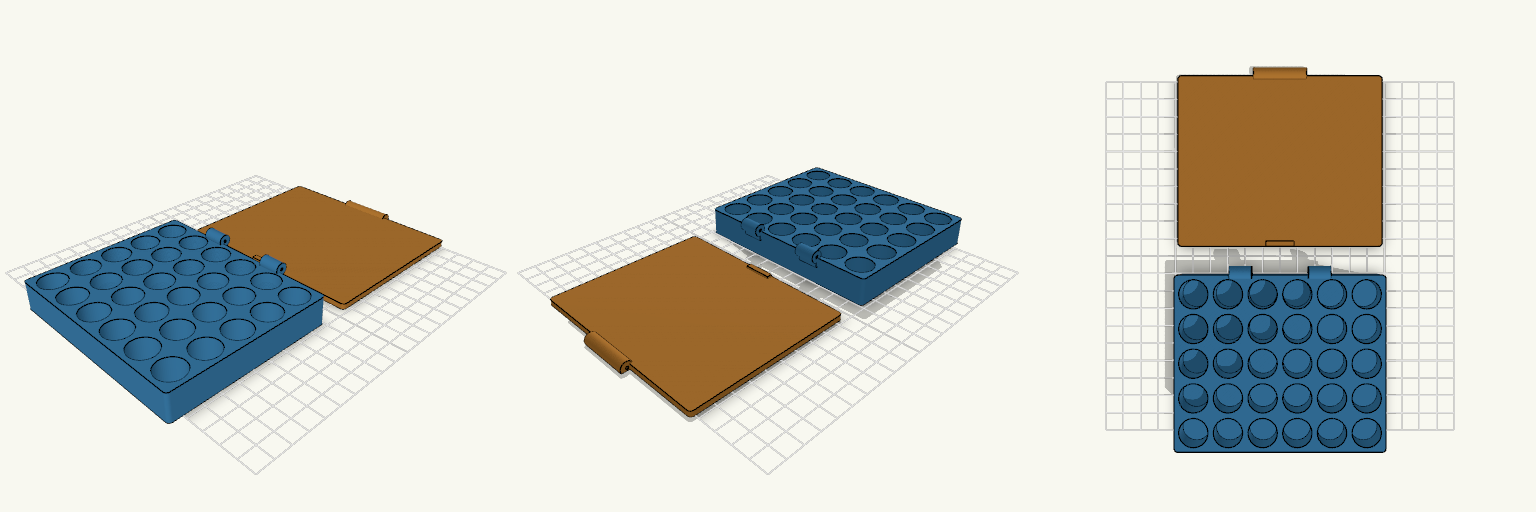
A pharmacy-drawer grid in miniature: thirty round wells in a 6×5 layout, topped by a lid that swings open on a real pin hinge at the back edge. The lid prints flat beside the tray and clicks into the hinge ears once a short pin is slid through. 30 slots, 16 mm wide and 14 mm deep Hinge pin hole sized for a 1.75 mm filament offcut, about 56 mm long Front finger tab on the lid for easy opening Lid and tray print without supports in separate pieces