Dos placas 210 x 60 mm con letras
Created today
Remixed 2 times
Description
Dos placas rectangulares de 210 × 60 × 2 mm con letras en relieve de 1,5 mm en blanco sobre placa negra.
- Placa 1: LANDING, TAXI W y TAXI, con cinco agujeros pasantes de 10 mm.
- Placa 2: LOGO, STROBE, ANTI COLISION, WIN y WHELL, sin agujeros.
- Letras de 5 mm de alto en Montserrat.
- Altura total con letras: 3,5 mm.
Images
More like this
Explore more in Decor & Display →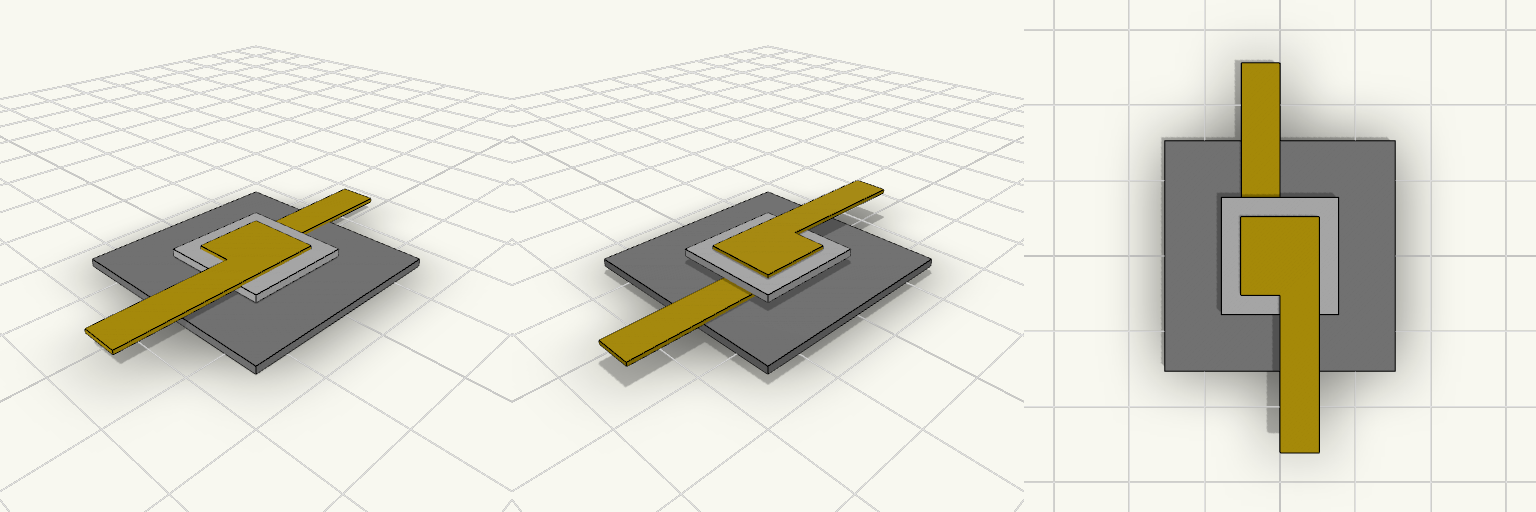
Placa con figura en L y cuadrado blanco
Una placa cuadrada de 30 × 30 mm y 1 mm de espesor sirve de base a tres capas superpuestas: una figura en L amarilla de 0.5 mm de espesor, un cuadrado blanco de 15 × 15 mm y 1 mm centrado sobre ella, y una segunda L amarilla idéntica a la primera, girada 180° sobre el mismo eje central. El conjunto alcanza 3 mm de altura total. Las dos L son iguales: un cuadrado central de 10 × 10 mm centrado en la placa, del que sale un brazo de 5 mm de ancho y 30 mm de largo. El brazo de la L inferior apunta hacia un lado y el de la superior hacia el opuesto, de modo que cada uno sobresale 10 mm del borde de la placa. La pieza ocupa 30 × 50 mm sobre la cama y los dos tramos volados quedan sin apoyo debajo. Placa: 30 × 30 mm, 1 mm de espesor, en gris. Figura en L: dos capas amarillas de 0.5 mm, con el cuadrado de 10 × 10 mm centrado en la placa y brazos de 5 mm de ancho que salen en sentidos opuestos. Cuadrado blanco: 15 × 15 mm, 1 mm de espesor, centrado entre las dos L. Tamaño total: 30 × 50 × 3 mm. Impresión: una sola pieza; los dos extremos de 10 mm que sobresalen necesitan soportes, o bien gira la pieza para evitarlo. Primera capa: al ser la base de 1 mm, cuida la adherencia a la cama para que no se combe en las esquinas.
177.8 x 127 mm Diamond Panel Insert
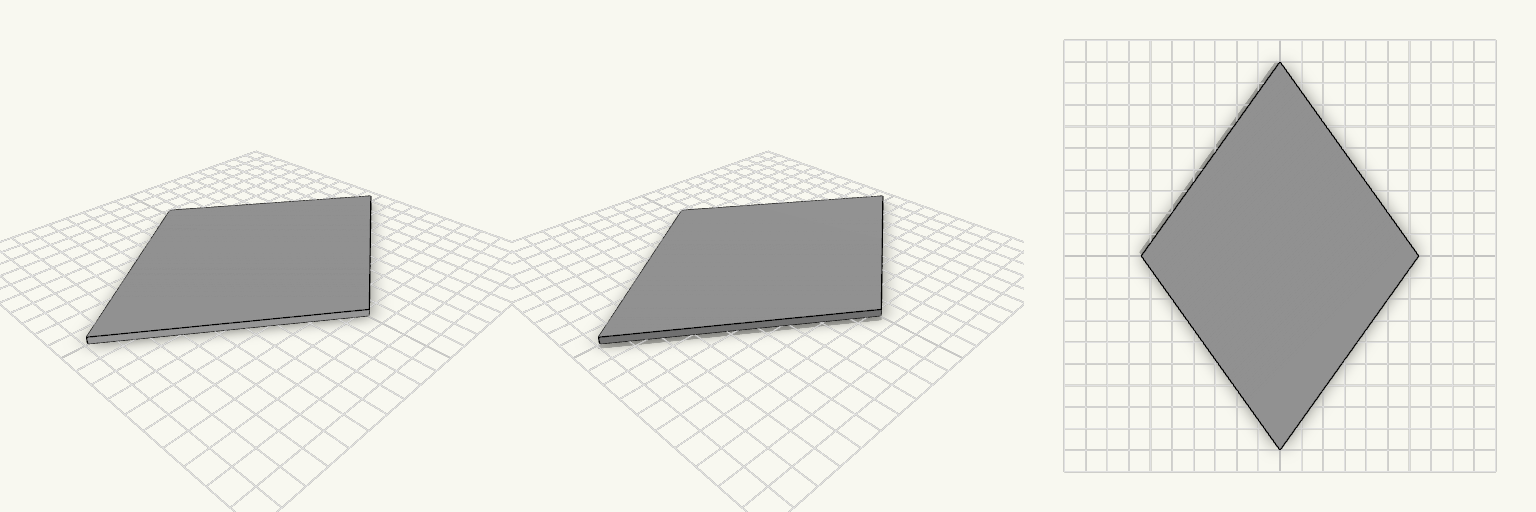
Flat diamond panel insert, 177.8 mm point to point and 127 mm across the widest part, 3 mm thick. There is no specific host frame or device in the design, so the opening is the thing to match: this is a plain flat diamond with sharp corners and no holes, lip, or bevel. Fits: a diamond-shaped opening or groove sized for 177.8 mm length and 127 mm width, with clearance for the 3 mm thickness. Replaces: a flat diamond panel insert of the same point-to-point and across dimensions. It does not include any mounting features. Check before printing: the opening’s long diagonal and short diagonal, plus groove depth and clearance for 3 mm material. If the opening is 7 in by 5 in, confirm the actual clearance; the sharp corners need matching square corners or relief. Does not fit: frames that rely on screw holes, a retaining lip, rounded corners, or a beveled edge. It also does not fit openings smaller than 177.8 x 127 mm.
Marco para fotos Instax Mini con imanes
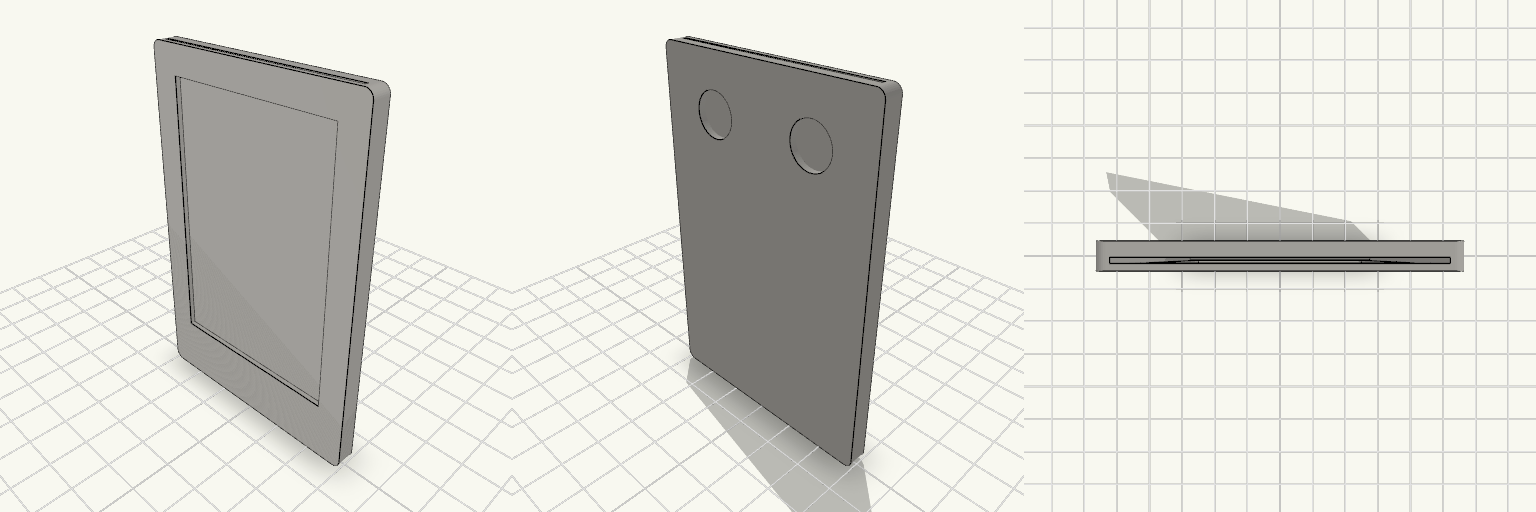
El marco para fotos Instax Mini evita que la foto se caiga de la nevera, se doble por una esquina o acabe pegada con cinta que deja residuo. La foto entra deslizándola por la abertura superior y queda en un bolsillo cerrado por abajo y por los lados; la trasera es una placa sólida, así que la ventana no la atraviesa y no se ve la foto por detrás. Dos imanes de neodimio en la cara trasera, en la parte superior, lo sujetan sin chinchetas ni cinta. El marco va en vertical y mide 60 × 90 mm en total, con 4,8 mm de grosor. La ventana deja un borde frontal inferior de 15 mm y uno superior de 7 mm: el inferior sigue siendo el ancho de una polaroid, pero el de arriba queda corto y la ventana se pasa 6 mm de la zona de imagen de la Instax (62 mm). Por ahí se verá algo más de la foto o de su borde blanco. Medidas que deciden el montaje Marco: 60 × 90 mm, 4,8 mm de grosor. Ventana frontal: 46 × 68 mm, centrada a lo ancho, a 15 mm del borde inferior y a 7 mm del superior. Bolsillo para la foto: cerrado, abierto solo por el borde superior; la foto de 53 × 86 mm entra deslizándola desde arriba. El bolsillo mide 54,6 mm de ancho. Paredes laterales: unos 2,7 mm. Trasera: placa sólida de 2,6 mm; la ventana no la atraviesa. Alojamientos de imán: 11 mm de diámetro y 1,8 mm de profundidad, separados 28 mm entre centros, con el centro a 14 mm del borde superior, en la cara trasera detrás de la zona de la ventana. Dejan 0,8 mm de plástico entre el imán y la foto. Para imprimir Necesitas dos imanes de neodimio de 8 × 1,5 mm y una gota de cianoacrilato para fijarlos. Con alojamientos de 11 mm, cada imán de 8 mm queda con 1,5 mm de holgura por lado; hay que pegarlo para que no se mueva. La holgura del bolsillo está calculada para que la foto entre deslizando; si la impresora aprieta las paredes, puede que entre justa. El marco se imprime como una sola pieza; los imanes se pegan después.
55كعبة مجزءة
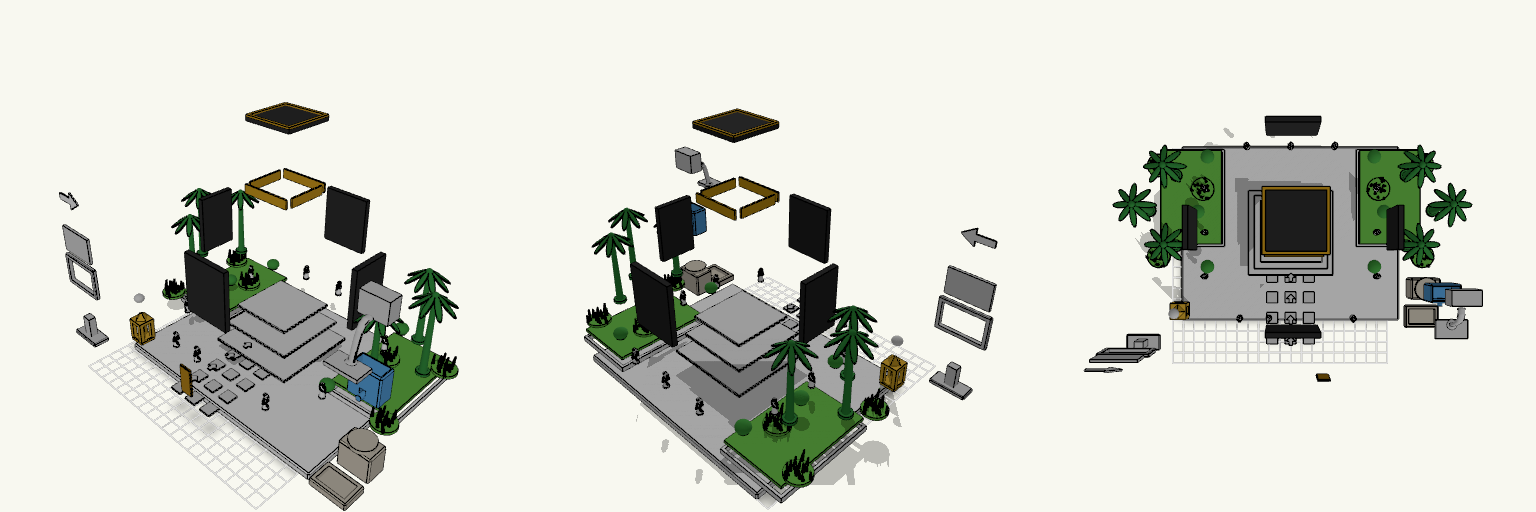
Exploded miniature of a masjid scene with every component spread apart with visible gaps. Parts: white base, platform tiers, four black Kaaba walls, roof, door, gold bands, walkway tiles, arrows, palms, bushes, grass, pilgrims, Zamzam station, Maqam Ibrahim and blue sign parts. Layout: exploded only, no assembled copy. Export: the download is one file; separating individual parts happens outside this model.
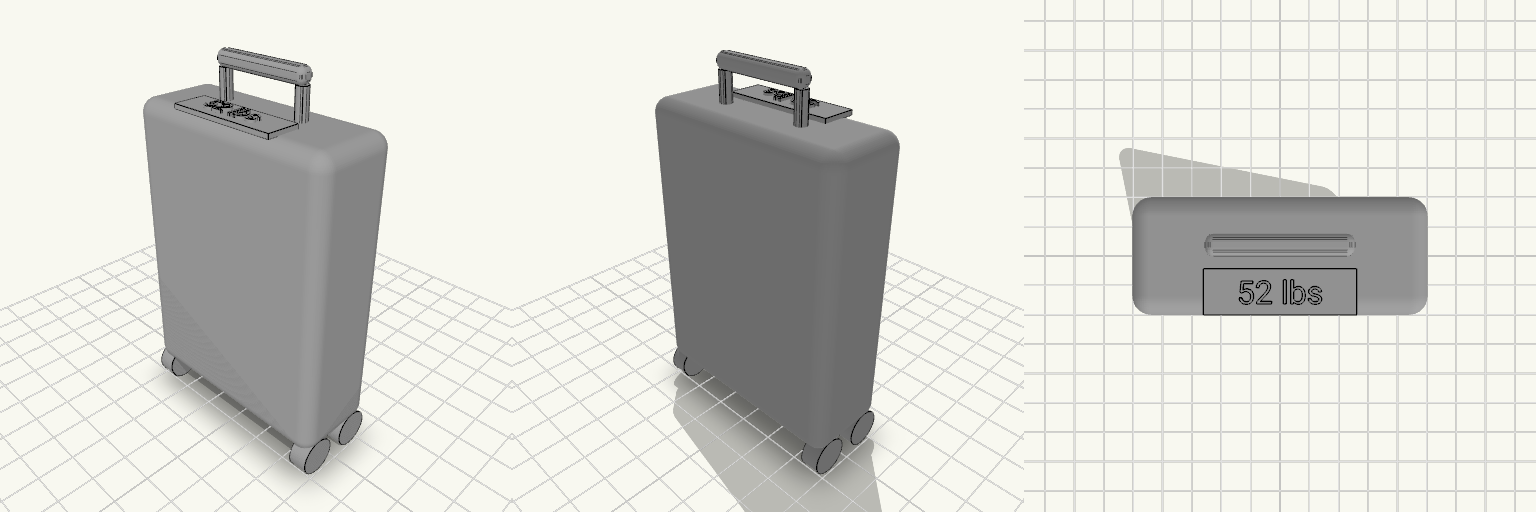
Miniature Suitcase with Handle, Wheels and Weight Display
What it's for A miniature suitcase standing upright on four sideways-mounted wheels, with a pull handle on top and a small thin scale plate set into the top face just in front of the handle. The plate carries a raised readout of 52 lbs, so the piece reads as a luggage scale at a glance. It works as a small desk ornament, a travel-themed display piece, or a scale prop for a dollhouse or diorama. The whole thing is one plain neutral finish, with no colour coding or recessed front screen. Dimensions Overall footprint: 60 × 24 × 100 mm (width × depth × height, as it sits on the print plate) Wheels: mounted sideways, axles running across the width of the case, so the body rests on them Weight plate: a small thin panel on the top face, in front of the handle Readout: raised 52 lbs lettering, picked as a believable airline-limit weight — say if you want a different figure Print notes The model prints as a single piece lying on its wheels, so no supports are needed under the body. The raised readout is small — a 0.4 mm nozzle with fine layer heights keeps the digits and the "lbs" legible, and a 0.25 mm nozzle gives crisper text. The thin top plate is shallow, so check that your bridging over that area is clean. Remix ideas Change the readout to a different weight, or leave the plate blank for a custom label. Swap the handle for a telescoping version, or add corner guards to the body. Scale the case up to hold small items, or down to keyring size. Finish A single neutral colour suits the plain, serious look — the design relies on shape and the raised text rather than colour contrast, so any filament works.
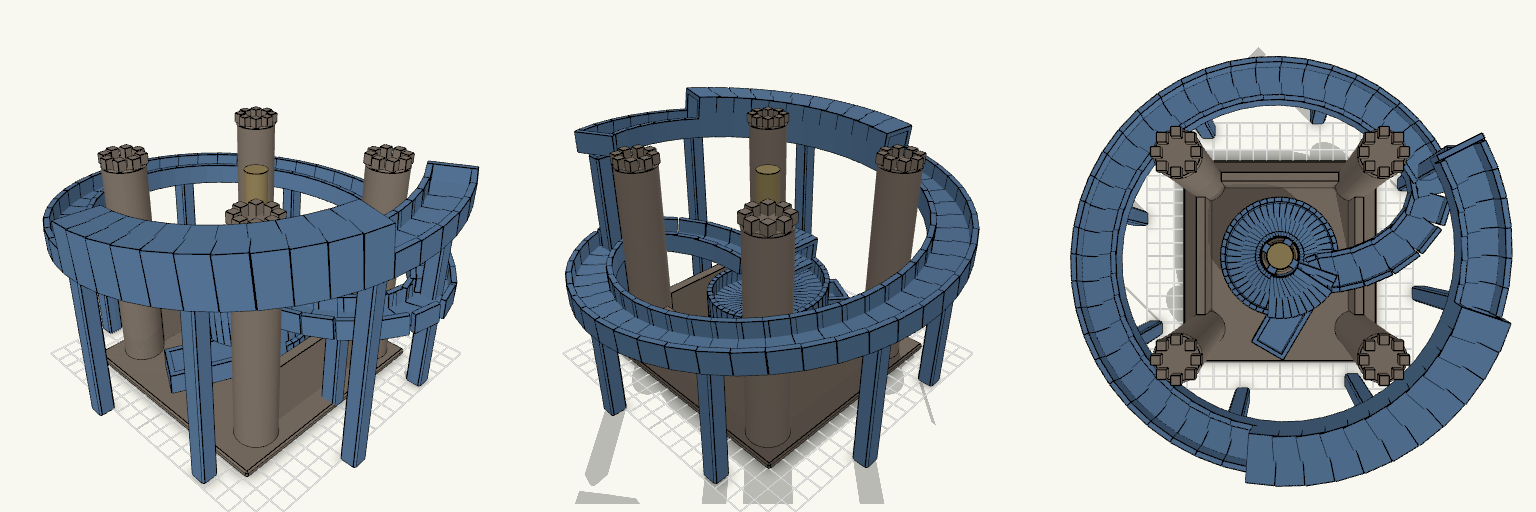
Castle Marble Run with Spiral Track
A castle-themed marble run built around a single continuous track. The marble enters at the top of a central keep, spirals down three full laps, passes through covered tunnel sections, and leaves along a straight exit ramp at the front. The track has no steps, gaps or pads. It descends at a constant slope, so the marble rolls without bumps or sudden speed changes. Channel width 20 mm with 10 mm side walls, sized for a 16 mm marble Three spiral laps with a tunnel section on each lap Exit ramp with the same slope as the spiral and an end wall to stop the marble Four crenellated corner towers with curtain walls on the back and sides Support arms connect the track to the central keep The front is left open so the exit ramp stays clear. Print the track at a fine layer height for the smoothest surface.