Segmented Identity Disc
Created 1 months ago
Description
What it's for
A multi-part Identity Disc designed for cosplay, display, or assembly. The main chassis features a continuously tapering mathematically generated sweep, thickest in the middle and curving smoothly down to the outer edge. The inner and outer energy rings are segmented and engineered as separate parts with a 0.3 mm clearance, allowing them to be printed in translucent filaments or contrasting colours before snapping perfectly into the chassis.
Dimensions
- Overall Diameter: 200 mm
- Center Hole Diameter: 60 mm
- Max Thickness: 14 mm (at the inner ridge)
Print notes
- Clearances: The energy rings are modeled at nominal dimensions, while the base body channels are cut with a baked-in 0.3 mm offset to ensure a snug fit off an FDM printer.
- Orientation: Print all parts flat on the bed. No supports should be strictly necessary for the main body if your printer handles shallow overhangs reasonably well.
Photos
Technical views
More like this
Explore more in Decor & Display →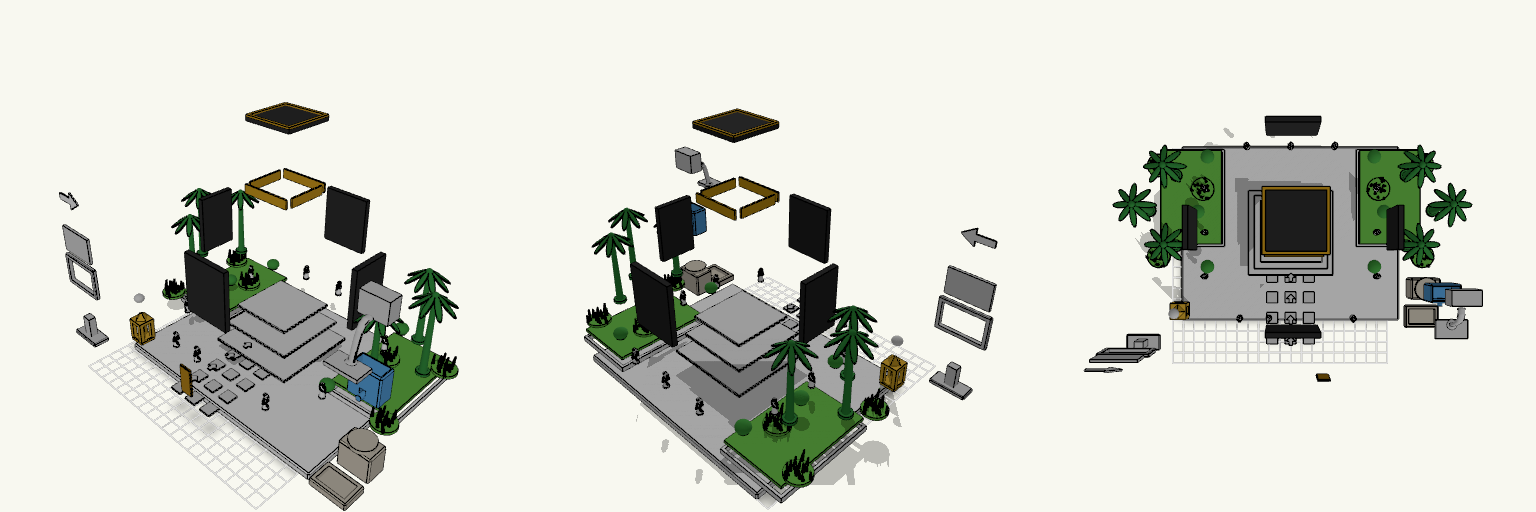
55كعبة مجزءة
Exploded miniature of a masjid scene with every component spread apart with visible gaps. Parts: white base, platform tiers, four black Kaaba walls, roof, door, gold bands, walkway tiles, arrows, palms, bushes, grass, pilgrims, Zamzam station, Maqam Ibrahim and blue sign parts. Layout: exploded only, no assembled copy. Export: the download is one file; separating individual parts happens outside this model.
Flat-Pack OO Scale Corrugated Garage
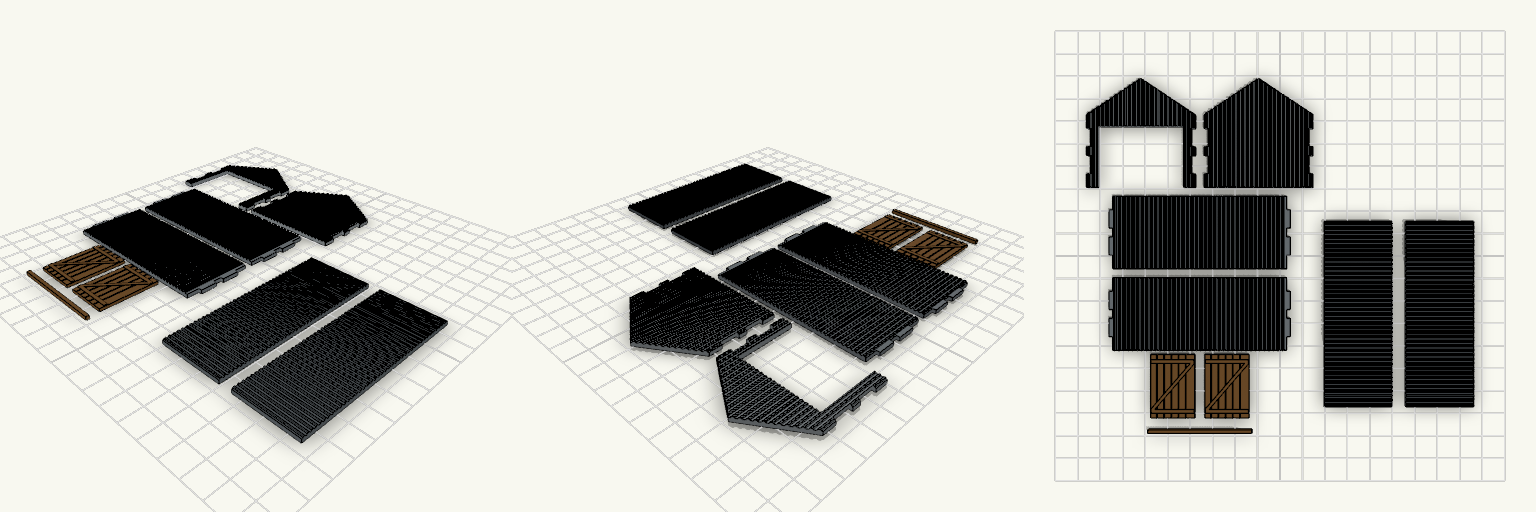
A flat-pack OO scale garage with corrugated iron panels, a gable roof and sliding timber doors. Every piece prints flat on the bed with no supports, then assembles with glue. The side walls carry tabs that pass through slots in the front and back gable ends, with 0.3 mm clearance. The two roof panels sit on the gable slopes. Two plank-and-brace doors hang from a separate rail across the front opening. Footprint: about 48 × 80 mm, ridge height about 48 mm Pieces: 2 side walls, 2 gable ends (front one has the door opening), 2 roof panels, 2 doors, 1 rail Panel thickness 1.6 mm with raised corrugation ribs Print flat, glue the joints, fix the rail above the opening
Flat Snake Assembly Kit
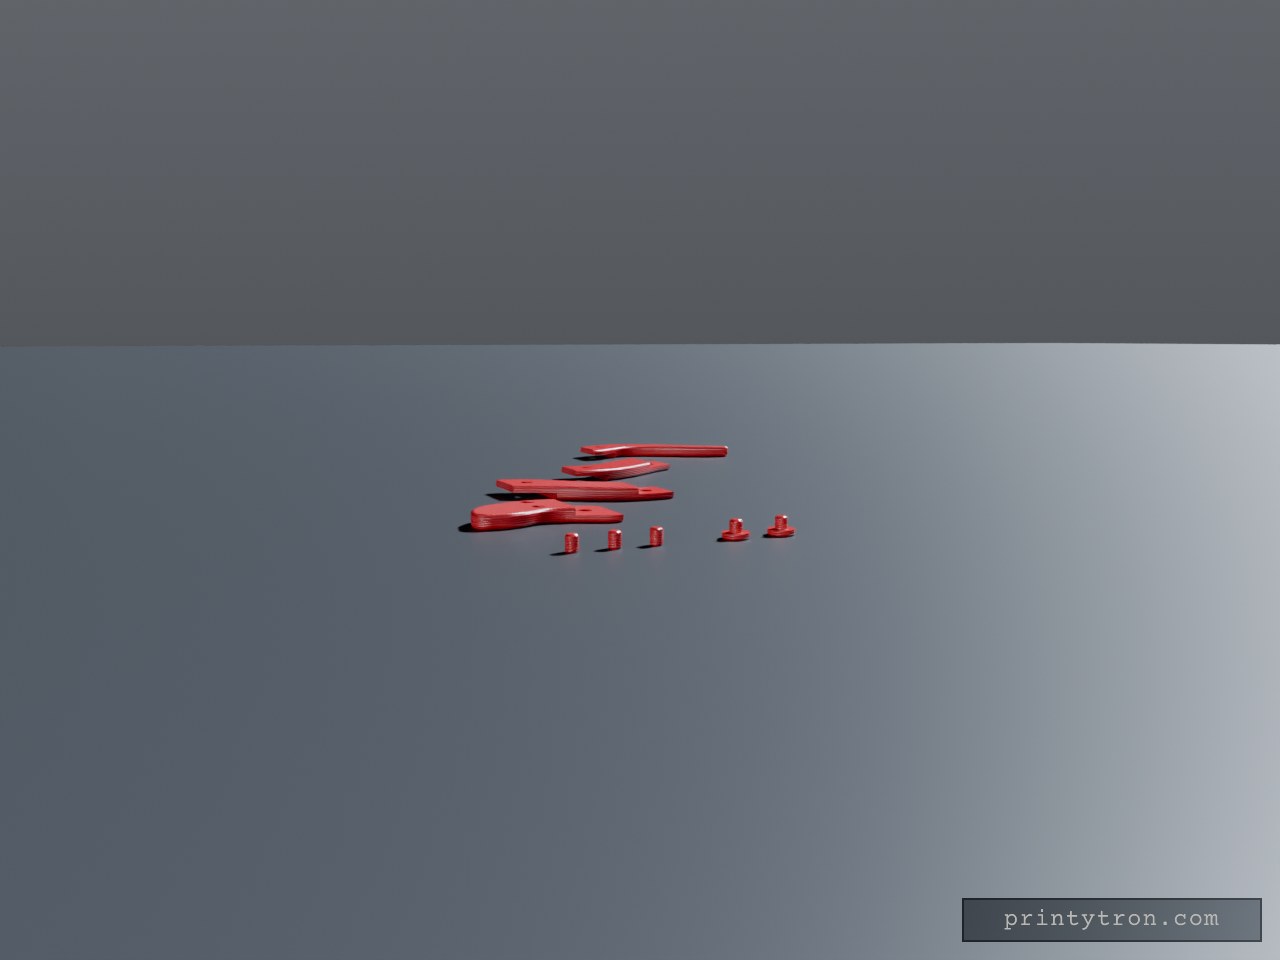
What it's for A flat, solid snake that prints as separate pieces and snaps together by hand: head, two body segments, tail, two eyes and three connector pins. Edges are rounded, there is no surface detail, and nothing needs supports. Dimensions Thickness: 4 mm Pin holes: 3.5 mm diameter Pins: 3 mm diameter, 4 mm long Joints: half-thickness lap joints, so the pin passes vertically through both overlapping ends Eyes: 6.5 mm domed discs with a 3 mm peg that fits holes in the head Remix ideas Lengthen the snake with more body segments. Change the wave amplitude for a tighter or straighter snake. Add a keyring hole in the tail.
Articulated Flat S-Shaped Snake
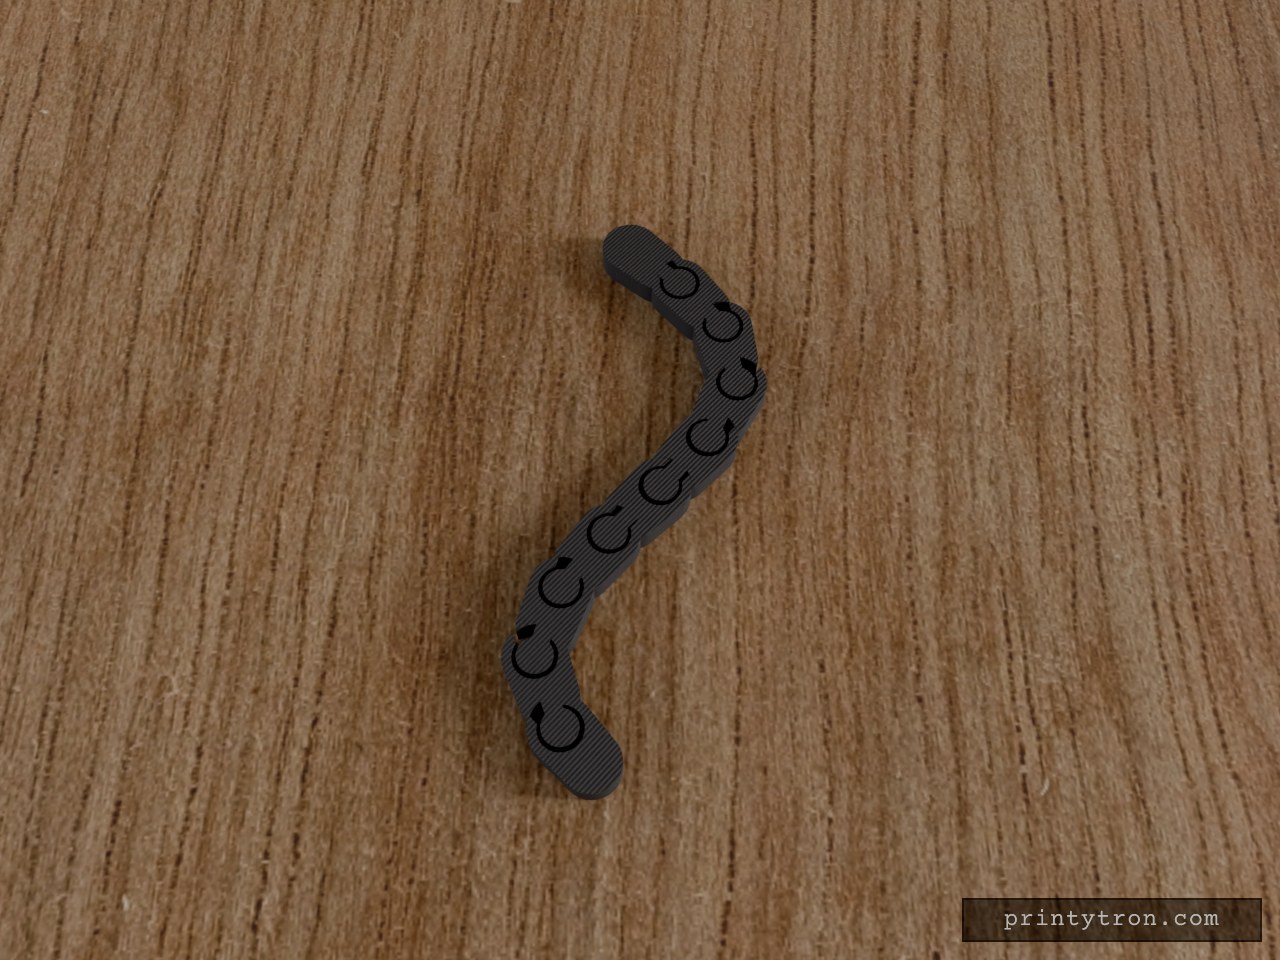
A flat snake made of separate links joined by knob-and-socket joints, laid out in an S shape. Each link is 3 mm thick with smooth rounded outlines and no extra detail. Links print already connected, with clearance in each joint Flat on the bed, no supports needed Links pivot in the plane, so the snake can be bent into other curves Plain solid links, no surface detail Use a small layer height and check that the joints move freely after printing.
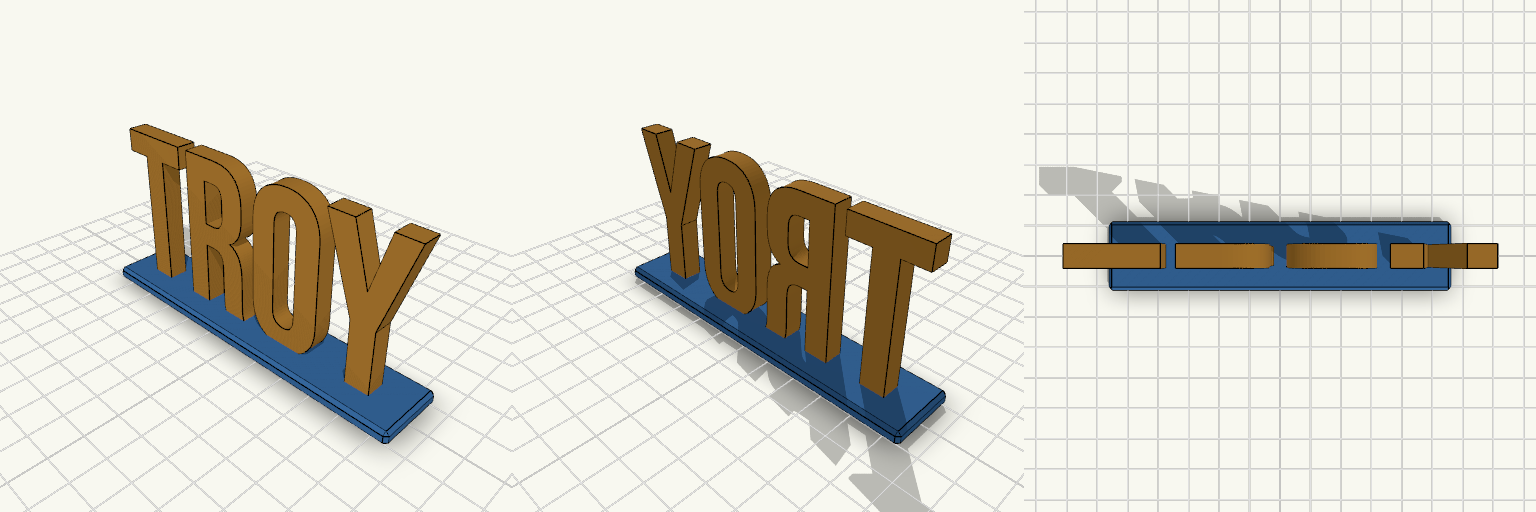
Marquee Block TROY Name Stand
Tall condensed capitals in a movie-poster, marquee style, standing 50 mm high on a slim chamfered plinth. Letters are fused to the base so the whole thing prints as one sturdy piece. Letter height: 50 mm, Bebas Neue lettering Base: 60 x 22 x 4 mm with chamfered edges Prints flat on the base, no supports needed Pairs well with a desk, shelf or door-side display
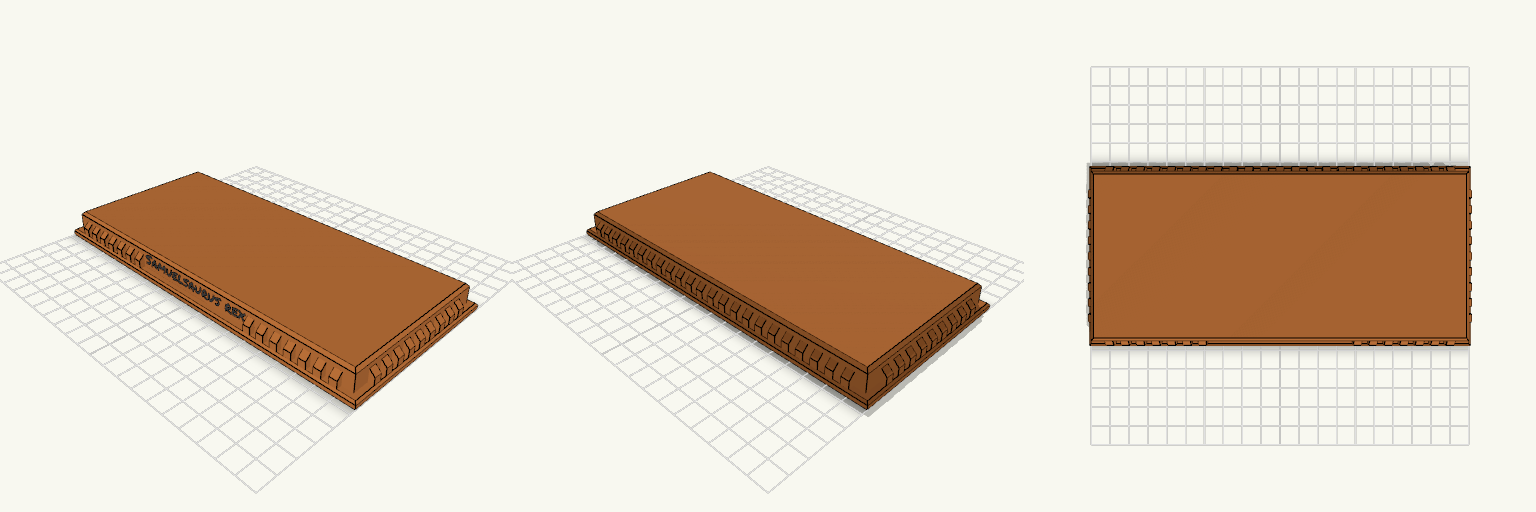
Saurbase — Flat-Top Dinosaur Display Plinth
Saurbase is a display plinth built to give a model dinosaur — or any figure that deserves a proper stage — a base with real presence. The top is deliberately left flat and uninterrupted, so placement stays entirely up to you: set the figure where it balances best, or glue it down once you're happy with the stance. Around the sides, a cornice-inspired profile does the decorative work: a stepped base, a band of dentil blocks and a flush cap give the silhouette the look of a museum pedestal rather than a plain slab — and because the cap sits flush with the recessed core, the whole profile steps inward as it climbs, with nothing hanging over empty space. The front long side carries the name “Samuelsaurus rex”, engraved into a plain stretch of wall and filled with a dark grey inlay so the lettering reads in a second colour without taking any space from the top. Dimensions Footprint: 200 × 94 mm Height: 14 mm Base: 3 mm step with a small top chamfer Dentil band: 4 mm square blocks on 8 mm spacing, running around all four sides, with 45° cuts across the block tops; cleared along a 72 mm stretch on the front long side for the nameplate Cap: flush with the recessed core, with a 1.5 mm chamfer on its top edge Top face: flat, no recesses; flat glue area about 189 × 83 mm Nameplate: text 6 mm high in Permanent Marker style, engraved 0.6 mm deep on the front long side with a matching inlay filling the cut Name text inlay: about 73 × 0.6 × 6.4 mm, sitting flush with the front wall Features Cornice-style edge detail that reads as classical trim without any fussy undercuts Dentil blocks on all four sides slope from their outer faces up into the band above, ending smoothly instead of with a flat shelf Every block sits inside the lower bevel, its outer face stopping where the bevel starts, about 1 mm in from the plinth edge Inward-stepping profile throughout, so no part of the trim overhangs open space Broad 200 mm length leaves room for a tail and head to overhang the body Flat top accepts glue or double-sided tape for a semi-permanent mount “Samuelsaurus rex” nameplate on the front wall, outside the figure area The plinth and the name text are separate coloured pieces in one model, ready for a multi-colour print Nameplate The lettering sits on the front long side, centred on a 72 mm stretch where the dentils are left off. It is cut 0.6 mm deep and filled by a matching inlay that sits flush with the wall, so the text shows as a dark grey band against the plinth body. Because it lives on the vertical side wall, it takes nothing from the glue area on top. Print notes The geometry needs no supports: the cap sits back over the dentil band rather than out past it, every step moves inward as it rises, and the 45° dentil tops remove the flat ledges. The corners between the long and short sides are tight at this scale, so check them in your slicer preview. The dentils are sized to print cleanly — going smaller will lose definition. The nameplate is a vertical wall cut, so it needs no supports either; at 0.6 mm deep the text spans only a few layers, so assign a black or dark grey filament on those colour-change layers. Permanent Marker lettering is loose and uneven, so check the text length against the 72 mm cleared stretch; if thin strokes print rough, a slightly larger letter size or deeper engraving will help. A slightly denser infill keeps some weight in the base so the plinth doesn't tip when a figure is set on it.