140mm Gothic Church Mating Volume
Created 1 months ago
Description
A single-piece gothic church shell, dimensioned around a 140x68mm footprint. It features a completely hollow interior volume spanning the nave, tower, and aisles, surrounded by a continuous 2mm exterior wall.
The model replaces solid block-style architectural prints with a true open-void structure. Before you slice, check your bridging setup—the steep 2:1 roof pitches are designed to print without interior supports, and the exterior flying buttresses and lancet windows are self-supporting, but the massive unified interior void will test your layer adhesion if you scale it down too far.
Specs to verify:
- Overall Footprint: 140mm (length) × 68mm (width).
- Peak Height: 160mm at the front spire.
- Minimum Wall: 2mm throughout.
- Fitment: Does not snap to or mate with specific terrain bases—flat-bottomed for open plate placement.
Images
More like this
Explore more in Decor & Display →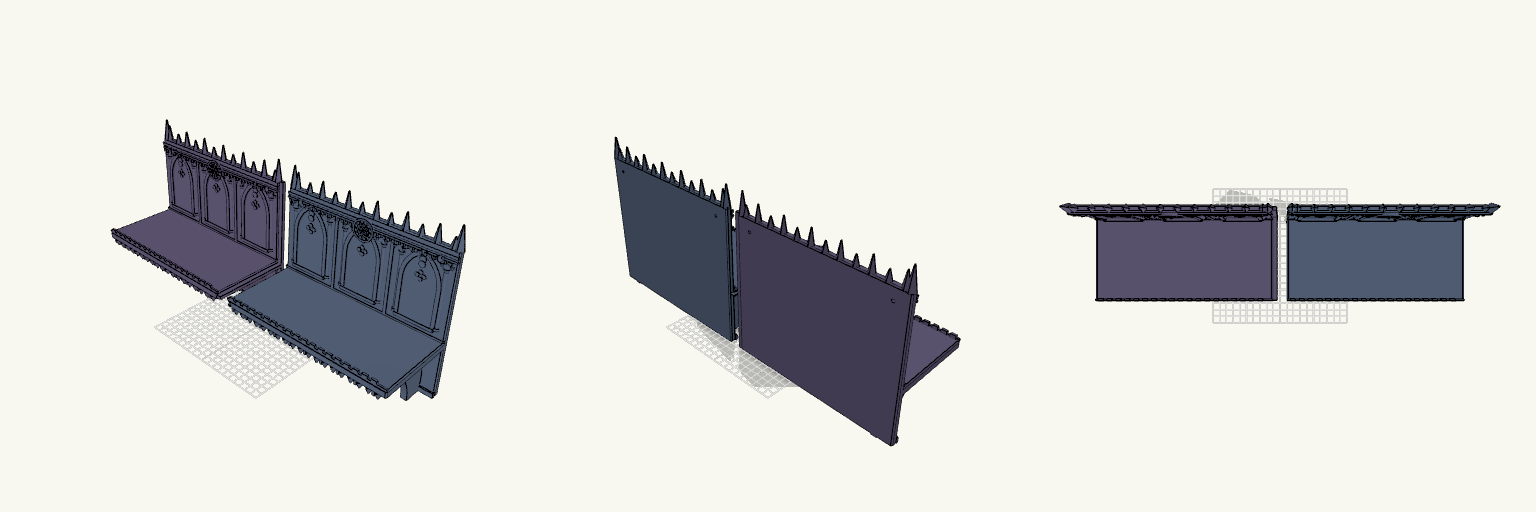
Gothic Rose Window Cathedral Shelf
A cathedral-front wall shelf in two glue-together halves, with blind lancet windows, pinnacles, battlements and a blind arcade below the shelf. Each half now carries layered rose windows in the style of a medieval cathedral facade: stepped rings, twelve radiating spokes, cusped lobes and a domed centre boss. Design notes Large rose window at the top centre of each half, plus two more in the lower arcade Countersunk screw holes for hanging, with clear access pockets Tongue-and-groove seam for super gluing the halves together Each half fits a 250 mm-class print bed
Pebbl — Aquarium Plant Weight
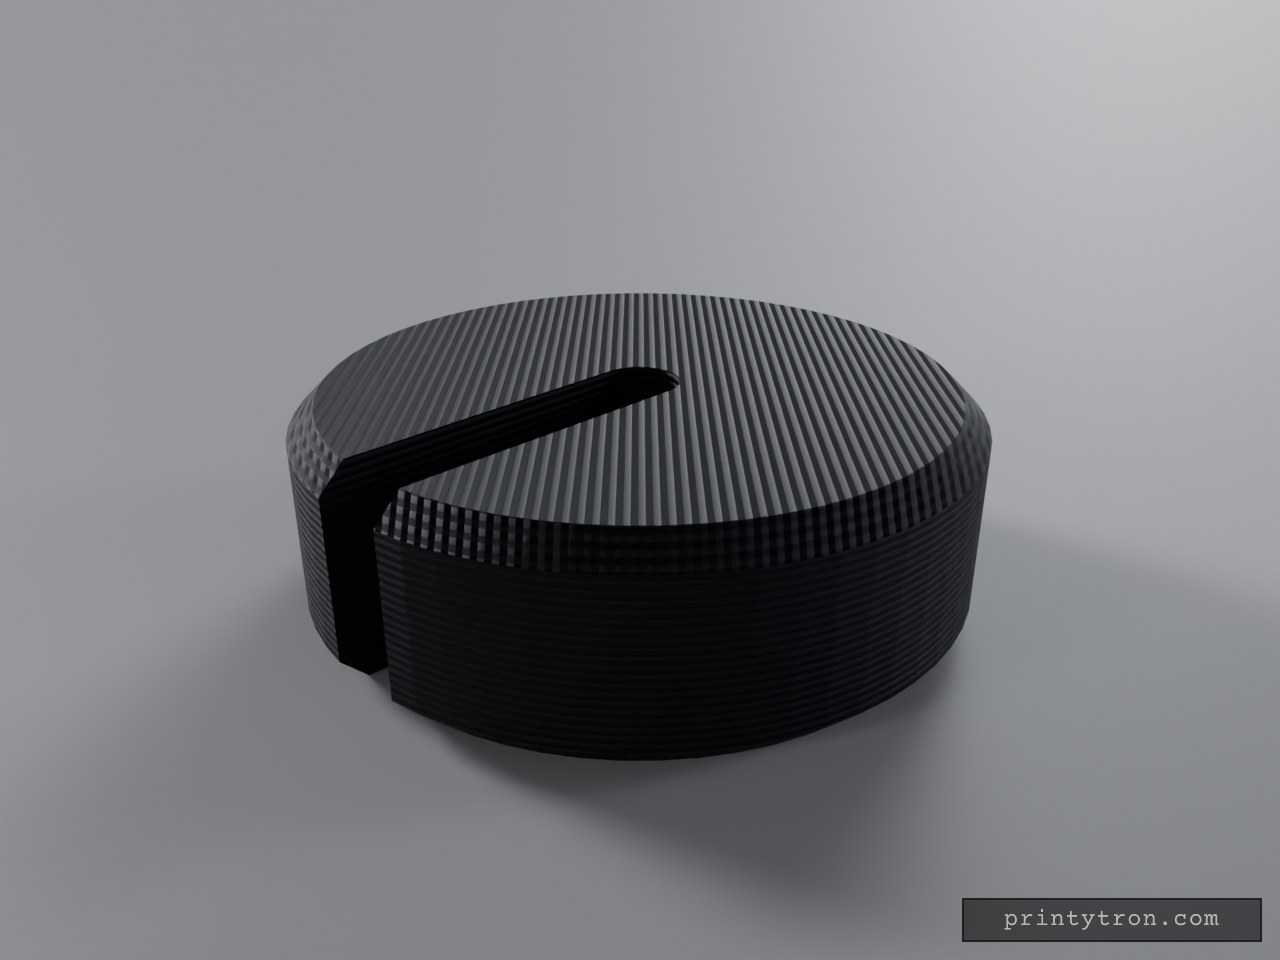
Pebbl is a small slotted disc that holds aquarium plant stems down in the substrate. The stem slides in through the open slot and seats in a rounded pocket at the centre, so the plant stays put without wire, glue or clips. The flat, compact profile sits low and is easy to bury under gravel or sand. Dimensions Diameter: 25 mm Thickness: 8 mm Slot width: 3 mm, running from one edge to the centre Edges: 1 mm chamfer on the top and bottom rims Slot end: rounded at the centre so a stem seats cleanly Print notes Prints flat on the build plate with no supports. PETG at high infill is a good choice for sinking weight. Plastic is light, so larger plants may need a thicker or wider disc. Use an aquarium-safe filament.
Wall-Mounted Running Medal Holder
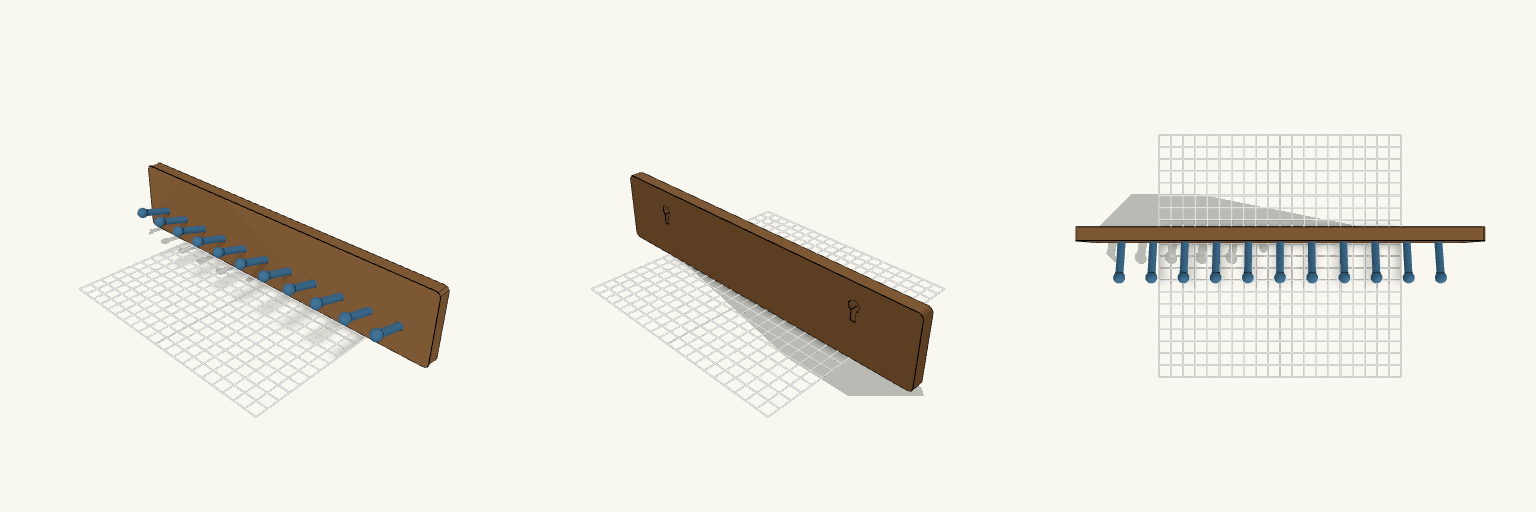
What it's for A wall-mounted rack for displaying running medals. Each ribbon slides onto one of eleven angled prongs that project from a flat backboard, so medals hang in a neat row and stay visible instead of ending up in a drawer. The prongs tilt up and finish in a ball tip, which holds the strap in place once it is looped on. The backboard is left plain above the prongs, giving the row of medals a clean edge to hang against and keeping the silhouette simple to print. The front face is completely smooth — the hanging slots are cut only into the back, so no holes or screw heads show through the display side. Dimensions Backboard: 300 mm wide × 60 mm tall × 10 mm deep Medal prongs: 11 prongs at 25 mm spacing, each reaching 30 mm out from the backboard at a 15° upward tilt, with ball tips Hanging slots: two keyhole pockets cut 6 mm into the back, 200 mm apart, leaving 4 mm of solid material at the front Prong spacing is the number worth checking against your own medals — wide straps need more room between prongs, and the spacing can be opened up if yours run thick. Roughly 10 to 15 medals fit across the 300 mm board. Print notes Prints as one piece; no assembly required. Lay the backboard flat on the plate so the prongs build up in front of it. The tilt keeps them self-supporting, so no supports are needed. Because the slots are stopped short of the front, the screw heads sit recessed in the back rather than passing through the board. Two wall screws 200 mm apart carry the holder. Remix ideas Widen the backboard to 400 or 500 mm and add prongs for a larger collection. Add a second row of prongs below the first to stagger medals in two tiers. Add a raised name plate or a finish-line banner along the plain top edge using the same prong layout. Materials Rigid filament is the better choice here; the prongs carry real weight and a soft or flexible material will let them droop.
Flat-Pack OO Scale Corrugated Garage
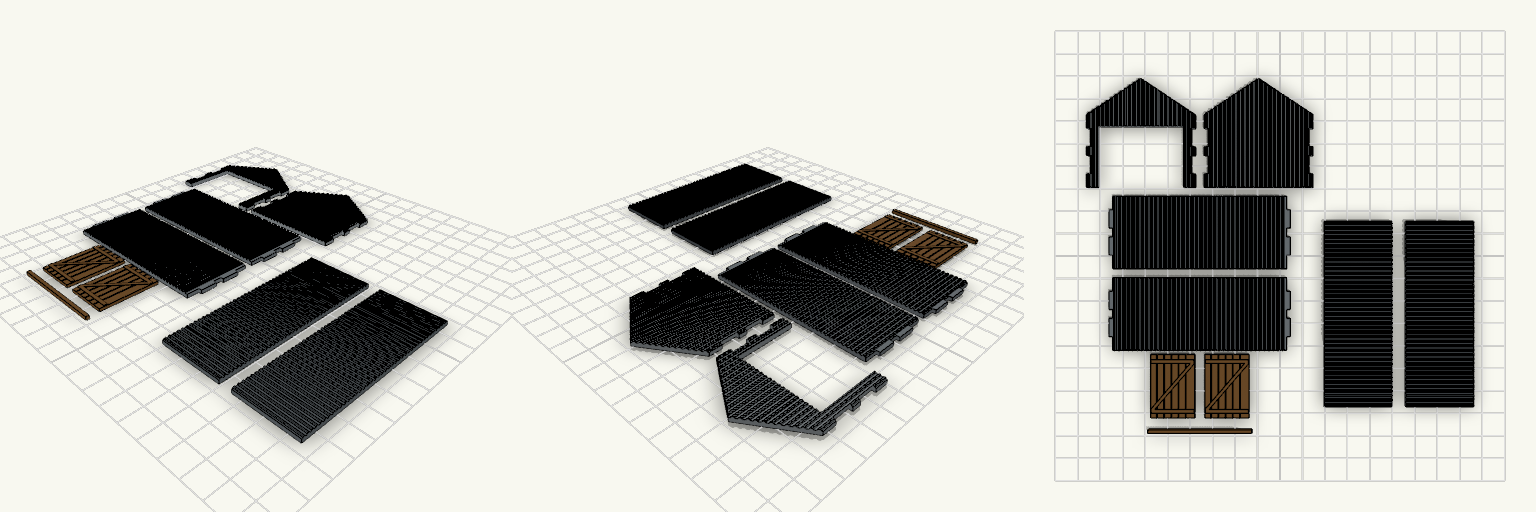
A flat-pack OO scale garage with corrugated iron panels, a gable roof and sliding timber doors. Every piece prints flat on the bed with no supports, then assembles with glue. The side walls carry tabs that pass through slots in the front and back gable ends, with 0.3 mm clearance. The two roof panels sit on the gable slopes. Two plank-and-brace doors hang from a separate rail across the front opening. Footprint: about 48 × 80 mm, ridge height about 48 mm Pieces: 2 side walls, 2 gable ends (front one has the door opening), 2 roof panels, 2 doors, 1 rail Panel thickness 1.6 mm with raised corrugation ribs Print flat, glue the joints, fix the rail above the opening
Medieval Church Front Flat-Pack, Bambu A1 Plate
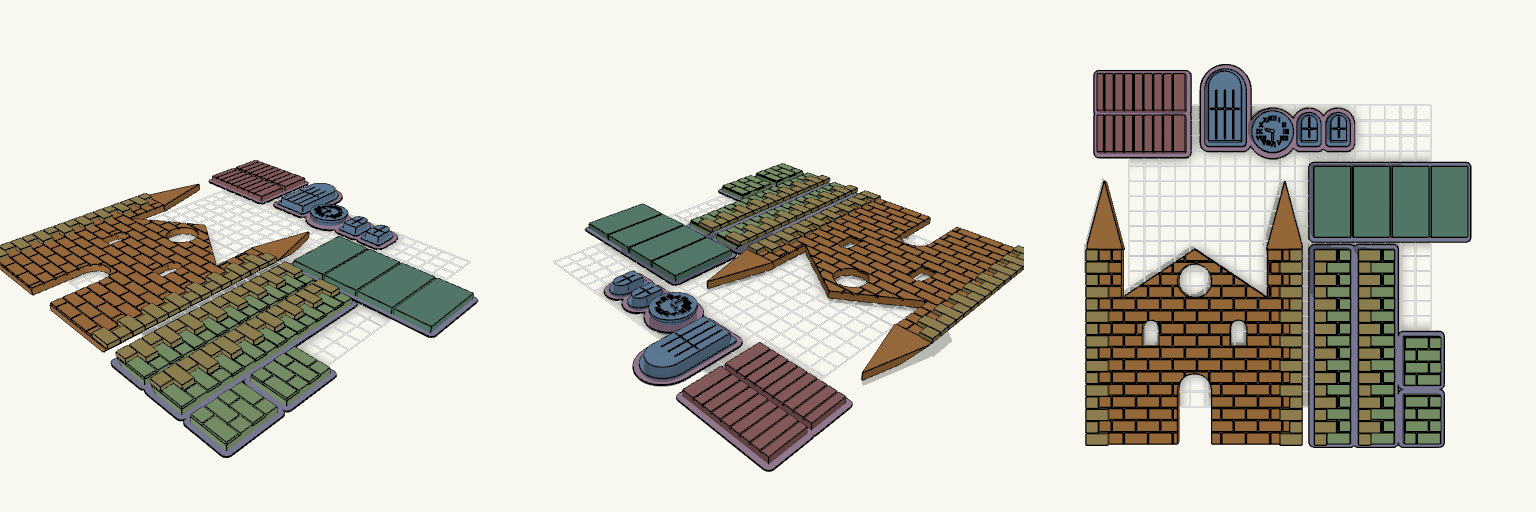
Flat-pack kit for a medieval stone church frontage at 1.6× scale, laid out for a Bambu A1 plate (256 × 256 mm). The one number to check before printing is the plate fit: the layout is about 252 mm across, so leave the skirt and brim off. What is in the kit Front piece: nave, gable and both tower fronts in one 3 mm plate, with the door, clock and lancet openings cut through and quoin blocks built into both outer edges. Tower sides: two panels with quoins moulded along the mitred front edge. Small inner pieces and spire sides: two nave-height inner pieces and four plain spire panels. Roof strips, door insert and clock insert: printed on a separate thin web. Webs A 0.4 mm web surrounds the building side panels, and a second, separate web surrounds the roof strips, door and clock. Cut the parts free with a knife. Not included The two small side windows and their inserts are removed. There are no inserts for the tower lancets or the clock opening other than the clock itself.
Flat Snake Assembly Kit
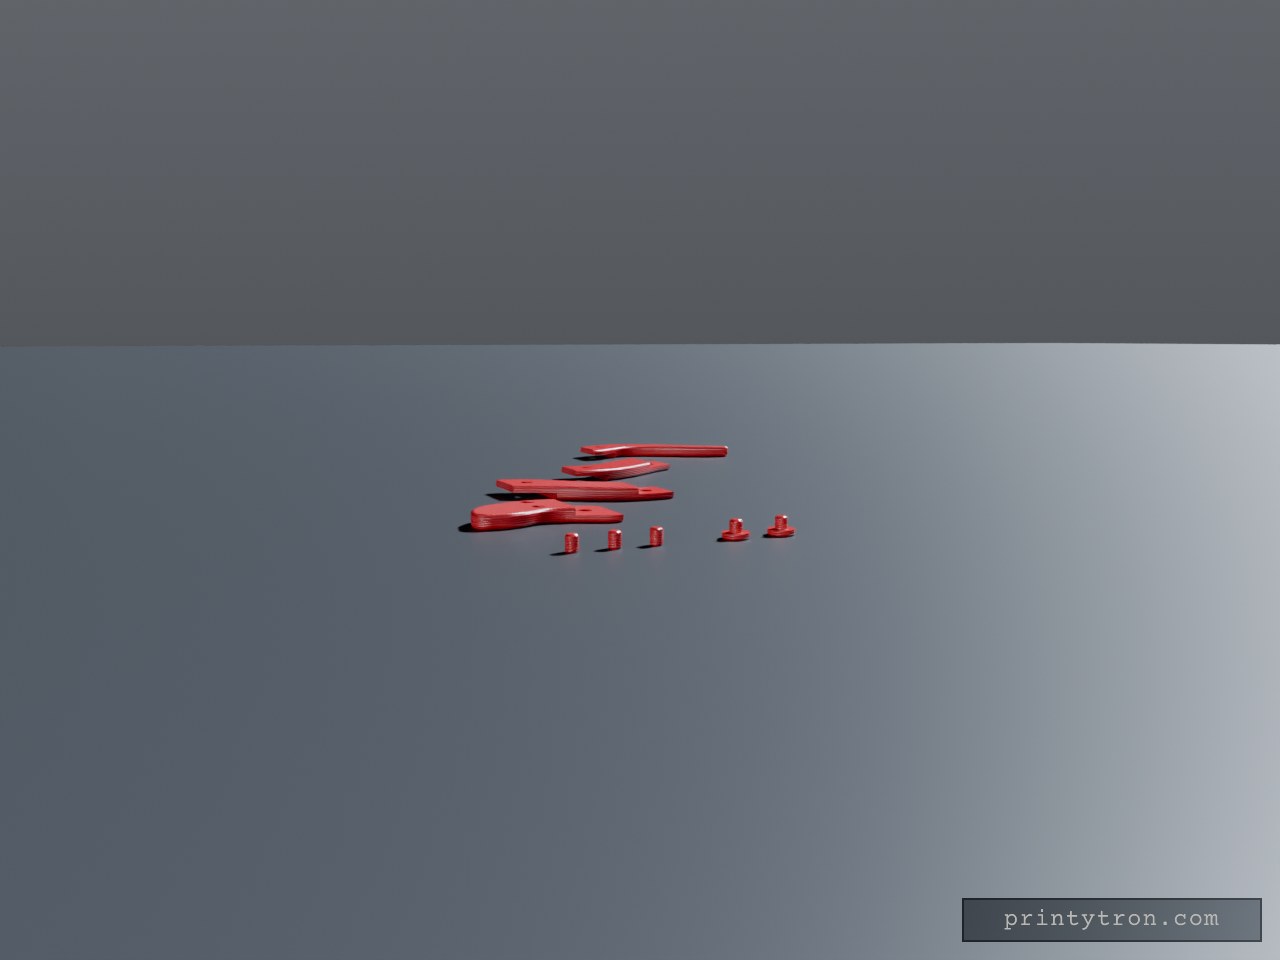
What it's for A flat, solid snake that prints as separate pieces and snaps together by hand: head, two body segments, tail, two eyes and three connector pins. Edges are rounded, there is no surface detail, and nothing needs supports. Dimensions Thickness: 4 mm Pin holes: 3.5 mm diameter Pins: 3 mm diameter, 4 mm long Joints: half-thickness lap joints, so the pin passes vertically through both overlapping ends Eyes: 6.5 mm domed discs with a 3 mm peg that fits holes in the head Remix ideas Lengthen the snake with more body segments. Change the wave amplitude for a tighter or straighter snake. Add a keyring hole in the tail.