3W Letters on Australia Silhouette Stand
Created yesterday
Description
A raised "3W" monogram mounted upright on a stand cut to the silhouette of mainland Australia. Tasmania is gone: where the island used to sit, a short post now rises 18 mm from the base block and runs into the underside of the southeast corner. The map face is 10 mm thick and about 128 × 91 mm; the "3W" letters are roughly 68 × 29 mm and 8 mm deep, centred on the front face. Everything stands on a 112 × 30 mm base block, with five vertical posts — four 45 mm tall plus the 18 mm one at the southeast corner — bridging the gap from the base up into the underside of the map, so the silhouette rides above its foot instead of sitting flush on it. All five posts are now 6 mm wide and 8 mm deep, which is what stops the map feeling like it is floating on pins. Nothing is engraved — the coastline, the monogram and the open gap under the map carry the whole design.
The coastline is drawn from about 60 points, so it is a simplified outline: the Gulf of Carpentaria and the southern gulfs are only roughly shaped. That is the first thing worth refining if a more faithful map is the goal.
Remix hooks
- Coastline resolution is the main dial. The outline currently uses about 60 points. Doubling that sharpens the gulfs and the Cape York tip; halving it gives a chunkier, more graphic shape that prints faster and hides small printer artefacts.
- The support posts are the easiest structural change. Five posts, 6 × 8 mm in section, stand at x = -45, -20, 5 and 30 (45 mm tall) plus x = 43 (18 mm tall) across the 112 mm base. Add more for a wider map, slim them back toward 3 mm if you want a lighter frame, or angle them inward so they read as a bracket.
- Base size sets the stance. At 112 × 30 mm it is a plain rectangular foot; widen it for stability on a narrow shelf, narrow it for a lighter look, or reshape it into a second outline so the piece stands on a matching map fragment.
- Letter size is free. The "3W" group is about 68 × 29 × 8 mm, centred on the map face. Scale it up for a bolder centrepiece or down to let more of the coastline read around it.
- Thickness is a choice, not a constraint. 10 mm for the map and 8 mm for the letters gives a solid, weighty piece; dropping both to 4–5 mm flattens it, while going thicker turns it into a bookend-sized block.
- Bring the island back, or don't. A separate Tasmania is a small extra part that can be printed alongside or re-added as a second hanging element; leaving it off keeps the mainland edge clean and gives the southeast corner its post.
- Swap the monogram. The format is any short letter pair, initials or number-and-letter mark raised on a country or region outline, so the same layout works for other maps and other names.
Starting values worth keeping in mind: 128 × 91 × 10 mm mainland map, 112 × 30 mm base block with four 45 mm posts and one 18 mm post, all 6 × 8 mm, and 68 × 29 × 8 mm letters.
Images
More like this
Explore more in Decor & Display →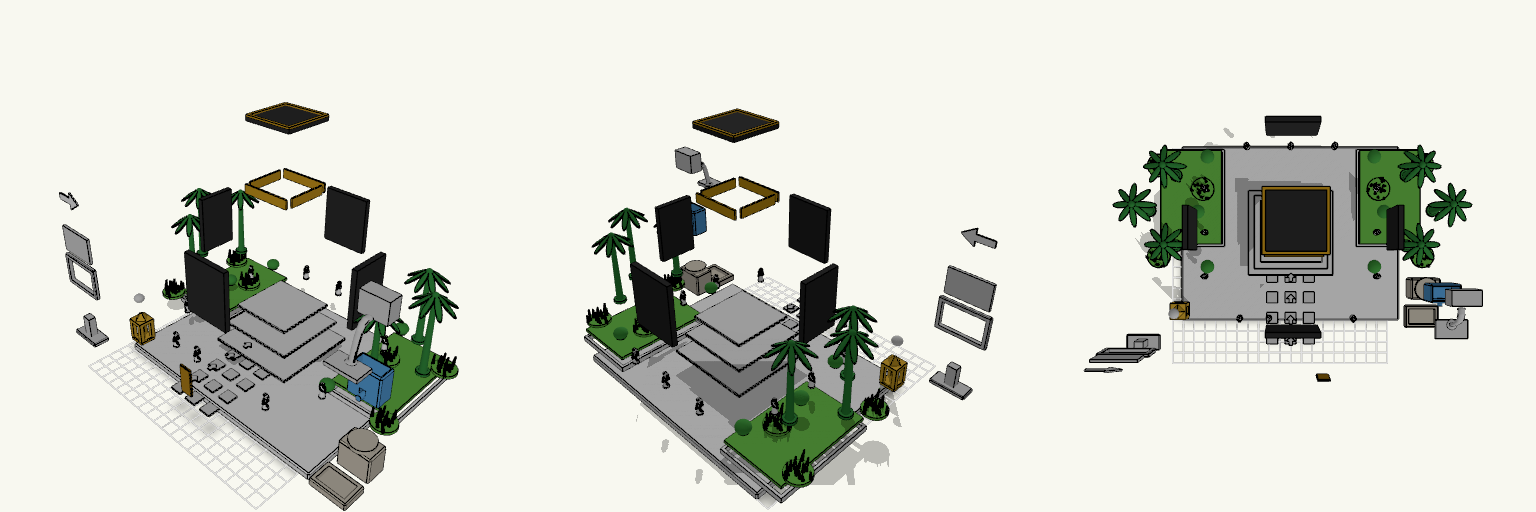
55كعبة مجزءة
Exploded miniature of a masjid scene with every component spread apart with visible gaps. Parts: white base, platform tiers, four black Kaaba walls, roof, door, gold bands, walkway tiles, arrows, palms, bushes, grass, pilgrims, Zamzam station, Maqam Ibrahim and blue sign parts. Layout: exploded only, no assembled copy. Export: the download is one file; separating individual parts happens outside this model.
Moldura quadrada para botão com ímã
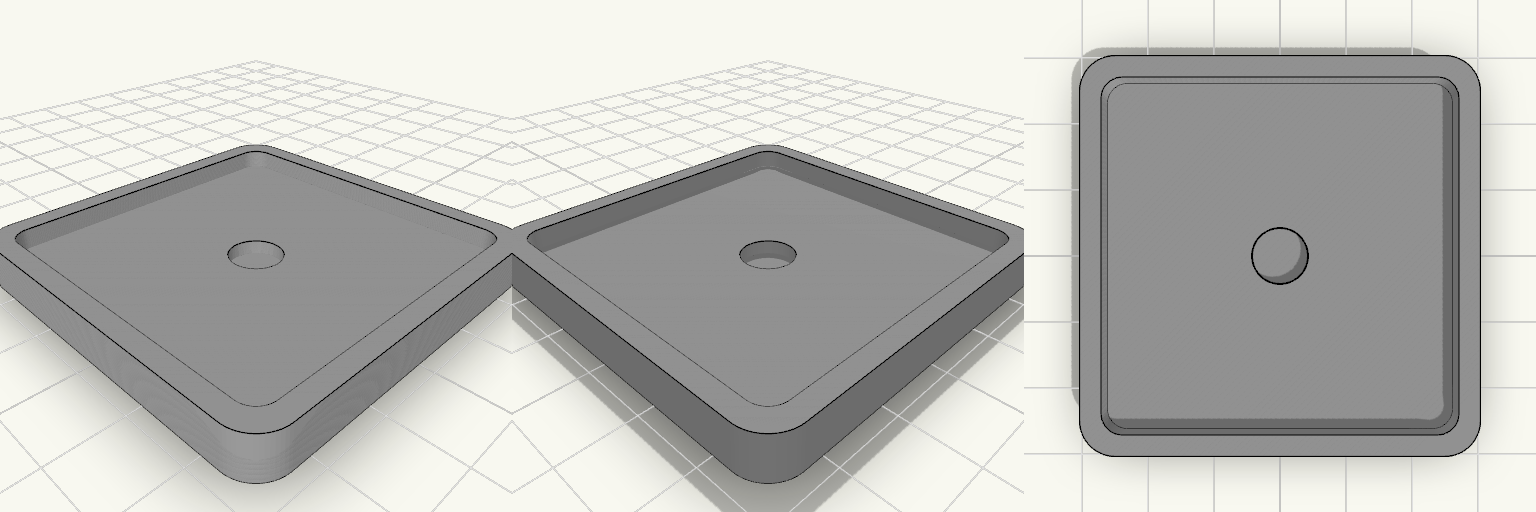
Moldura quadrada para um botão de 50,1 mm de lado, com encaixe de 3 mm de profundidade e cantos arredondados. A parede ao redor do encaixe tem 3 mm, resultando em 56,1 mm de lado externo e 6,5 mm de altura total. Um furo para ímã de 8×2 mm fica centralizado na face superior; na face inferior há quatro furos para ímãs de 5×2 mm, próximos aos cantos, posicionados a 21 mm do centro em X e em Y. A peça imprime em uma única parte. Encaixe: 50,1 × 50,1 mm, cantos arredondados, 3 mm de profundidade Dimensão externa: 56,1 × 56,1 mm; altura total: 6,5 mm Parede ao redor do encaixe: 3 mm Ímã central: furo de 8,2 mm de diâmetro × 2,1 mm de profundidade na face superior (ímã de 8×2 mm) Quatro furos na face inferior para ímãs de 5×2 mm: 5,2 mm de diâmetro × 2,1 mm de profundidade, a 21 mm do centro em X e em Y Folga dos furos: 0,2 mm no diâmetro e 0,1 mm na profundidade Impressão: uma peça única, sem suportes nos furos
Marco para fotos Instax Mini con imanes
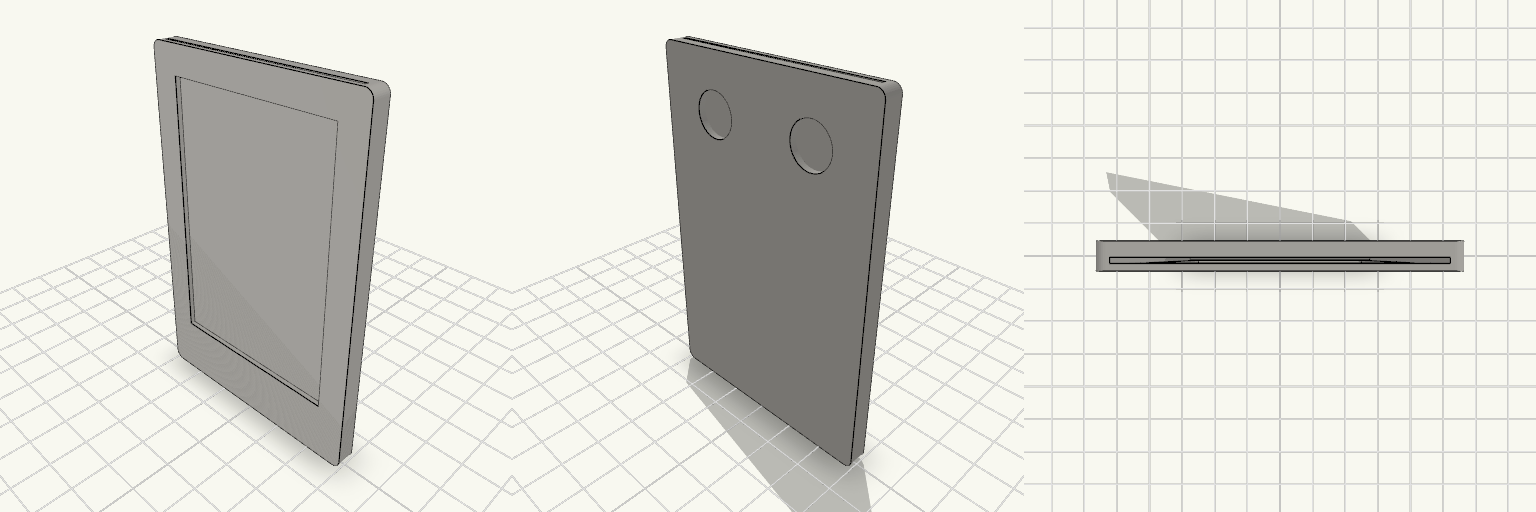
El marco para fotos Instax Mini evita que la foto se caiga de la nevera, se doble por una esquina o acabe pegada con cinta que deja residuo. La foto entra deslizándola por la abertura superior y queda en un bolsillo cerrado por abajo y por los lados; la trasera es una placa sólida, así que la ventana no la atraviesa y no se ve la foto por detrás. Dos imanes de neodimio en la cara trasera, en la parte superior, lo sujetan sin chinchetas ni cinta. El marco va en vertical y mide 60 × 90 mm en total, con 4,8 mm de grosor. La ventana deja un borde frontal inferior de 15 mm y uno superior de 7 mm: el inferior sigue siendo el ancho de una polaroid, pero el de arriba queda corto y la ventana se pasa 6 mm de la zona de imagen de la Instax (62 mm). Por ahí se verá algo más de la foto o de su borde blanco. Medidas que deciden el montaje Marco: 60 × 90 mm, 4,8 mm de grosor. Ventana frontal: 46 × 68 mm, centrada a lo ancho, a 15 mm del borde inferior y a 7 mm del superior. Bolsillo para la foto: cerrado, abierto solo por el borde superior; la foto de 53 × 86 mm entra deslizándola desde arriba. El bolsillo mide 54,6 mm de ancho. Paredes laterales: unos 2,7 mm. Trasera: placa sólida de 2,6 mm; la ventana no la atraviesa. Alojamientos de imán: 11 mm de diámetro y 1,8 mm de profundidad, separados 28 mm entre centros, con el centro a 14 mm del borde superior, en la cara trasera detrás de la zona de la ventana. Dejan 0,8 mm de plástico entre el imán y la foto. Para imprimir Necesitas dos imanes de neodimio de 8 × 1,5 mm y una gota de cianoacrilato para fijarlos. Con alojamientos de 11 mm, cada imán de 8 mm queda con 1,5 mm de holgura por lado; hay que pegarlo para que no se mueva. La holgura del bolsillo está calculada para que la foto entre deslizando; si la impresora aprieta las paredes, puede que entre justa. El marco se imprime como una sola pieza; los imanes se pegan después.
Pebbl — Aquarium Plant Weight
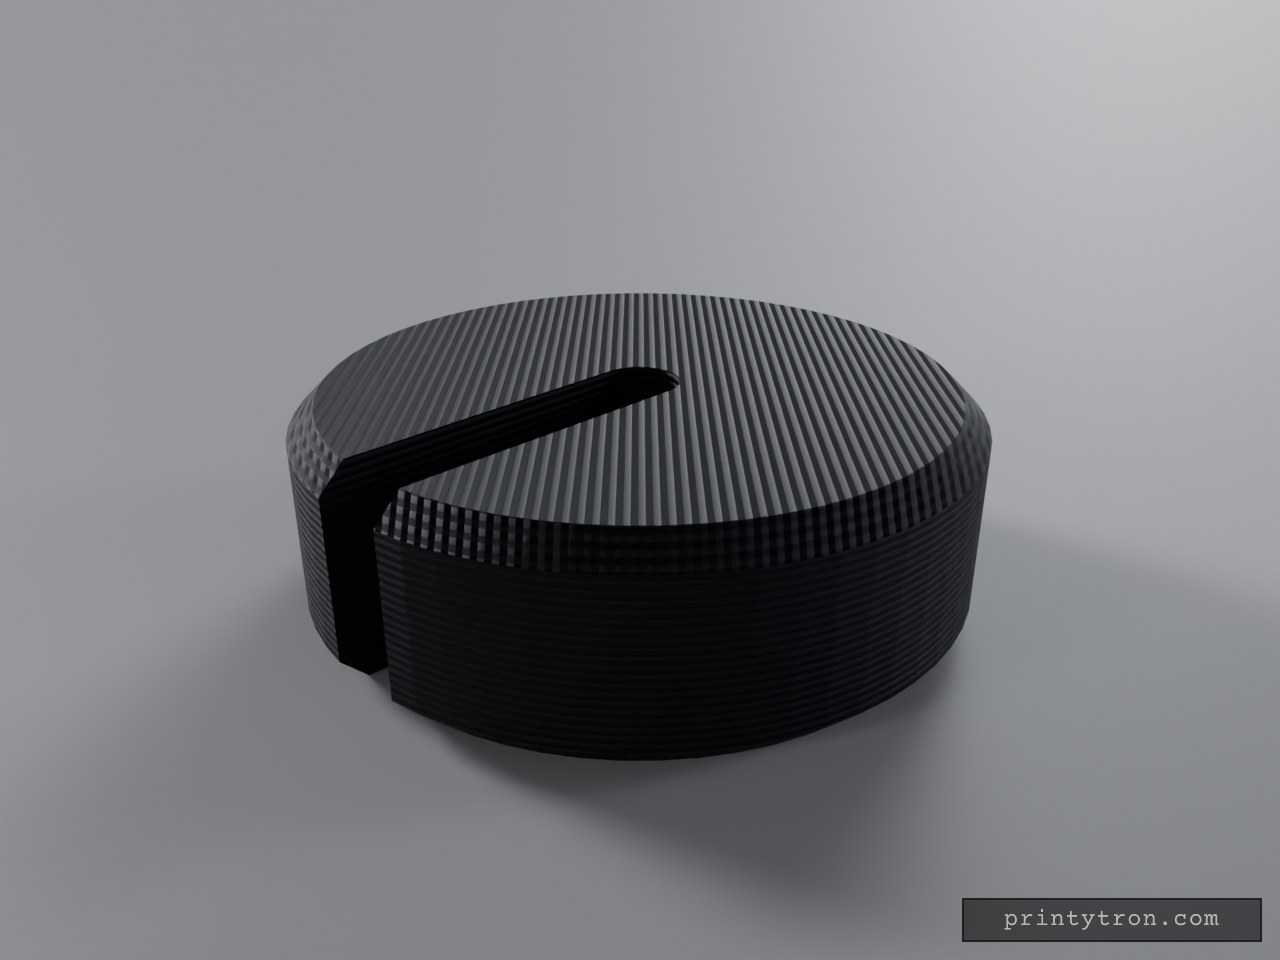
Pebbl is a small slotted disc that holds aquarium plant stems down in the substrate. The stem slides in through the open slot and seats in a rounded pocket at the centre, so the plant stays put without wire, glue or clips. The flat, compact profile sits low and is easy to bury under gravel or sand. Dimensions Diameter: 25 mm Thickness: 8 mm Slot width: 3 mm, running from one edge to the centre Edges: 1 mm chamfer on the top and bottom rims Slot end: rounded at the centre so a stem seats cleanly Print notes Prints flat on the build plate with no supports. PETG at high infill is a good choice for sinking weight. Plastic is light, so larger plants may need a thicker or wider disc. Use an aquarium-safe filament.
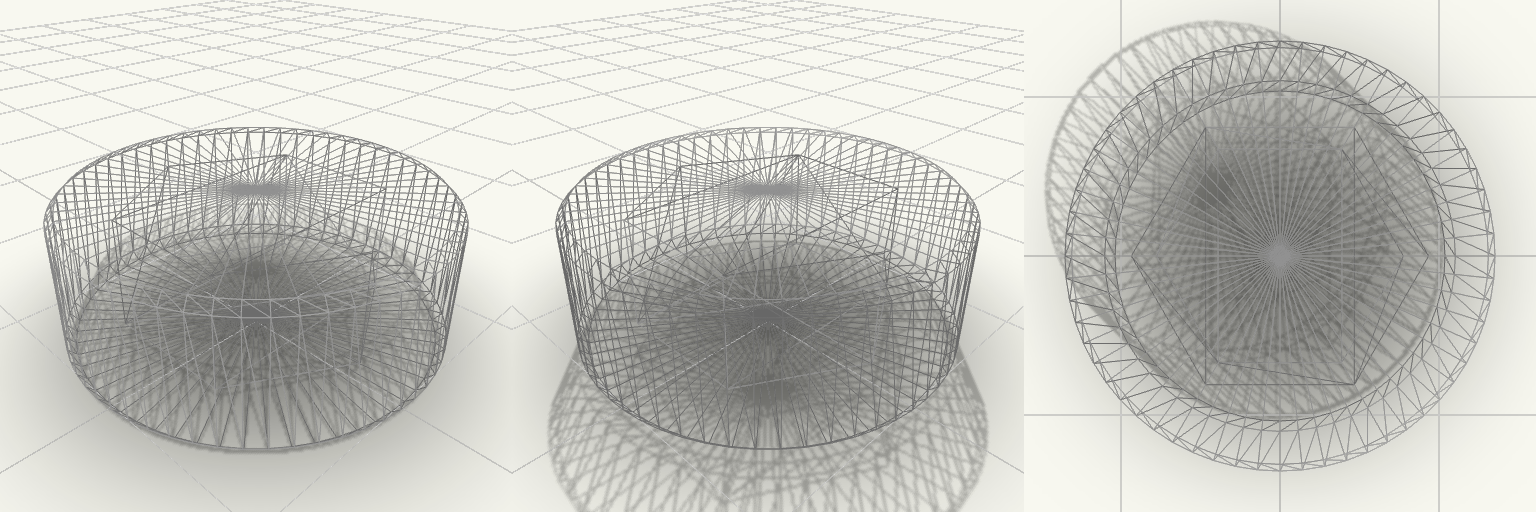
Backgammon Piece with Hidden Hexagon Cavity
What it's for A backgammon checker with a sealed hexagonal cavity hidden inside, suited to holding a small weight or token, or simply to being a hidden-feature piece. Dimensions Outer cylinder: 21.5 mm diameter, 8 mm tall, 0.5 mm edge chamfer Hidden hexagon: 13 mm across flats, 6.4 mm tall Cavity centred vertically, leaving 0.8 mm of material above and below Remix ideas Add a small weight (coin or steel washer) before sealing the cavity by pausing the print Change the cavity to a different shape, such as a star or circle Engrave a number or logo on the top face
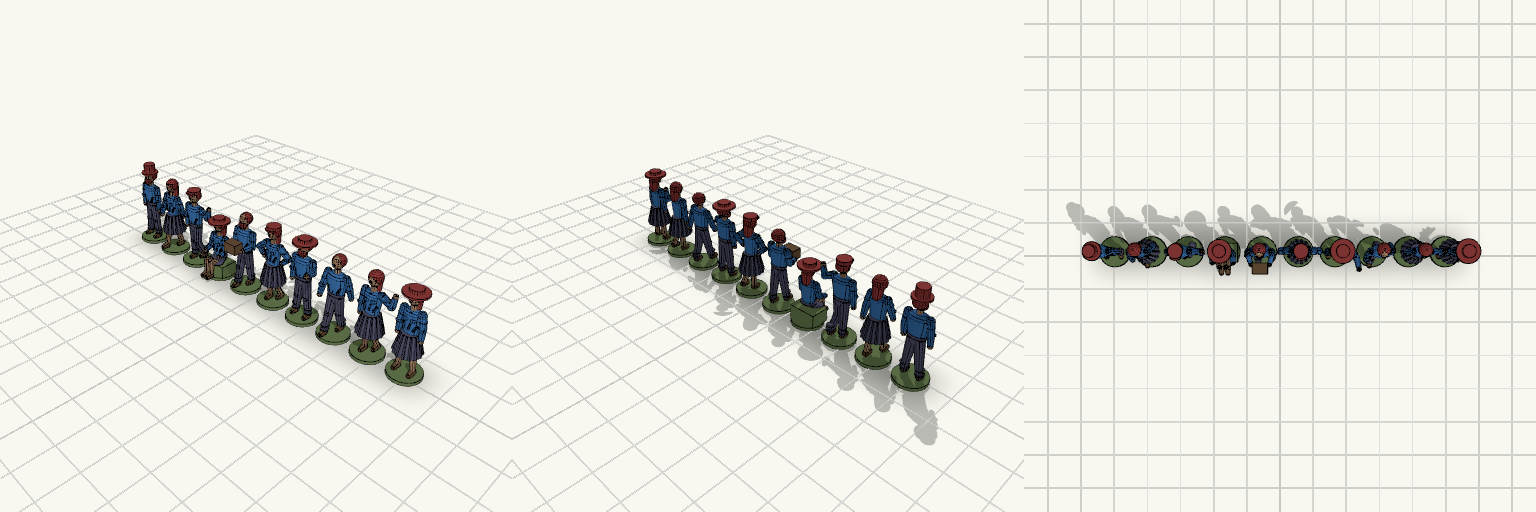
OO Scale Figures, 10 Poses with Folded Clothing
Ten standing, walking, waving, seated, carrying, hands-on-hips and pointing figures at OO scale (about 22 mm tall), each on a round 9 mm base. Clothing carries molded detail, and leg stances differ between figures. Clothing detail: pleated skirts, knee creases and ankle cuffs on trousers, belts, shirt wrinkles and sleeve folds. Stances: feet apart, one foot forward, or weight on one leg, plus walking and seated poses. Headwear and hair: flat cap, top hat, wide brim or bare head; long hair on women; beards on some men. Print notes: features under 1 mm suit resin or very fine FDM; print upright with a 0.1 mm layer height or finer.