Liftoff — Light Bar Clip Risers
Made by a Guest
Created today
Description
Liftoff is a pair of riser feet that shim the rear clip of a monitor light bar upward, so a bar that tilts down toward the user can sit level and aim at the desk instead of the eyes. Each foot is a flat 30 × 20 mm platform that lifts the clip 8 mm, with a short lip on the front edge that hooks over the top of a thick-bezel monitor and keeps the foot from sliding around.
A flat top was chosen over a sloped wedge: it raises the whole clip evenly, and the lip handles the positioning.
Dimensions
- Platform: 30 × 20 mm, 8 mm thick (clip lift)
- Hook lip: 2.5 mm thick, 12 mm drop below the platform
- Overall height per foot: 20 mm
- Quantity: 2 identical feet, spaced 10 mm apart in the layout
Features
- Front lip locates the foot on the monitor's top edge
- Chamfered top edges on the sides and back for a cleaner clip seat
- Chamfered lower lip edge for easier hooking
Print notes
- Print with the platform's flat back or side on the bed, or upright with the lip facing down, depending on the preferred strength direction
- The 12 mm lip drop is a starting value; adjust it to match the actual bezel thickness
- PETG or ABS is a good choice if the monitor top gets warm
Photos
Technical views
More like this
Explore more in Desk & Tech →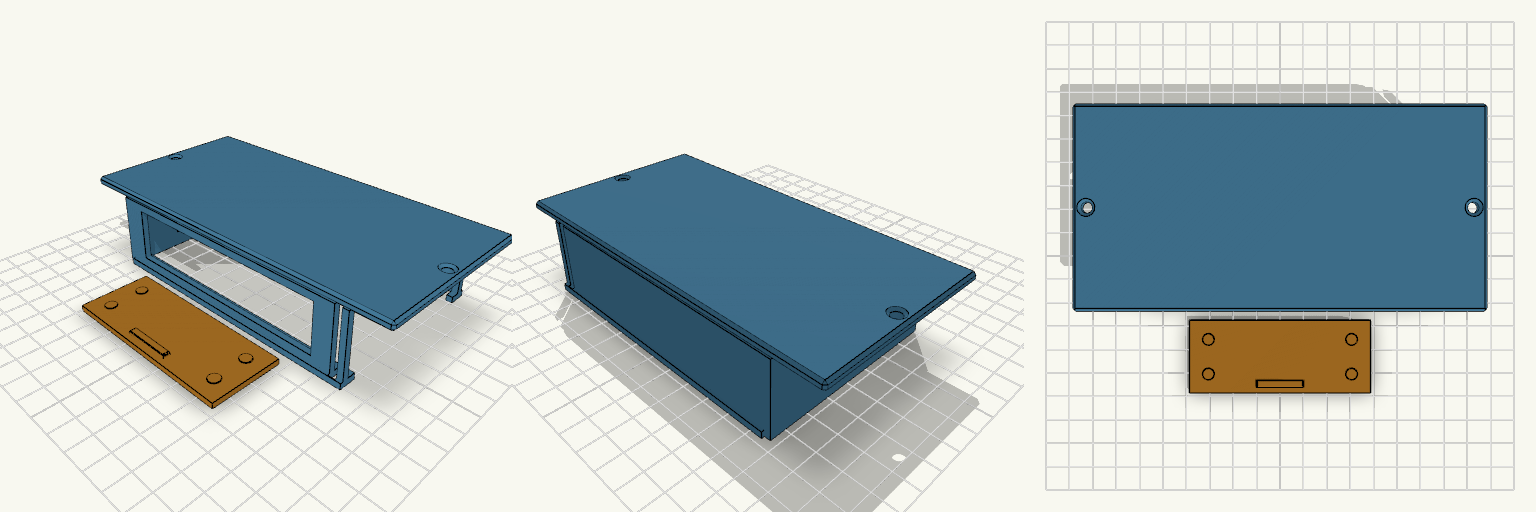
Under Desk Switch Mount With Cover
A Flex Mini 2.5G that sits loose in an under-desk bracket slides out the open end the first time someone bumps a cable. This mount screws to the desk underside and closes that end with a slide-in cover. Pocket: 110 × 72 × 28.5 mm, 5 mm bottom lips, wide port window in the front wall, cable slot in the -X end. Cover: 2.8 mm plate slides up into a 3.2 mm slot at the +X end. Four small bumps hold it by friction. Mounting: two countersunk screw ears on the top plate. Print: mount with the top plate face down; cover flat as laid out. No supports needed for the cover. Check the pocket size against your unit before printing.
Modular Voice Assistant Enclosure with Rotating Desk Dock
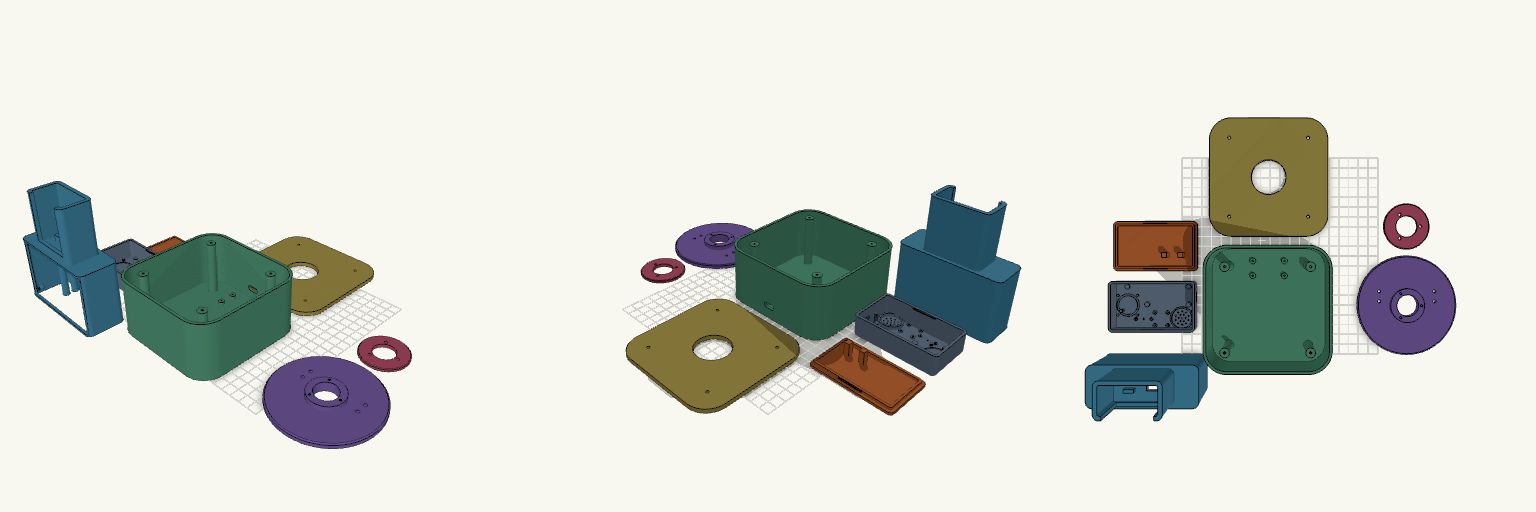
A two-part enclosure system for a modular AI voice assistant: a pocket-sized "Brain" that works on its own, and a desktop station that docks it, swivels a full 360° and carries a 3.5-inch touchscreen behind a removable bezel. Both halves share the same matte-black design language — rounded corners, smooth surfaces and 2–2.5 mm walls — and print as eight separate pieces. What it's for Brain — houses an ESP32-S3 N16R8 board, an INMP441 I2S microphone, a MAX98357A amplifier and a 20 mm speaker behind a grille. A circular LED ring glows through a 0.8 mm front skin for listening, thinking and speaking states; there is no display of its own. A USB-C port sits on the short end, and the unit runs standalone once lifted off the dock. Desk station — a weighted base with a bolted lid carries a swivel plate and the dock tower. The Brain drops into the tower pocket from above with its face still visible, and a USB-C plug cradle in the pocket floor lines up with the port. Display — the tower front takes a standard 98 × 56 mm touchscreen module in landscape, held on four M2 bosses and framed by a bezel that drops into a recess in the front face. Removing four screws frees the display for replacement, and a flat-cable slot below the opening routes the ribbon into the cavity. Rotation — the swivel plate's hollow stem passes through the lid, a retaining ring screws on underneath, and the cable runs down the centre of the stem, so the tower turns 360° without twisting the lead. Dimensions Brain: 85 × 50 × 25 mm overall, with a snap-fit rear cover. Desk base: 120 × 120 mm with 22 mm corner radii; base, lid and swivel plate stack to 65 mm. Dock tower: 104 × 40 × 119 mm, docking the Brain vertically above the display section. It overhangs the 100 mm swivel plate slightly at the front and rear corners. Display opening: 84 × 54 mm, with mounting bosses behind the wall at ±46 × ±25 mm and M2 pilot holes; bezel 100 × 60 × 2.5 mm. Walls: 2–2.5 mm throughout hollow cavities. Print notes Print the Brain shell face-down for a smooth front skin; the LED ring, microphone port and speaker grille all sit in that face. The rear cover snaps on with two bump-and-groove pairs along the long sides; pads on its inside hold the ESP32 down. The tower's internal floor and the display window bridge wide spans, so expect a little support in the dock tower only. Everything else is oriented to print without it. Print the bezel flat; it is a thin frame and needs no supports. PLA or PETG both work; four rubber-foot recesses under the base are worth filling. All eight pieces — Brain shell, rear cover, desk base, base lid, swivel plate, retaining ring, dock tower and display bezel — are separate. The lid bolts on at four corners and the display bezel screws in from the front. Compatibility The display bosses use M2 pilot holes; check your module's hole spacing before driving screws, since pinouts vary between boards. The dock pocket is sized for the Brain as drawn — if you change the Brain's shell, adjust the pocket in step. Remix ideas Lean the dock back a few degrees for a more natural viewing angle if you can accept the extra support. Swap the removable bezel for a blank panel or a vent if your build has no screen. Scale the docking pocket to fit a different companion device while keeping the same swivel mechanism.
Three-Piece Monitor Top Shelf with Rear Legs
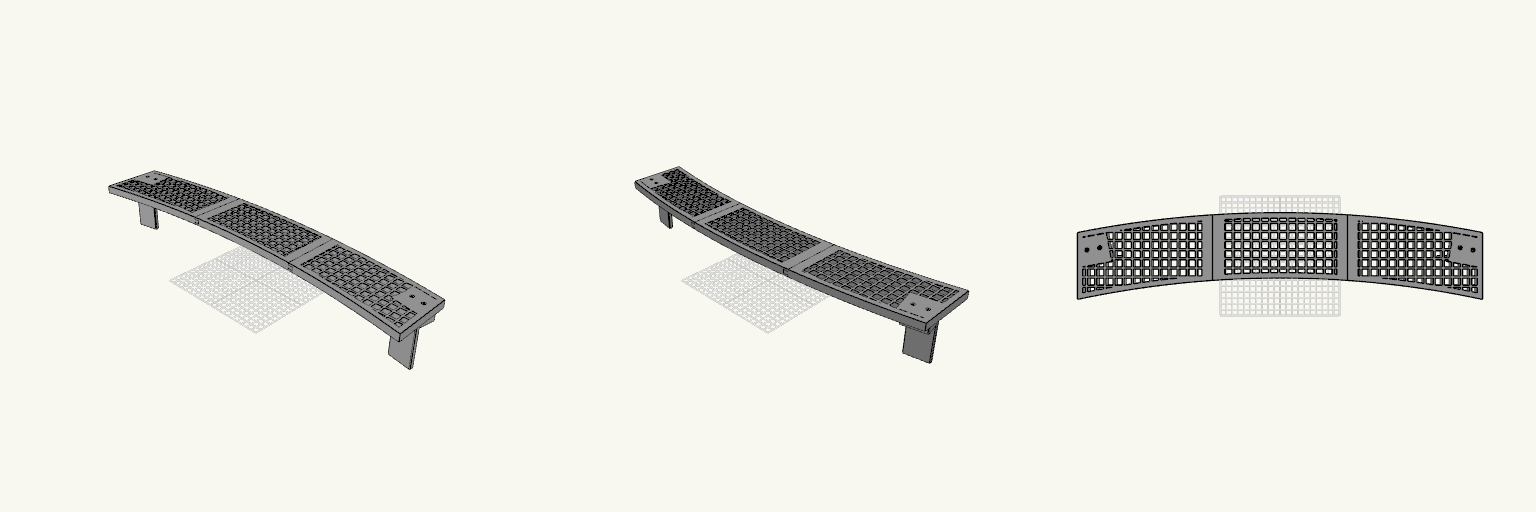
A three-section shelf that sits on the top edge of a 27-inch curved monitor and holds small items above the screen. The shelf follows a 1500R curve, so the ends sit about 32 mm further forward than the centre, and it measures about 620 mm wide by 100 mm deep when the sections are joined. Each section is sized to print on a 250 × 250 mm bed. The shelf surface is a mesh of 11 mm square openings with 3 mm bars on a 14 mm pitch. An 8 mm solid rim runs around the outer edge, and the mesh stops short of the dovetail joints and leaves a solid pad under each leg's screw area. The sections are 12 mm thick. The three sections join with sliding dovetails; slide them together from front to back. The joint has 0.3 mm clearance, giving a light push fit rather than a snap. The two rear legs are separate flat plates. Each leg drops 80 mm behind the monitor, presses against the back of the case, and fastens to the shelf with two M3×20 screws driven down from the top. The screw heads sit in recessed pockets and bite into 2.6 mm pilot holes in the leg tab. Four M3×20 screws are included in the model, two per leg, shown seated in their pockets. Each has a 5.5 × 3 mm head with a hex socket and a 3 × 20 mm shaft. The shafts are plain, with no modelled thread, so they will not cut a real thread in printed plastic — print them lying on their sides, then ream or tap the pilot holes, or substitute metal M3 screws. Small printed screws are fragile, so print a spare. Three shelf sections, each fits a 250 × 250 mm print bed Assembled width about 620 mm; shelf depth about 100 mm 11 mm square mesh openings with 3 mm bars Sliding dovetail joints with 0.3 mm clearance Separate left and right rear legs, 80 mm drop Two M3×20 screws per leg, recessed from the top Four printable M3×20 screws with hex sockets included Print shelf sections flat on the bed; print legs lying on their backs; print screws on their sides Dimensions are set for a 27-inch curved panel and are estimates rather than published monitor figures. The leg plates sit 51 mm behind the screen face, assuming a 40 mm monitor top. Measure your monitor's top edge and the gap to the back bulge before printing, and adjust if they differ.
Octobay — 5.25" to 3.5" Drive Cage
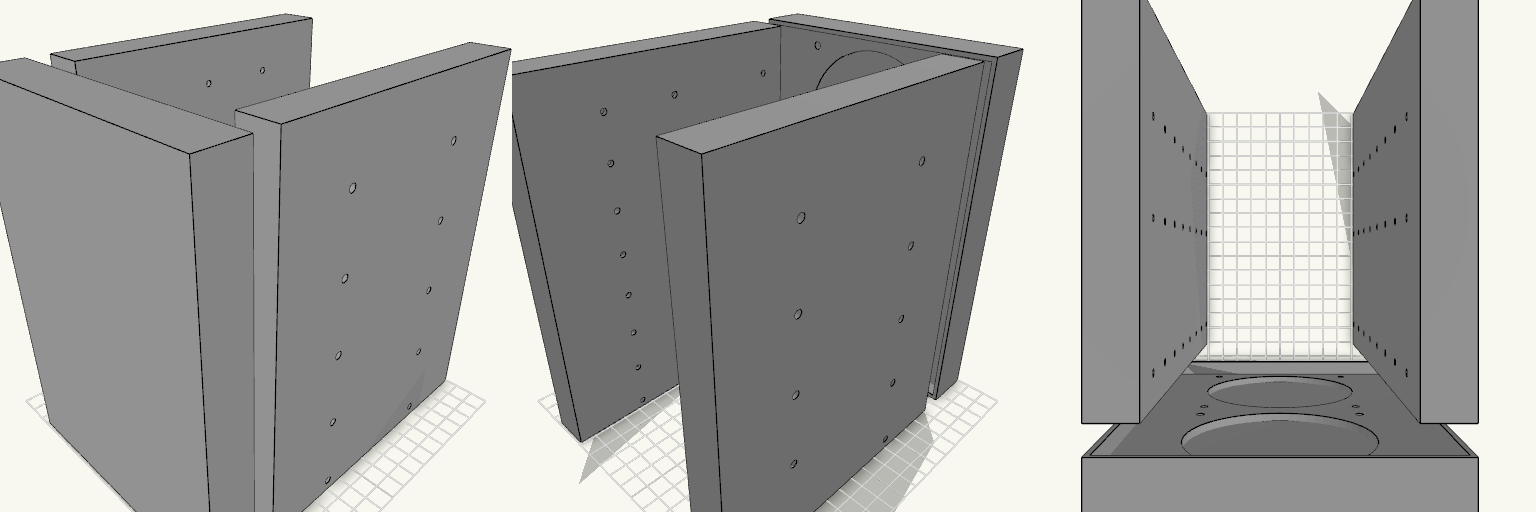
Octobay turns a five-bay stack of half-height 5.25" slots into room for eight 3.5" drives, and adds a 25 mm front cage that carries two 92 mm fans. The outer side faces take M3 heat-set inserts, so the whole cage screws into the case's 5.25" rails instead of resting on them. Everything is one printed part: the drive stack, the side mounting blocks and the fan cage print as a single body. Because the fans close off the front, drives now load from the back. The fan cavity behind the grille is hollow, so air still passes through to the drive stack. Dimensions Overall: 145 mm wide × 197.5 mm deep × 205.5 mm tall Fits: five half-height 5.25" bays Holds: eight 3.5" drives, stacked vertically Drive channel: 102.6 mm wide — 1 mm of play around a 101.6 mm drive Mounting 20 insert holes, 10 per side, for M3 heat-set inserts — 4.2 mm across and 6 mm deep Two insert holes per bay, at 41.3 and 117.5 mm from the front, 6.35 mm above each bay floor Solid blocks sit behind each hole to give the inserts something to bite into Three M3 screw holes per side per drive, at 14, 76.6 and 117.6 mm from the front Cross ribs sit clear of the screw holes so a screwdriver can reach every fastener Fan cage Two 92 mm fans, stacked vertically on the 25 mm front section 88 mm fan openings with 4.4 mm screw holes on the standard 82.5 mm square pattern Hollow cavity behind the fans feeds air to the drive channels Print notes Drive channels are open at the back, top and bottom, and the gaps between the inner and outer side walls are open for cable routing. Screw and insert positions and the 205.5 mm height follow common 5.25" bay standards; they have not been checked against a specific case, so measure your bay rails and drives before printing.
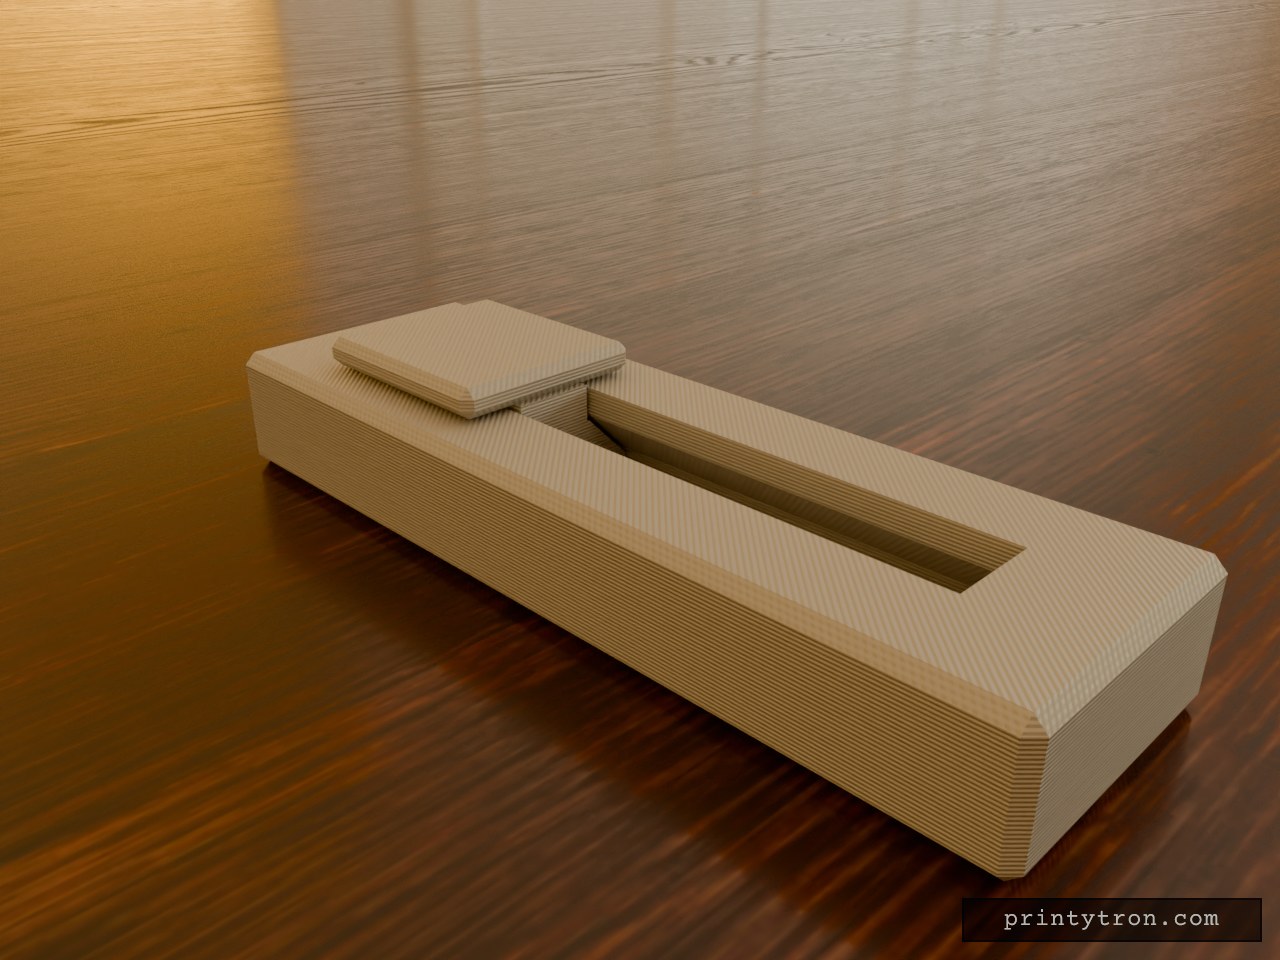
Fidget Slider Toy, Captive Print-in-Place
A fidget slider that prints already assembled, so there is no loose weight to lose and nothing to glue. The slider is captured in an enclosed dovetail track and cannot fall out. It runs 40 mm end to end and clicks at each stop instead of rolling freely. What it does Slides back and forth along a closed track in an 80 x 25 mm body. A small bump on the track floor at each end of travel drops into a dimple under the slider and gives the click. The dovetail profile holds the slider down, so it cannot lift out of the rails. Numbers that matter Body: 80 x 25 x 11 mm, with the slider top reaching 14 mm. Slider: 20 mm long, 18 mm wide cap. Travel: 40 mm. Clearance between slider and track: 0.4 mm per side. This is what lets it move after printing. Click bump: about 0.6 mm of interference against the 0.4 mm gap. Reduce the bump height if it feels too stiff. Printing Print flat, body base down, with no supports needed inside the track. Use a well-tuned printer. A 0.4 mm gap fuses easily if the flow is too high. After printing, work the slider back and forth a few times to break any thin bridging between the slider and the rails. Two colours show as separate parts in the preview, but the print is one job.
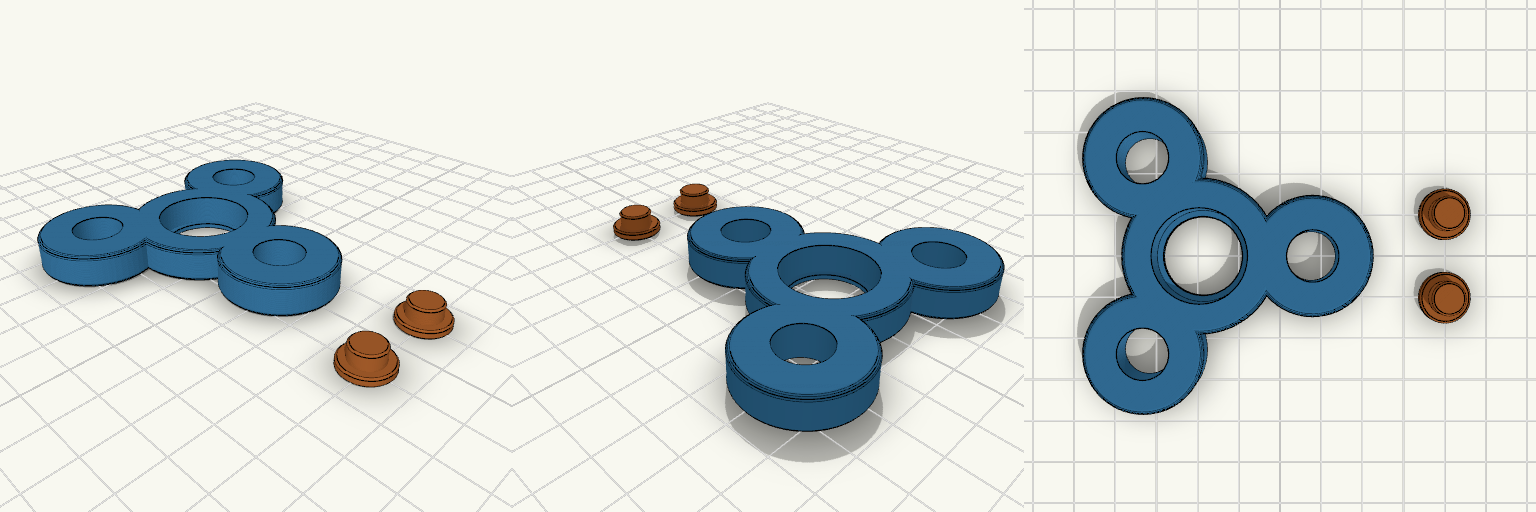
Bearing-Driven Tri-Lobe Fidget Spinner
A classic three-lobe hand spinner, the shape every desk drawer has seen, rebuilt around a real 608 skate bearing so it spins freely for a long time. The body has a bearing pocket in the centre, a lip underneath to hold it, and weight-saving holes in each lobe. Two small caps press into the bearing's inner ring from either side to make the finger pads. Notes You need: one 608 bearing (8 × 22 × 7 mm). Print: body flat; the two caps print flat-side down beside it. No supports. Assembly: press the bearing into the pocket from the top, then push one cap in from each side until they meet. Tuning: if the bearing is loose or tight in the pocket, adjust the pocket diameter slightly. Remix: the lobe holes can be enlarged to take 608 bearings as extra weights.