RPG Desk Plaque
Created 1 months ago
Description
A sturdy desk sign featuring the word RPG, flanked by two RPG-7 launcher silhouettes pointing inward.
- Dimensions: 160 mm wide, 50 mm deep, 9 mm tall.
- Printing: The base plate is 5 mm thick, with the launchers and text protruding an additional 4 mm. You can capture both the text and the weapons with a single filament swap at 5 mm.
Images
More like this
Explore more in Decor & Display →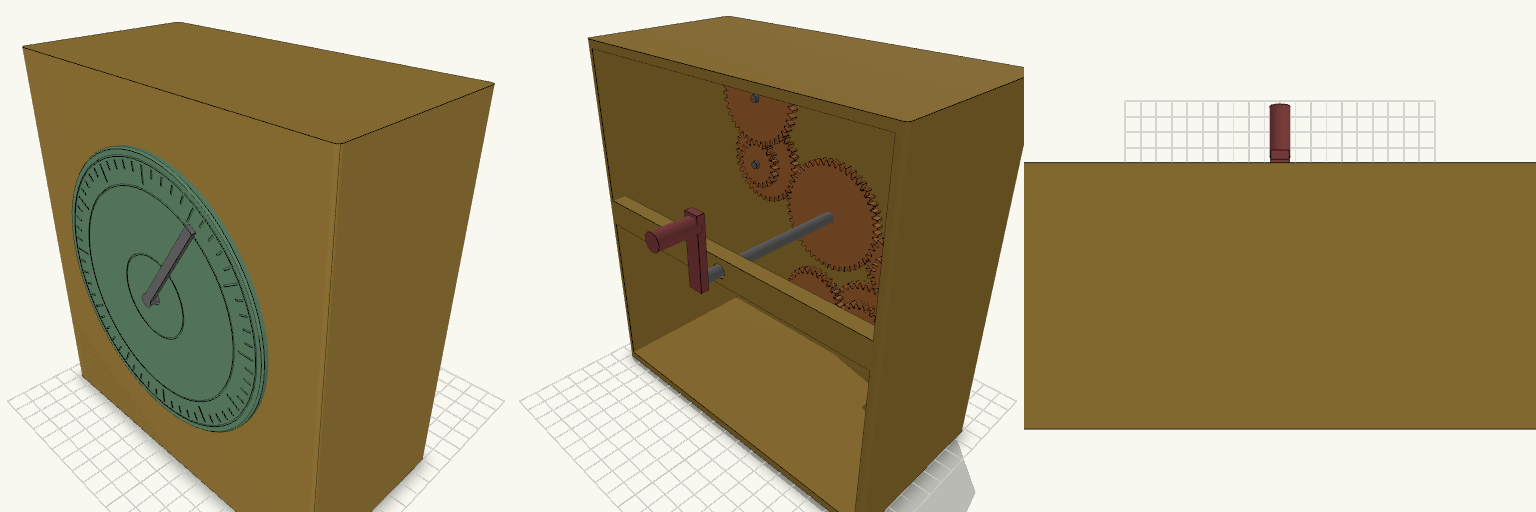
Antikythera Mechanism Desk Model
A simplified, life-size-style display model of the Antikythera mechanism: an upright case with a round front dial, a pointer, an open-backed gear train and a rear hand crank. Case 180 x 90 x 190 mm, open at the back to show the gears 130 mm front dial with ring grooves and 60 tick marks Nine spur gears (20 to 48 teeth, module 1.25) arranged in three layers, with phase-matched teeth so they mesh Fixed 4 mm pegs on the front wall carry the compound gears; the main 48-tooth gear is fused to a 6 mm axle that drives the front pointer Rear bearing bar supports the axle, with a crank handle on the back The gear train is a stylised interpretation, not a tooth-accurate copy of the original 30-plus gear mechanism. Print the case, dial, gears, axle and crank separately; the compound gears sit loose on their pegs with 0.3 mm clearance.
55كعبة مجزءة
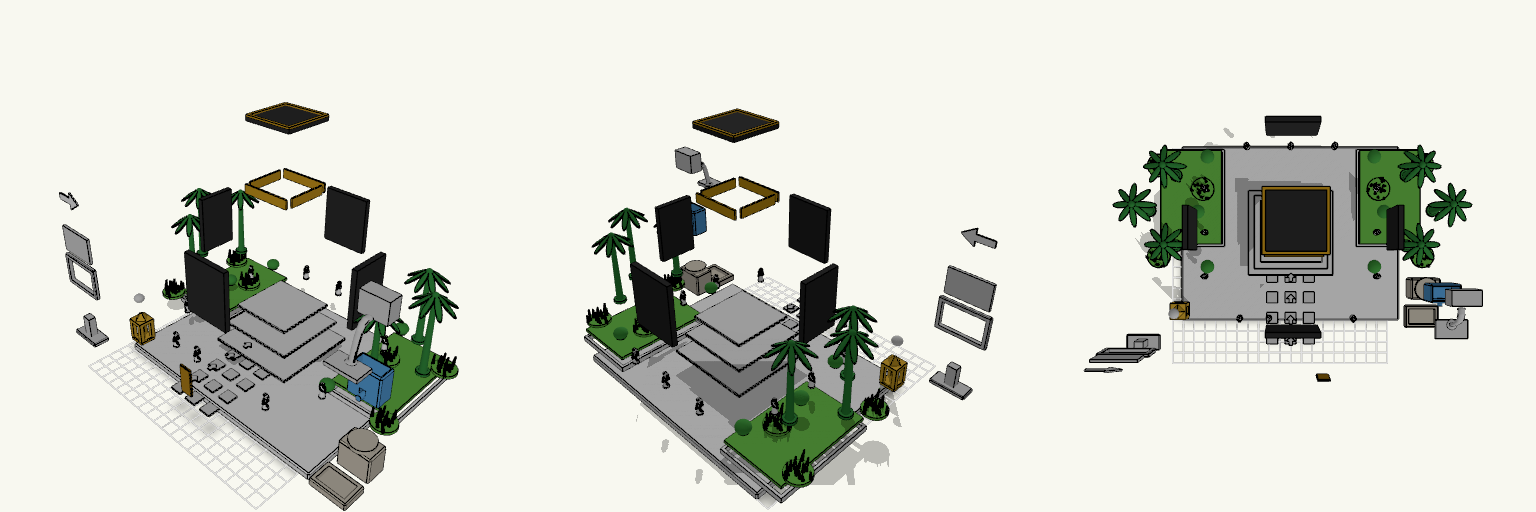
Exploded miniature of a masjid scene with every component spread apart with visible gaps. Parts: white base, platform tiers, four black Kaaba walls, roof, door, gold bands, walkway tiles, arrows, palms, bushes, grass, pilgrims, Zamzam station, Maqam Ibrahim and blue sign parts. Layout: exploded only, no assembled copy. Export: the download is one file; separating individual parts happens outside this model.
Miniature Suitcase with Handle, Wheels and Weight Display
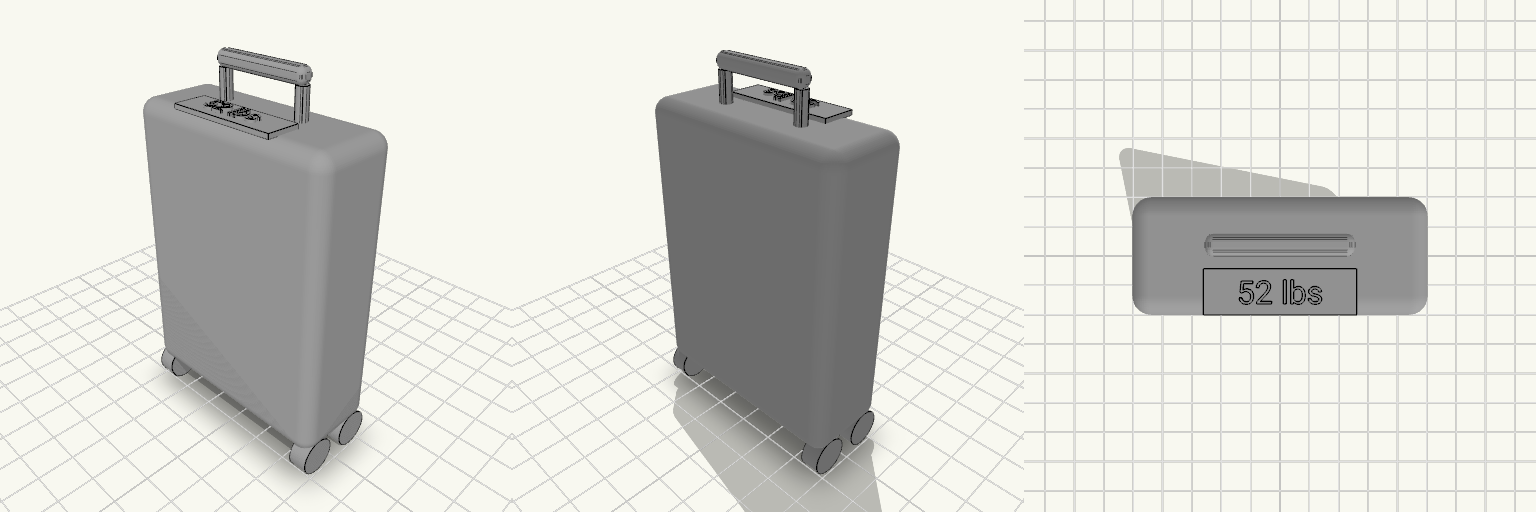
What it's for A miniature suitcase standing upright on four sideways-mounted wheels, with a pull handle on top and a small thin scale plate set into the top face just in front of the handle. The plate carries a raised readout of 52 lbs, so the piece reads as a luggage scale at a glance. It works as a small desk ornament, a travel-themed display piece, or a scale prop for a dollhouse or diorama. The whole thing is one plain neutral finish, with no colour coding or recessed front screen. Dimensions Overall footprint: 60 × 24 × 100 mm (width × depth × height, as it sits on the print plate) Wheels: mounted sideways, axles running across the width of the case, so the body rests on them Weight plate: a small thin panel on the top face, in front of the handle Readout: raised 52 lbs lettering, picked as a believable airline-limit weight — say if you want a different figure Print notes The model prints as a single piece lying on its wheels, so no supports are needed under the body. The raised readout is small — a 0.4 mm nozzle with fine layer heights keeps the digits and the "lbs" legible, and a 0.25 mm nozzle gives crisper text. The thin top plate is shallow, so check that your bridging over that area is clean. Remix ideas Change the readout to a different weight, or leave the plate blank for a custom label. Swap the handle for a telescoping version, or add corner guards to the body. Scale the case up to hold small items, or down to keyring size. Finish A single neutral colour suits the plain, serious look — the design relies on shape and the raised text rather than colour contrast, so any filament works.
OO Scale Station Set with Sack Trucks
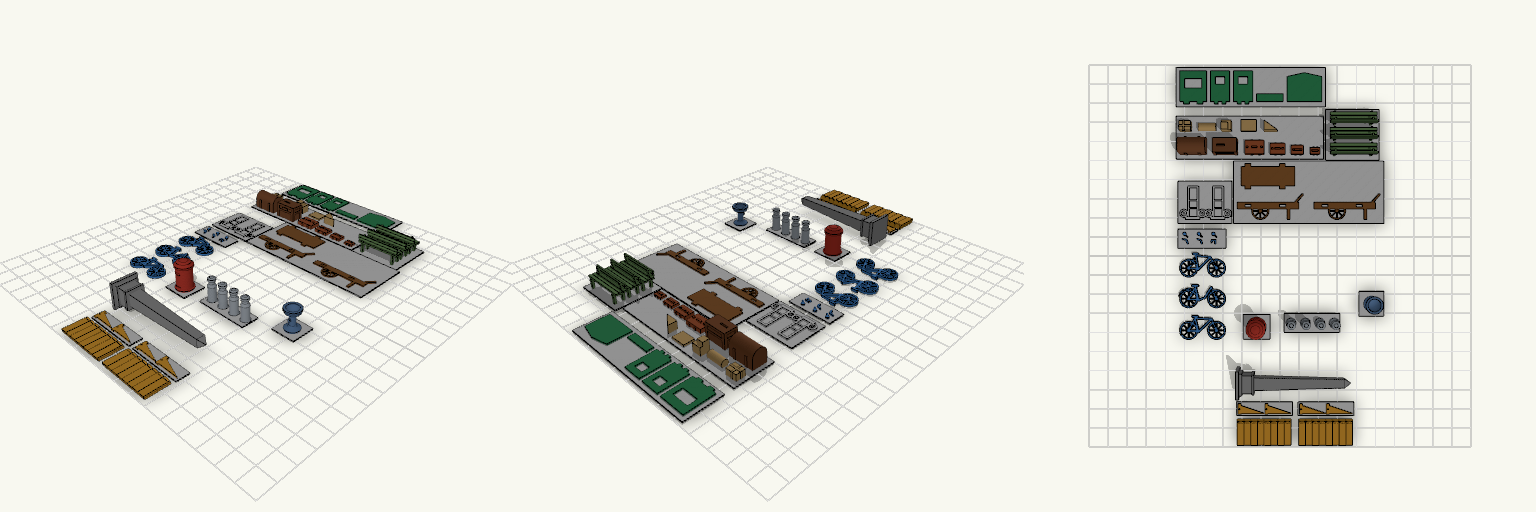
An OO-scale railway station accessory set printed on one plate, with webs joining the grouped items. The set includes bicycles, a postbox, an obelisk, shop canopies with brackets, a flat-pack barrow, milk churns, luggage, a newspaper kiosk, benches, a drinking fountain and two sack trucks. Sack trucks: two flat 1.2 mm silhouettes, each about 10 mm wide and 17 mm tall, with a toe plate, crossbars and two wheels. Web: 0.4 mm sheet shared by both trucks, left of the barrow. Printing: thin parts need a fine FDM or resin printer.
Moldura quadrada para botão com ímã
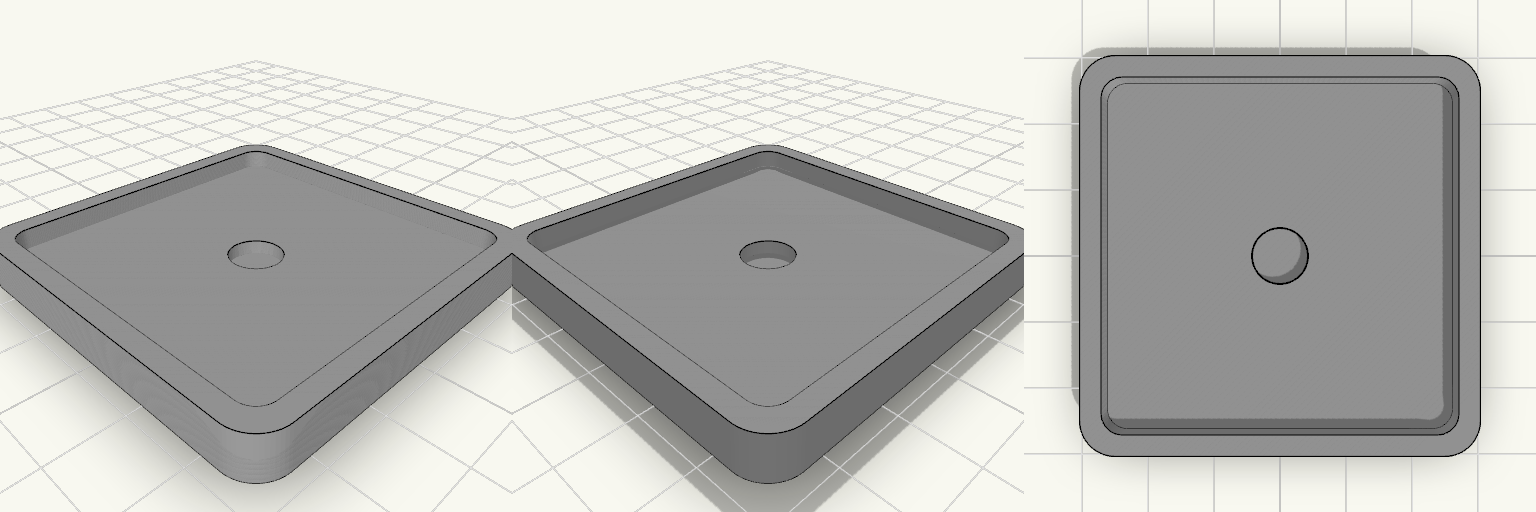
Moldura quadrada para um botão de 50,1 mm de lado, com encaixe de 3 mm de profundidade e cantos arredondados. A parede ao redor do encaixe tem 3 mm, resultando em 56,1 mm de lado externo e 6,5 mm de altura total. Um furo para ímã de 8×2 mm fica centralizado na face superior; na face inferior há quatro furos para ímãs de 5×2 mm, próximos aos cantos, posicionados a 21 mm do centro em X e em Y. A peça imprime em uma única parte. Encaixe: 50,1 × 50,1 mm, cantos arredondados, 3 mm de profundidade Dimensão externa: 56,1 × 56,1 mm; altura total: 6,5 mm Parede ao redor do encaixe: 3 mm Ímã central: furo de 8,2 mm de diâmetro × 2,1 mm de profundidade na face superior (ímã de 8×2 mm) Quatro furos na face inferior para ímãs de 5×2 mm: 5,2 mm de diâmetro × 2,1 mm de profundidade, a 21 mm do centro em X e em Y Folga dos furos: 0,2 mm no diâmetro e 0,1 mm na profundidade Impressão: uma peça única, sem suportes nos furos
Marco para fotos Instax Mini con imanes
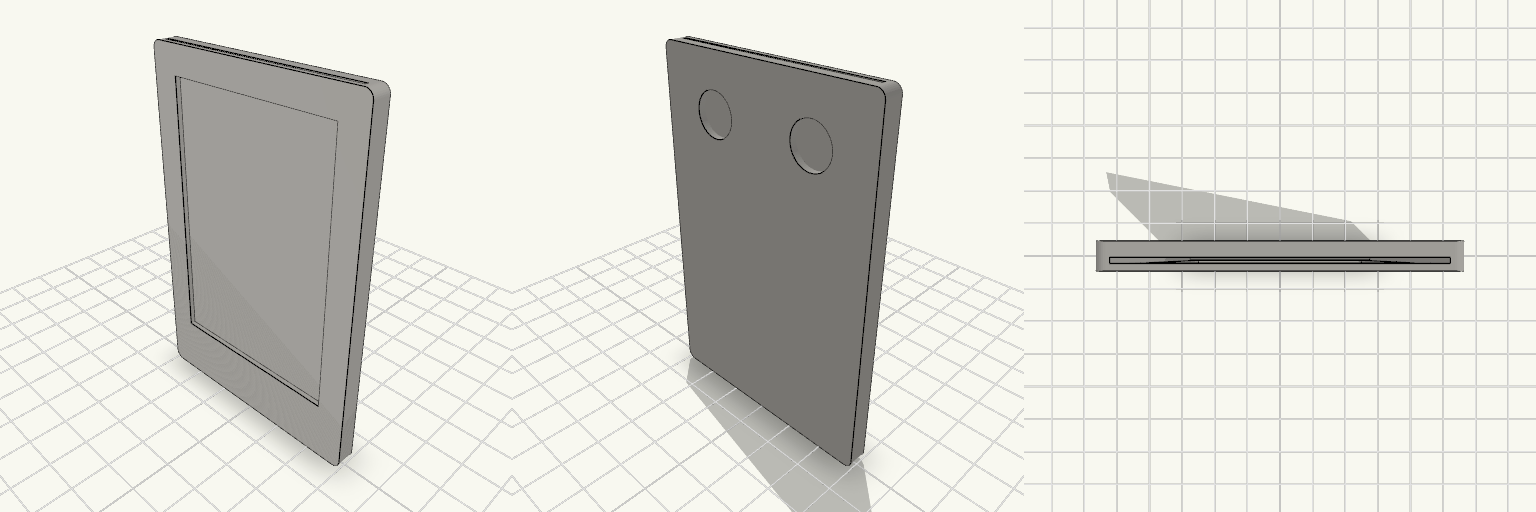
El marco para fotos Instax Mini evita que la foto se caiga de la nevera, se doble por una esquina o acabe pegada con cinta que deja residuo. La foto entra deslizándola por la abertura superior y queda en un bolsillo cerrado por abajo y por los lados; la trasera es una placa sólida, así que la ventana no la atraviesa y no se ve la foto por detrás. Dos imanes de neodimio en la cara trasera, en la parte superior, lo sujetan sin chinchetas ni cinta. El marco va en vertical y mide 60 × 90 mm en total, con 4,8 mm de grosor. La ventana deja un borde frontal inferior de 15 mm y uno superior de 7 mm: el inferior sigue siendo el ancho de una polaroid, pero el de arriba queda corto y la ventana se pasa 6 mm de la zona de imagen de la Instax (62 mm). Por ahí se verá algo más de la foto o de su borde blanco. Medidas que deciden el montaje Marco: 60 × 90 mm, 4,8 mm de grosor. Ventana frontal: 46 × 68 mm, centrada a lo ancho, a 15 mm del borde inferior y a 7 mm del superior. Bolsillo para la foto: cerrado, abierto solo por el borde superior; la foto de 53 × 86 mm entra deslizándola desde arriba. El bolsillo mide 54,6 mm de ancho. Paredes laterales: unos 2,7 mm. Trasera: placa sólida de 2,6 mm; la ventana no la atraviesa. Alojamientos de imán: 11 mm de diámetro y 1,8 mm de profundidad, separados 28 mm entre centros, con el centro a 14 mm del borde superior, en la cara trasera detrás de la zona de la ventana. Dejan 0,8 mm de plástico entre el imán y la foto. Para imprimir Necesitas dos imanes de neodimio de 8 × 1,5 mm y una gota de cianoacrilato para fijarlos. Con alojamientos de 11 mm, cada imán de 8 mm queda con 1,5 mm de holgura por lado; hay que pegarlo para que no se mueva. La holgura del bolsillo está calculada para que la foto entre deslizando; si la impresora aprieta las paredes, puede que entre justa. El marco se imprime como una sola pieza; los imanes se pegan después.