Semi-Circle Tealight Arc
Created 1 months ago
Description
A streamlined semi-circular base holding six standard tealight candles, arranged in a smooth 180-degree arch.
- Fitment: Standard 40mm tealights (pockets are 41.5mm diameter by 12mm deep for an easy fit).
- Footprint: Spans roughly 170mm edge-to-edge.
- Printability: Flat base and chamfered geometry designed to print beautifully with no supports.
Images
More like this
Explore more in Decor & Display →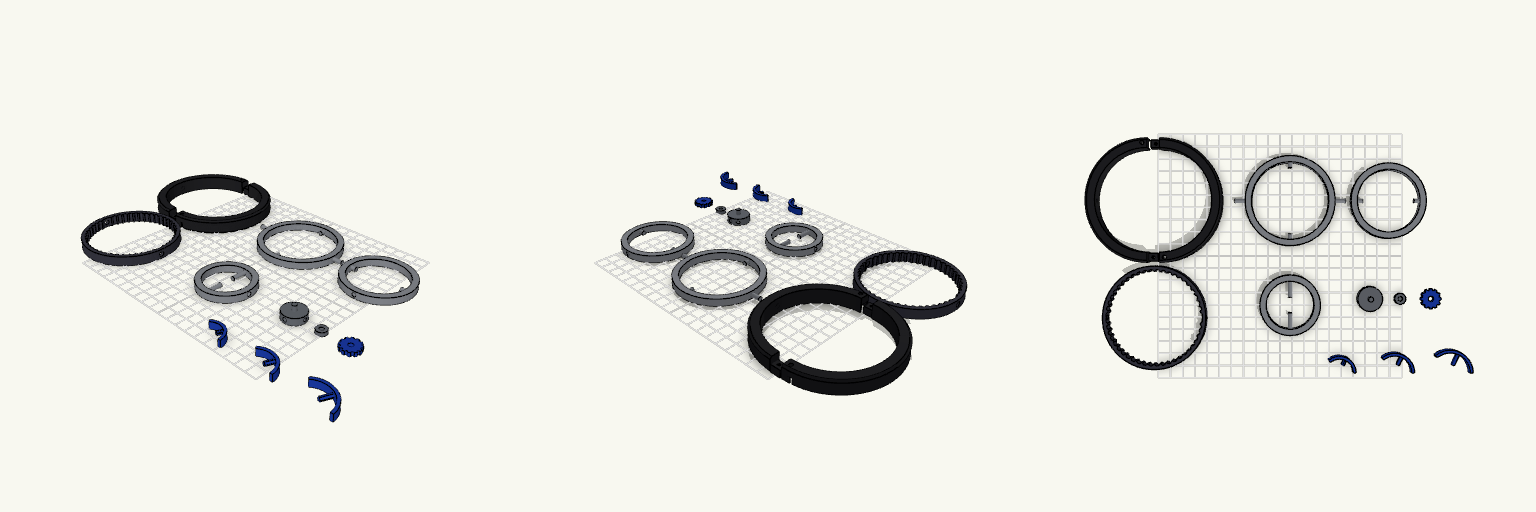
Modular Orrery Kit, 100 mm, 12 Parts
A 12-piece kit for a 100 mm gimbal-ring orrery, laid out as separate parts. Each part lies flat on the build plate, so no support is planned for any of them. The parts are not joined to each other. The frame is split into two halves joined by offset tabs and M3 screws. The three silver rings pivot on integral pins that seat in blind sockets in the neighbouring part. The hub carries three blue arcs and a blue gear held by a cap. Parts Frame halves (2): dark, 100 mm outer diameter, 12 mm deep, 84 mm bore. Each has a pivot socket and tab-and-pocket joints. Gear ring (1): 48 positions with the two pivot positions left empty, 83.6 mm outer diameter, 8 mm deep. It is decorative and meshes with nothing. Silver rings (3): 73 mm, 61 mm and 49 mm outer diameter, 6 mm thick. They are nested and joined by 3.6 mm pins in 4.0 mm sockets. Hub (1) and cap (1): 20 mm hub with a 4 mm boss. Blue arcs (3): 130° arcs at different radii. Each swings on its own 3 mm pin. Blue gear (1): 12 teeth, 4.4 mm bore, held on the hub boss by the cap. Assembly order Seat the gear ring in one frame half. Insert the outer ring pins through the gear ring into the frame sockets. Close the second half and fasten the two joints with M3 screws, with the 2.6 mm pilot holes in the tabs as the thread. Press the inner rings together from outside in, then fit the hub, arcs, gear and cap. Notes Print time is not estimated and the 120-minute limit is not verified. Clearances and movement are untested. Arc swing is not limited, so an arc can hit the ring pins. The blue gear has no mating gear.
Pebbl — Aquarium Plant Weight
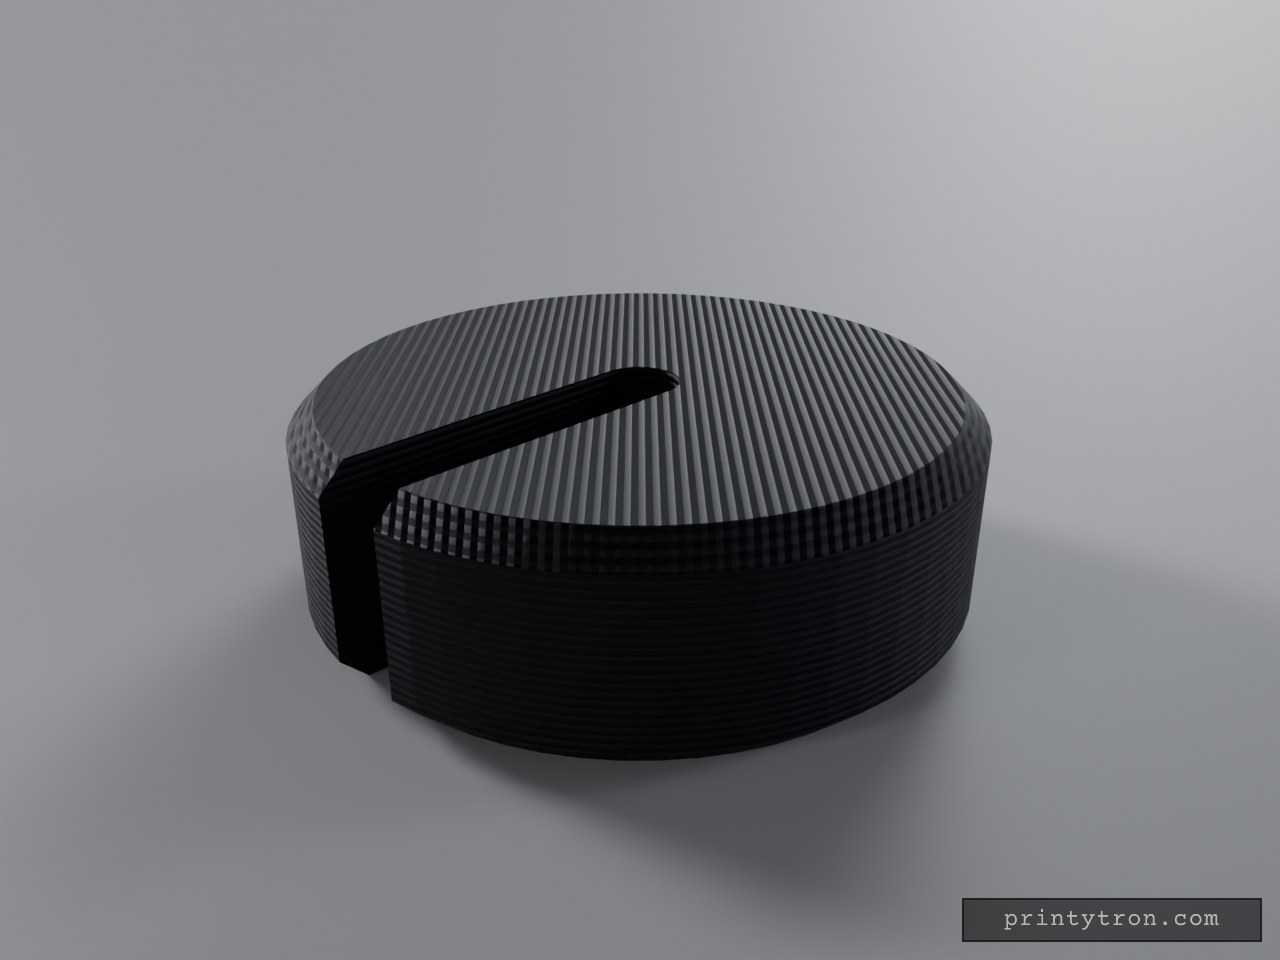
Pebbl is a small slotted disc that holds aquarium plant stems down in the substrate. The stem slides in through the open slot and seats in a rounded pocket at the centre, so the plant stays put without wire, glue or clips. The flat, compact profile sits low and is easy to bury under gravel or sand. Dimensions Diameter: 25 mm Thickness: 8 mm Slot width: 3 mm, running from one edge to the centre Edges: 1 mm chamfer on the top and bottom rims Slot end: rounded at the centre so a stem seats cleanly Print notes Prints flat on the build plate with no supports. PETG at high infill is a good choice for sinking weight. Plastic is light, so larger plants may need a thicker or wider disc. Use an aquarium-safe filament.
Wall-Mounted Running Medal Holder
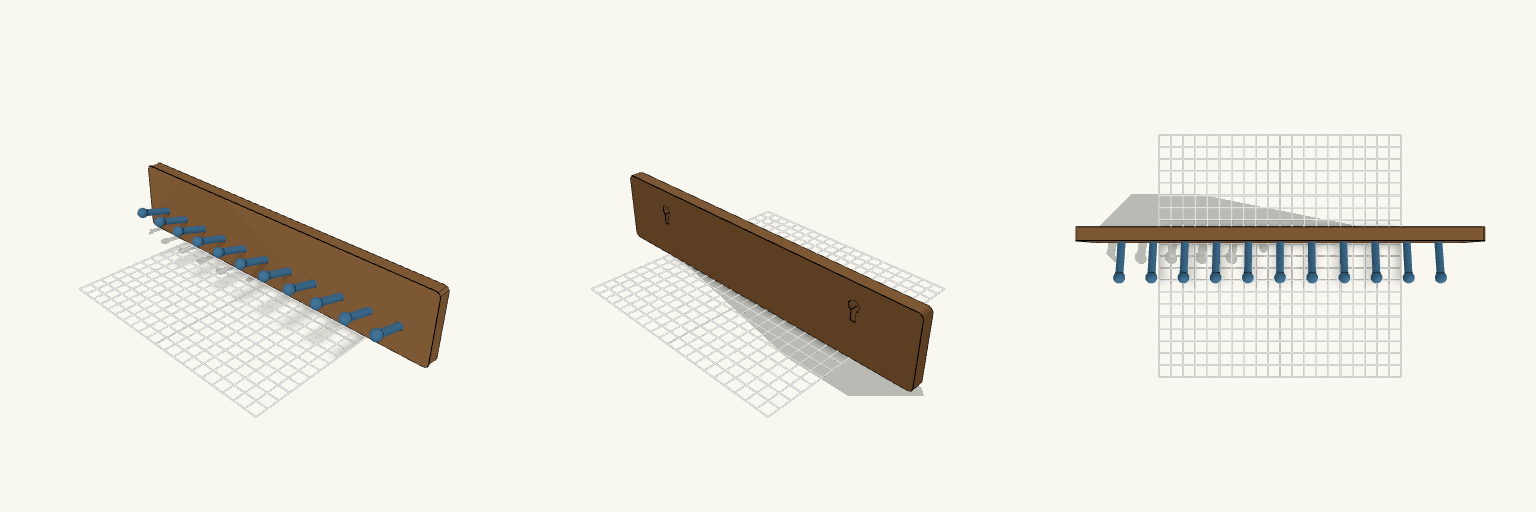
What it's for A wall-mounted rack for displaying running medals. Each ribbon slides onto one of eleven angled prongs that project from a flat backboard, so medals hang in a neat row and stay visible instead of ending up in a drawer. The prongs tilt up and finish in a ball tip, which holds the strap in place once it is looped on. The backboard is left plain above the prongs, giving the row of medals a clean edge to hang against and keeping the silhouette simple to print. The front face is completely smooth — the hanging slots are cut only into the back, so no holes or screw heads show through the display side. Dimensions Backboard: 300 mm wide × 60 mm tall × 10 mm deep Medal prongs: 11 prongs at 25 mm spacing, each reaching 30 mm out from the backboard at a 15° upward tilt, with ball tips Hanging slots: two keyhole pockets cut 6 mm into the back, 200 mm apart, leaving 4 mm of solid material at the front Prong spacing is the number worth checking against your own medals — wide straps need more room between prongs, and the spacing can be opened up if yours run thick. Roughly 10 to 15 medals fit across the 300 mm board. Print notes Prints as one piece; no assembly required. Lay the backboard flat on the plate so the prongs build up in front of it. The tilt keeps them self-supporting, so no supports are needed. Because the slots are stopped short of the front, the screw heads sit recessed in the back rather than passing through the board. Two wall screws 200 mm apart carry the holder. Remix ideas Widen the backboard to 400 or 500 mm and add prongs for a larger collection. Add a second row of prongs below the first to stagger medals in two tiers. Add a raised name plate or a finish-line banner along the plain top edge using the same prong layout. Materials Rigid filament is the better choice here; the prongs carry real weight and a soft or flexible material will let them droop.
Flat-Pack OO Scale Corrugated Garage
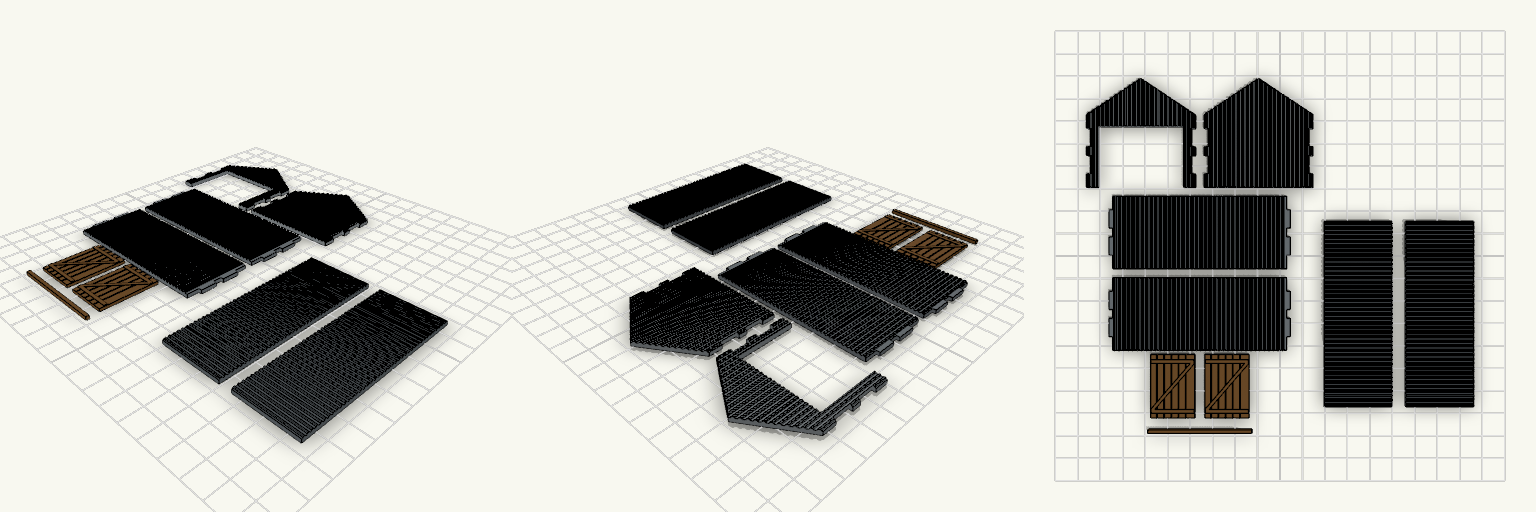
A flat-pack OO scale garage with corrugated iron panels, a gable roof and sliding timber doors. Every piece prints flat on the bed with no supports, then assembles with glue. The side walls carry tabs that pass through slots in the front and back gable ends, with 0.3 mm clearance. The two roof panels sit on the gable slopes. Two plank-and-brace doors hang from a separate rail across the front opening. Footprint: about 48 × 80 mm, ridge height about 48 mm Pieces: 2 side walls, 2 gable ends (front one has the door opening), 2 roof panels, 2 doors, 1 rail Panel thickness 1.6 mm with raised corrugation ribs Print flat, glue the joints, fix the rail above the opening
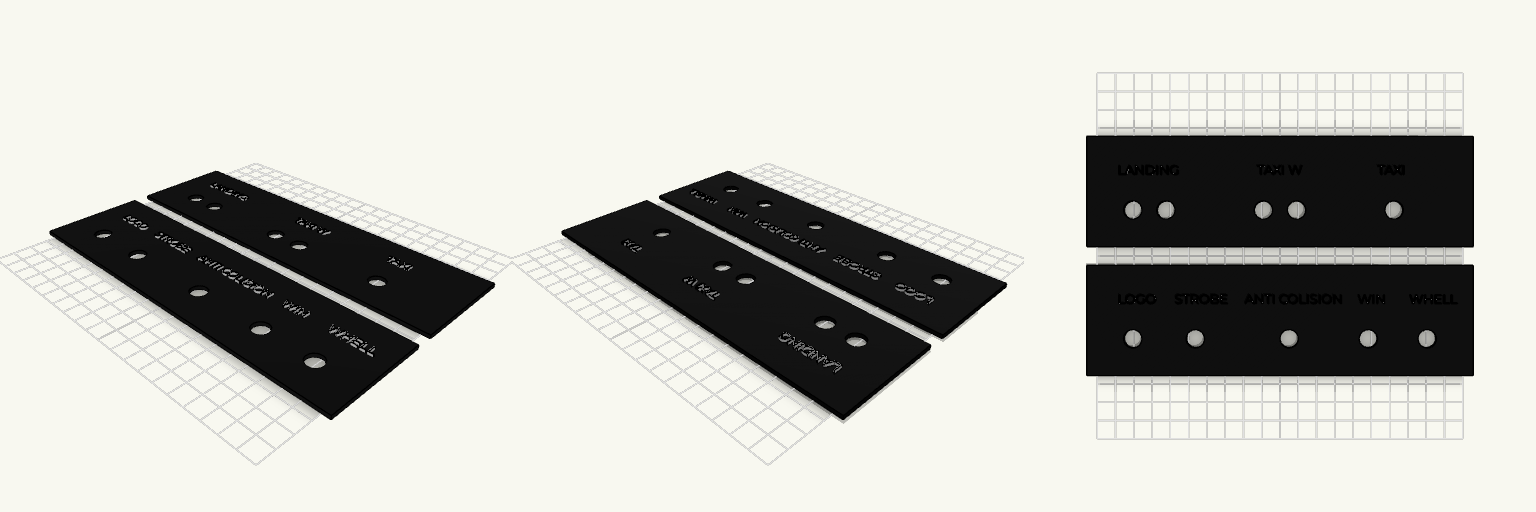
Dos placas 210 x 60 mm con letras
Dos placas rectangulares de 210 × 60 × 2 mm con letras en relieve de 1,5 mm en blanco sobre placa negra. Placa 1: LANDING, TAXI W y TAXI, con cinco agujeros pasantes de 10 mm. Placa 2: LOGO, STROBE, ANTI COLISION, WIN y WHELL, sin agujeros. Letras de 5 mm de alto en Montserrat. Altura total con letras: 3,5 mm.
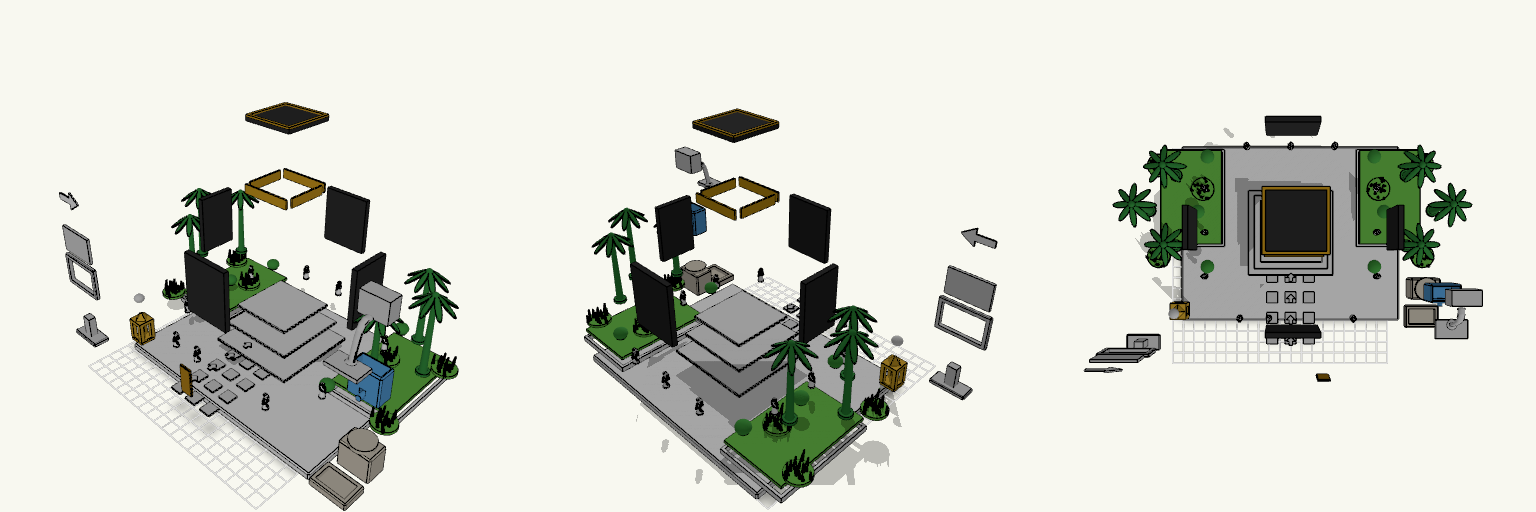
55كعبة مجزءة
Exploded miniature of a masjid scene with every component spread apart with visible gaps. Parts: white base, platform tiers, four black Kaaba walls, roof, door, gold bands, walkway tiles, arrows, palms, bushes, grass, pilgrims, Zamzam station, Maqam Ibrahim and blue sign parts. Layout: exploded only, no assembled copy. Export: the download is one file; separating individual parts happens outside this model.