20mm Threaded Collet Clamp
Created 1 months ago
Remixed 2 times
Description
A heavy-duty threaded collet clamp scaled up to grip 20mm round stock. The two-part design features a slitted threaded body and a matching nut that compresses the taper to lock onto the rod.
Sizing and adjustments
- Bore: 20.2mm (clears a 20mm rod smoothly before compression)
- Threads: M30 with a coarse 2.5mm pitch to survive FDM printing
- Wrench flats: 40mm hex on the body, 42mm on the nut
Both parts print flat on their bases without supports. If the grip is too tight or loose depending on your printer's flow, scaling the nut by 1-2% on the X/Y axes will dial in the friction.
Photos
Technical views
More like this
Explore more in Workshop & Tools →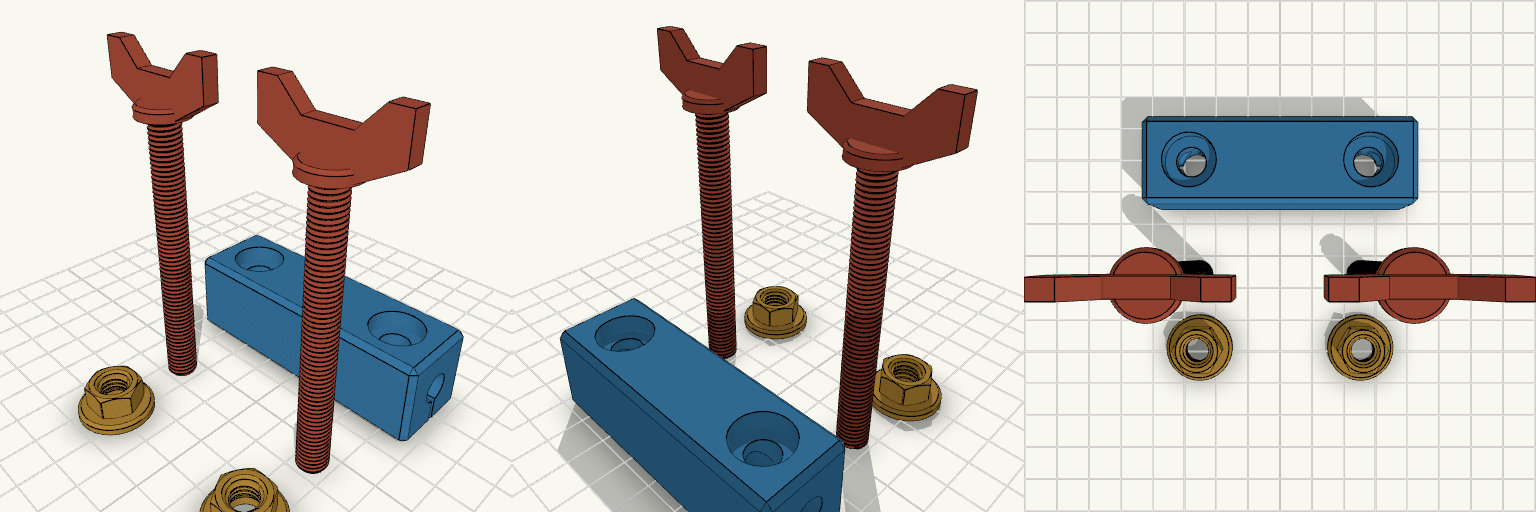
M8 Threaded Rod Clamp, 3 Inch
A clamp block that squeezes onto M8 threaded rod, with matching M8 × 1.25 wing screws and flanged nuts. The block is 76.2 mm (3 in) long and 24 × 24 mm in section, with an 8.4 mm bore running its full length; a slit through the lower half is closed by two screws at 25 mm either side of centre. It replaces a bought rod clamp and a pair of hand-tightened screws — everything on the plate is printed and then fitted together. Thread and fits M8 × 1.25 mm coarse thread throughout: the screw shank is threaded 8 mm, the nut bore carries the matching thread with 0.15 mm clearance so the pair turns together off the plate. Fine-pitch M8 × 1.0 will not match. M8 threaded rod, studding or 8 mm plain shaft in the bore. The bore is 8.4 mm with no give — measure your rod before printing. The flange pad under each nut has an 8.6 mm clearance hole, so only the hex section engages the thread and the pad bears flat on the work. The two bolt holes sit 50 mm apart (25 mm either side of centre, ±25 mm). Ordinary steel M8 × 1.25 hex screws and nuts will seat in the same counterbores and pockets if you would rather not print the hardware — though steel nuts come without the clamping pad, and the head counterbores are sized for hex heads, not the printed wing collars. What is on the plate Clamp Body — 76.2 × 24 × 24 mm, flat on the bed in the middle. M8 Screws — two off, each a 3 in (76.2 mm) threaded shank under a wing head: a round collar with two tapered wings, 34 mm tip to tip and 4 mm thick, about 92 mm overall. Laid out head up; the wings are flat plates, so if your slicer allows, stand each screw on its head with the shank up for the cleanest wing and thread. M8 Nuts — two off, each with a round 20 mm pad on its underside, 2.3 mm thick with a chamfered edge. Pads face the work when fitted. All pieces are separated with no overlaps, ready to print flat and assemble after. Check before printing The thread pair: matched at M8 × 1.25 but not test-fitted. If the printed screw and nut run too tight or too loose, the 0.15 mm clearance is the number to change. The screw length: a 3 in shank in the 24 mm block leaves about 52 mm of thread projecting below the body. Check that projection clears whatever sits under the clamp, and that the 34 mm wing head has room to turn once the thread is engaged. The 24 mm square section sets how far the clamp stands off its mounting surface — check it clears, and allow the 2.3 mm pad under each nut where the pad bears on the work. What it does not fit It is a rod clamp, not a nut clamp: it will not grip an M8 nut or bolt head in the bore. It does not suit 10 mm or 12 mm rod, and the bolt holes take M8 only — smaller screws will not seat in the counterbores or the nut pockets. Fine-pitch M8 × 1.0 hardware will not thread into these nuts. The pads are round, not square, and are sized only for the M8 pockets in this body.
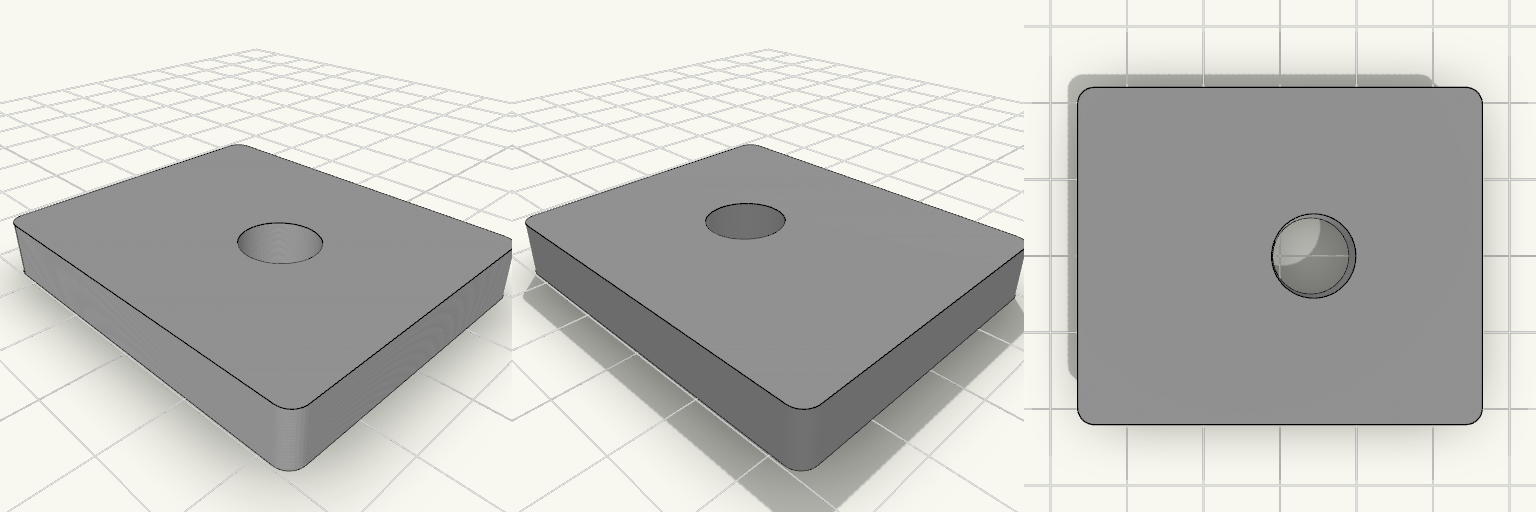
Elliptical Pedal Insert 48x40 Offset Hole
What it's for Central reinforcement insert for an elliptical trainer pedal, bonded into the damaged opening. Flat top, ribbed underside. Dimensions Base: 48 × 40 × 7 mm, rounded corners Through-hole: 10 mm, centered at 24 mm along the length and 4 mm toward the top edge from the width center 18 mm boss around the hole, 5 ribs to a 3 mm frame Remix ideas Change the hole offset for a different pedal Add or remove ribs Thicken the frame for heavier loads
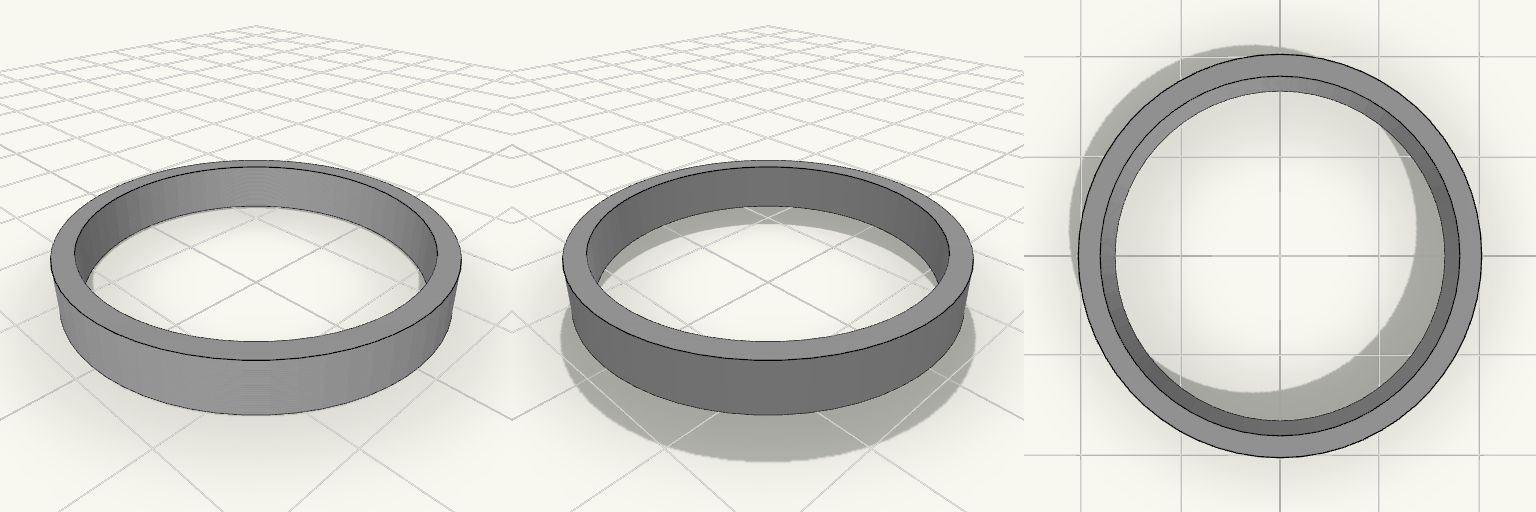
Кольцо 37/33 мм, толщина 5 мм
Простое круглое кольцо-втулка с ровными торцами. What it's for Прокладка, проставка, втулка или заготовка для переходного кольца. Печатается лёжа, без поддержек. Dimensions Наружный диаметр: 37 мм Внутренний диаметр: 33 мм Толщина стенки: 2 мм Высота (толщина кольца): 5 мм Remix ideas Добавить фаски на кромках. Увеличить внутренний диаметр на 0,2–0,4 мм для посадки с зазором. Добавить выступ или паз для фиксации.
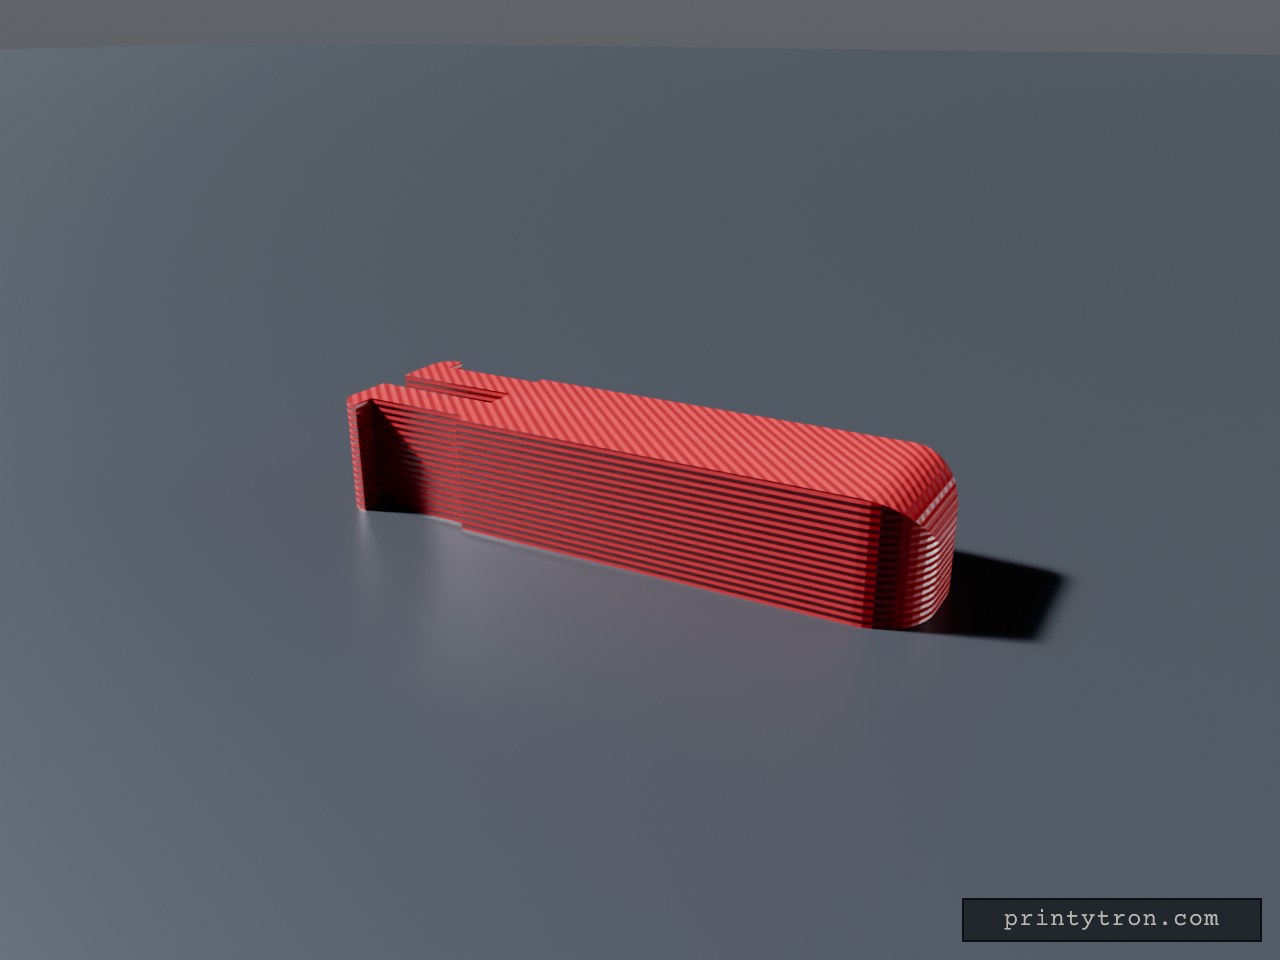
sink drain lever, G*b*rit
A small rectangular block, 26 mm overall, made of a 20 mm body and a 6 mm slotted end section. A narrow slot is cut into the 7.5 mm end face: 1.5 mm wide, running 6 mm into the length and through the full 5 mm height, so it reads as a thin open channel down that end. The slotted 6 mm keeps the full 7.5 mm width, while the rest of the body is narrowed to 6.5 mm, so a 1 mm shoulder sits on each side where the two sections meet. On the two flat side faces — not on the long corners — a straight rectangular step is cut 1 mm deep over the full 5 mm height. It starts 6 mm in from the slotted end and stops 1 mm short of the end face, so the last millimetre keeps its full width and a small square notch is left at the end. There is no angle anywhere in this cut. The far end from the slot is rounded: both vertical corners and the top edge there carry a 2.4 mm radius, blending into one soft rounded end — about as much as a 5 mm tall block can take before the curve meets itself halfway. The outer corners at the slotted end carry a small 0.9 mm radius; the side steps and the notch itself stay sharp, and the remaining top and bottom edges stay square. It works as a spacer, shim or register that a thin rib or plate edge drops into, with the side step giving that end a shoulder to seat against. Starting values Overall length: 26 mm — a 20 mm body plus the 6 mm slotted end section Body cross-section: 6.5 × 5 mm; the last 6 mm at the slotted end is 7.5 × 5 mm (1 mm shoulder each side) End slot: 1.5 mm wide, 6 mm deep along the length, through the full 5 mm height, centred Side steps: 1 mm deep on both flat side faces, constant depth, running full height, starting 6 mm from the end and ending 1 mm before the end face Far-end vertical corners and top edge: 2.4 mm radius, rounded Slotted-end outer corners: 0.9 mm radius; side steps and notch corners sharp Prints as one piece, no supports needed for any of the features above Remix hooks Body length is the free dimension. The 20 mm is the span between the rounded end and the start of the slotted section — stretch or shorten it to set the gap, and nothing else about the part has to change. The 6 mm slotted section is the fixed end, so all the length adjustment happens at the plain end. The width step is the fit dial. The 6.5 mm body and the 7.5 mm slotted end are two independent numbers: match the narrow body to the channel it slides into and the wider end to whatever it shoulders against. Equalising them removes the shoulder entirely and gives a plain constant-width block. Where the step falls. The 7.5 mm section currently runs the last 6 mm, tied to the slot depth; move that boundary to change how much of the part is full width. Slot width is the tightest tolerance. At 1.5 mm it takes a thin rib, sheet-metal edge or card; resize it to suit whatever it has to straddle, and remember a printed slot usually needs a little clearance over the nominal thickness. Slot depth sets the character. At 6 mm it is a deep open channel relative to the 26 mm part; shorten it to a millimetre or two and it becomes a shallow locating register instead. Side step depth. At 1 mm the relief is shallow and forgiving; go deeper for a part that shoulders harder against a pocket wall, or take it to zero for plain flat sides. The 1 mm land before the end face is what forms the notch — widen or remove it to change how the part locks against a shoulder. The far-end radius is already near its ceiling. 2.4 mm is close to the limit on a 5 mm block, so going rounder means growing the height, not the radius. Drop it to 1.5 mm for a snugger square look, or zero for a sharp end. Slotted-end radius is the tight one. 0.9 mm is limited by the short 1 mm end tab; widening that land is the way to buy room for a rounder corner there. Shape of the relief. Swapping the flat step for a ramp, or cutting the corners instead of the flat faces, turns this into a lead-in wedge or a chamfered block. Through vs. blind. The slot cuts the full height, so it is visible from both the top and bottom faces; make it blind and you get a closed-bottom channel. Obvious pairings. A matching 1.5 mm rib or plate edge for the slot to register against, or a mirrored second block so the two slots face each other and trap a thin part between them.
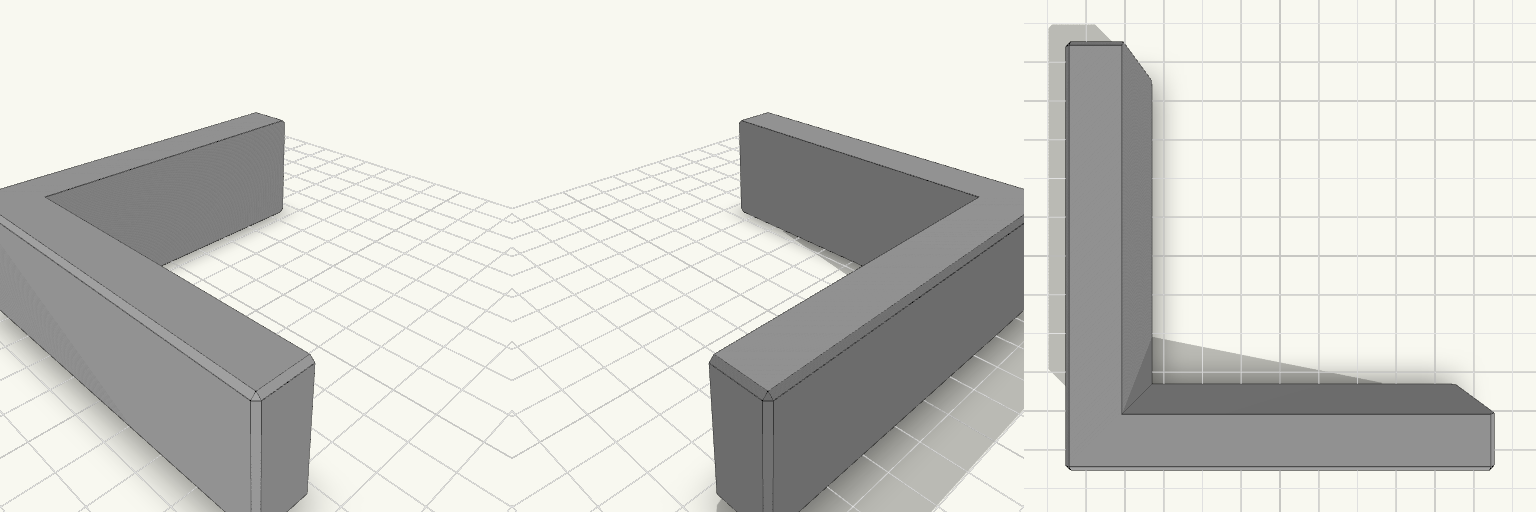
90 Degree Corner Clamping Jig
An L-shaped corner jig that holds two boards at a true 90 degrees while glue sets. It is made for picture frame joints, where a loose corner tends to drift into a parallelogram. Each arm has a channel that cradles a board up to 20 mm thick, and the two channels meet at a square inside corner. The 12 mm walls hold their shape under clamp pressure, and the outer edges are chamfered for a clean, easy-to-handle part. Fits stock up to 20 mm thick Square 90 degree inside corner 90 mm arms, 30 mm tall Clamp slots on each arm for squeezing the boards into the corner Flat base prints without supports Print it in PETG or PLA with several perimeters for stiffness. Keep glue off the channel walls, or line them with tape so the jig does not bond to the work.
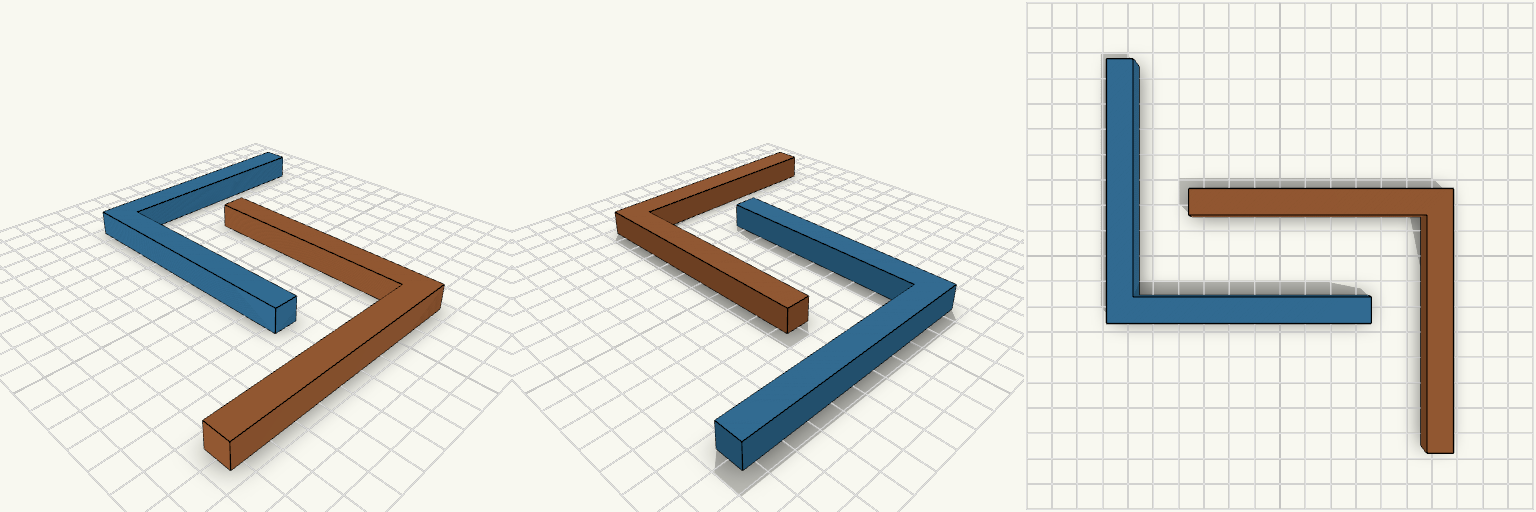
living room plinth
Two 100 × 100 mm L-sections, 10 mm leg width and 10 mm thick, laid flat and nested together to save print-bed space. Fit and layout One piece sits normally; the other is flipped onto its back and turned so the two interlock with a 1 mm gap. Combined footprint: about 111 × 111 mm. Check before printing: the 1 mm gap needs a bed that prints cleanly at that spacing; widen it if the pieces fuse. Not a fit for beds under 115 mm square.