Beam Clamp Clothes Hanger with Side Hook
Created today
Description
What it's for
A saddle that drops over the top of a support beam and turns it into a place to hang clothes. The inverted U-shaped channel grips the beam from above, and a hook projects from one side with an upturned tip so hangers and garments stay put.
- Beam Saddle — the U-shaped body that slides down over the beam
- Hook — the side arm with an upward tip for hangers or coats, set at mid-height of the saddle
Both areas print as a single piece; nothing needs assembling.
Dimensions
- Saddle opening: 68 mm inner width, sized for a beam of that width
- Overall saddle: 78 × 30 mm footprint, 100 mm tall
- Channel: 95 mm deep, with 5 mm thick walls
- Hook: 22 × 15 × 22 mm, mounted at mid-height so its tip stays inside the 100 mm envelope
The 95 mm channel is generous for a shallow beam — the saddle simply sits lower on it, and the hook rides down with it.
Print notes
- Print the saddle opening facing up so the channel needs no supports
- A few extra perimeters on the hook help when it carries heavy coats
- Scale the opening slightly if your beam measures over 68 mm
Remix ideas
- Lengthen the hook for bulky winter coats
- Shorten the legs for a shallower beam and keep the height with a taller top plate
- Add a second hook on the opposite side for more hanging room
- Add a small lip or screw hole at the bottom of the saddle to stop it shifting sideways
Photos
Technical views
More like this
Explore more in Home & Fixtures →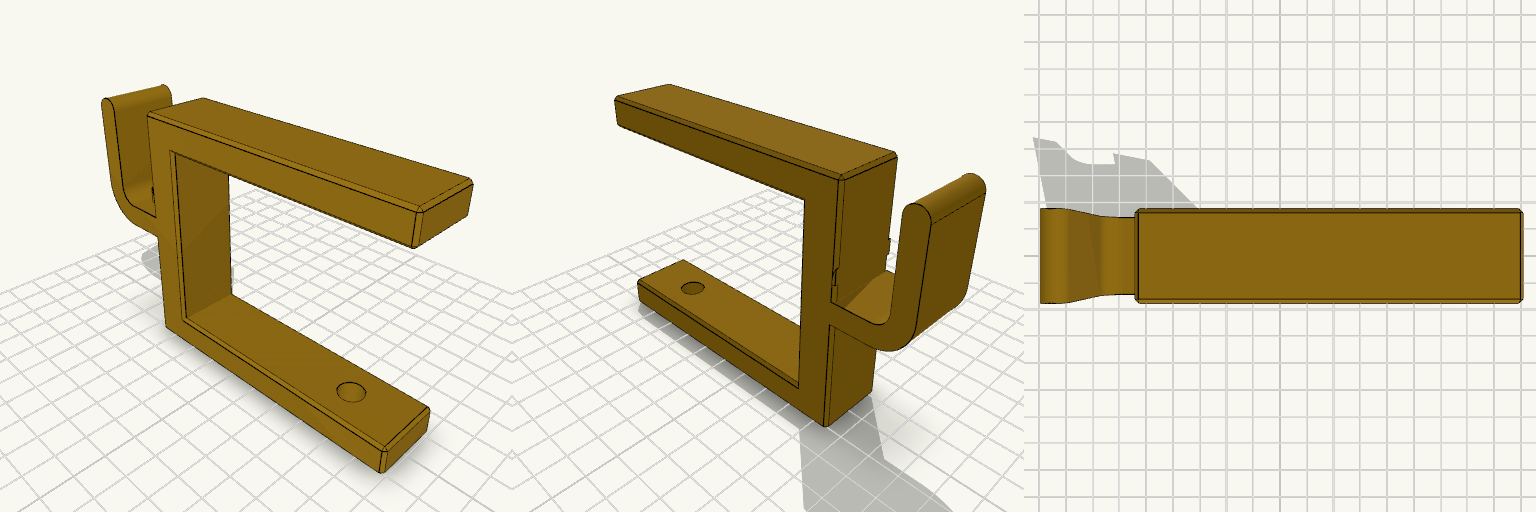
Mantel Clamp with Single Stocking Hook high no thread lenght lower
A clamp-on mantel bracket for hanging a stocking, garland or wreath without drilling. The gold C-shaped frame slips over the mantel edge, and a single rounded J-hook on the back carries the decoration. A standard M8 bolt passes through the lower arm and tightens up against the underside of the shelf to lock the clamp (hardware you supply — bolt and nut). The lower arm reaches back far enough to clear a decorative moulded edge, and the frame measures about 119 × 23 × 80 mm on the print plate. The hook is a compact rounded J — 23 mm wide, projecting about 24 mm, with a 5.5 mm inner cradle — raised so its round tip finishes level with the top of the frame at 80 mm; the cradle floor sits about 38 mm up the spine. The frame prints as one piece; the bolt and nut are separate hardware. Starting dimensions Clamp frame: 119 × 23 × 80 mm on the plate, one piece, no supports needed on the arms Opening between the arms: 60 mm (about 2.4 in) — suits a 2 in gap or a 1.5 in mantel with room to spare Arm reach back from the spine: 95 mm (about 3.75 in), sized to clear a decorative edge Hardware hole: plain 8.5 mm clearance for an M8 bolt, 75 mm back, through the 10 mm lower arm — a nut underneath does the clamping Hook: rounded J, 5.5 mm inner cradle, 23 mm wide, projecting about 24 mm, cradle floor about 38 mm up the spine, 26 mm lip with its tip level with the frame top Remix hooks The hardware hole is the first thing to tune: 8.5 mm suits a plain M8 bolt with a nut under the arm; drop it to about 7 mm and tap it if you want the bolt to bite the plastic, add a hex pocket to trap the nut, or resize for M6 if your mantel is light. The 60 mm opening and the 95 mm arm reach are a pair worth changing together — a shallow mantel with a chunky decorative edge wants more reach and less opening, a thin shelf the reverse. Hook geometry is the free variable: stretch the 24 mm projection for deep garland, widen the 5.5 mm throat for thick loops, tighten it for wire wreath frames, or slide the cradle down the spine if a stocking sits too high for your mantel. Frame depth (23 mm) sets how far the clamp stands off the mantel face — trim it for a slim profile, add to it for heavier loads. Duplicate the frame along the shelf for a full swag of garland, or scale it down for a miniature display mantel. Pairs well with a wreath hanger or a matching hook set in the same finish; print the frame in PETG or ASA if it will hang outdoors over the season, and in gold filament to match the finish shown.
Charging Station Marker Nail
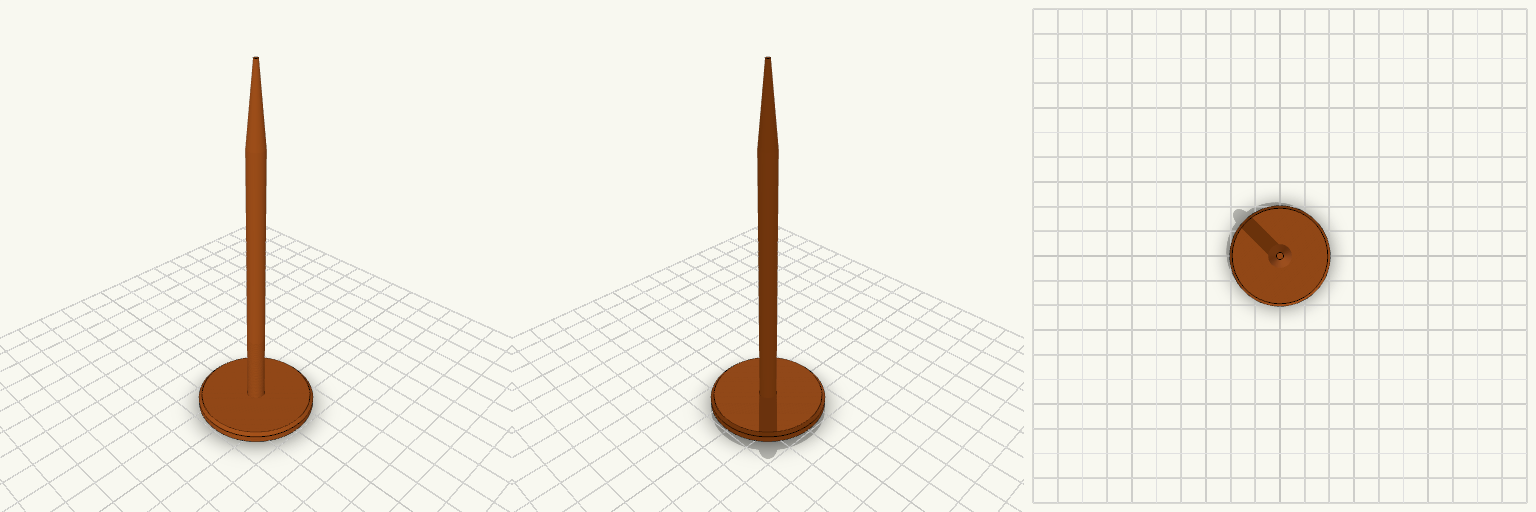
A ground marker nail for holding the position of a robot mower charging station while the charger is stored for the season. It is pushed into the soil where the charger's screw sits in summer. The nail has a wide, flat 40 mm head that stays visible at ground level, a slim 6 mm round shaft, and a tapered point for easy insertion. It prints head-down, so no supports are needed. Head: 40 mm diameter, 4 mm thick, chamfered edge Shaft: 6 mm diameter, about 90 mm long Tip: tapers to a point over 25 mm Overall length: about 119 mm Prints without supports
U-Turn — Zweiteilige 180°-Schlauchführung
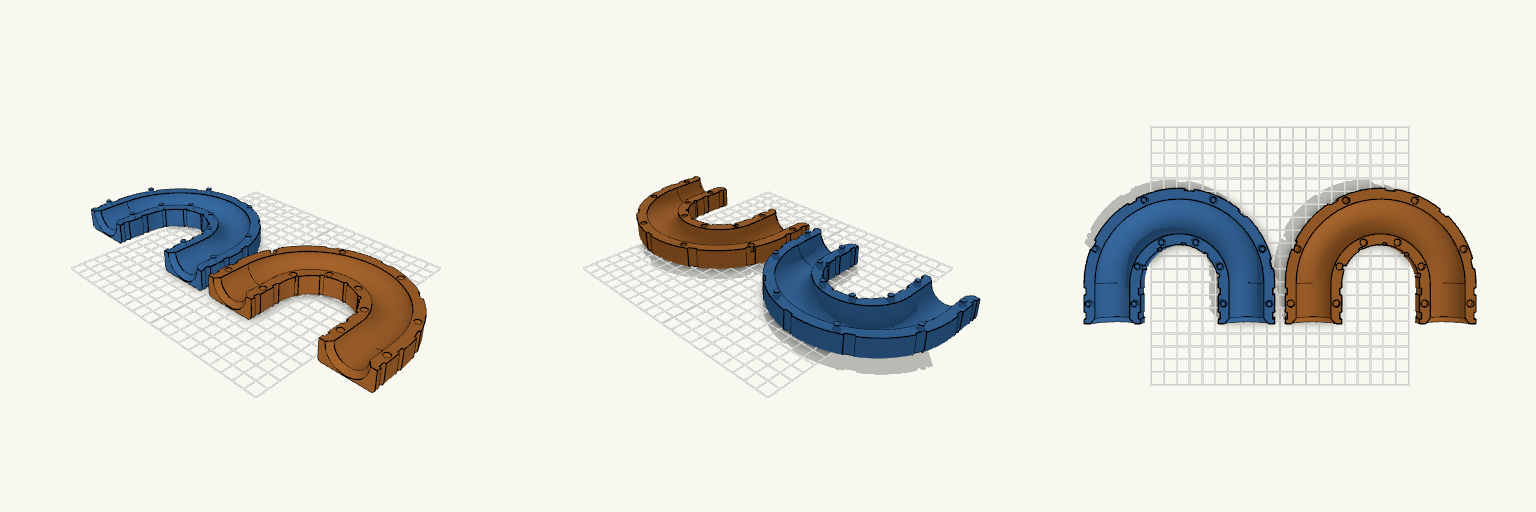
U-Turn ist eine zweiteilige 180°-Schlauchführung, die einen Schlauch mit 25 mm Außendurchmesser in einem gleichmäßigen Bogen umlenkt, sodass Ein- und Auslauf parallel nebeneinander in dieselbe Richtung zeigen. Statt Schrauben oder Muttern halten handelsübliche Kabelbinder die beiden Hälften zusammen: Mehrere außenliegende Nuten laufen um den gesamten Querschnitt, sodass die Binder nicht seitlich abrutschen und nicht in den Schlauchkanal hineinragen. Die flache Außenseite liegt beim Druck unten, die Nut zeigt nach oben — dadurch kommen beide Hälften ohne Stützmaterial aus. Maße Schlauchkanal: 26 mm Innendurchmesser für einen Schlauch mit 25 mm Außendurchmesser Bogen: exakt 180°, Biegeradius 50 mm zur Mittellinie, Mittellinien 100 mm auseinander Gerade Ein- und Auslaufstrecken: je 30 mm, an den Enden auf etwa 33 mm aufgeweitet Wandstärke: 4 mm; Querschnitt 42 mm breit, jede Hälfte 17 mm hoch Kabelbindernuten: 5,2 mm breit und 1,5 mm tief für 4,8 mm breite Binder; Restwand an der dünnsten Stelle 2,5 mm Aufbau Beide Hälften verlaufen über den gesamten 180°-Bogen und tragen je eine halbrunde Nut, die zusammengesetzt einen geschlossenen, kreisförmigen Kanal ergibt. Die Hälfte mit den Zapfen trägt Zapfen von 5 mm Durchmesser und 4 mm Höhe, die Gegenhälfte passende Aussparungen von 5,4 mm Durchmesser — das ergibt ein Montagespiel von 0,2 mm je Seite. Die Zapfen sitzen beidseitig des Kanals, sowohl auf dem Bogen als auch an den geraden Endstücken, und verhindern ein seitliches Verrutschen. Montage Die Hälfte mit den Aussparungen umdrehen, auf die Hälfte mit den Zapfen setzen und andrücken. Anschließend Kabelbinder durch die Nuten führen und festziehen: fünf Nuten verteilen sich gleichmäßig entlang des U-Bogens, je zwei sitzen an den geraden Endstücken. Druckhinweise Beide Hälften werden getrennt gedruckt und anschließend zusammengesteckt; die Kabelbinder übernehmen die Fixierung. Der Kanal ist an beiden Enden großzügig abgerundet, damit der Schlauch ohne Knickstellen ein- und ausläuft.
Cabinet Handl Bumper
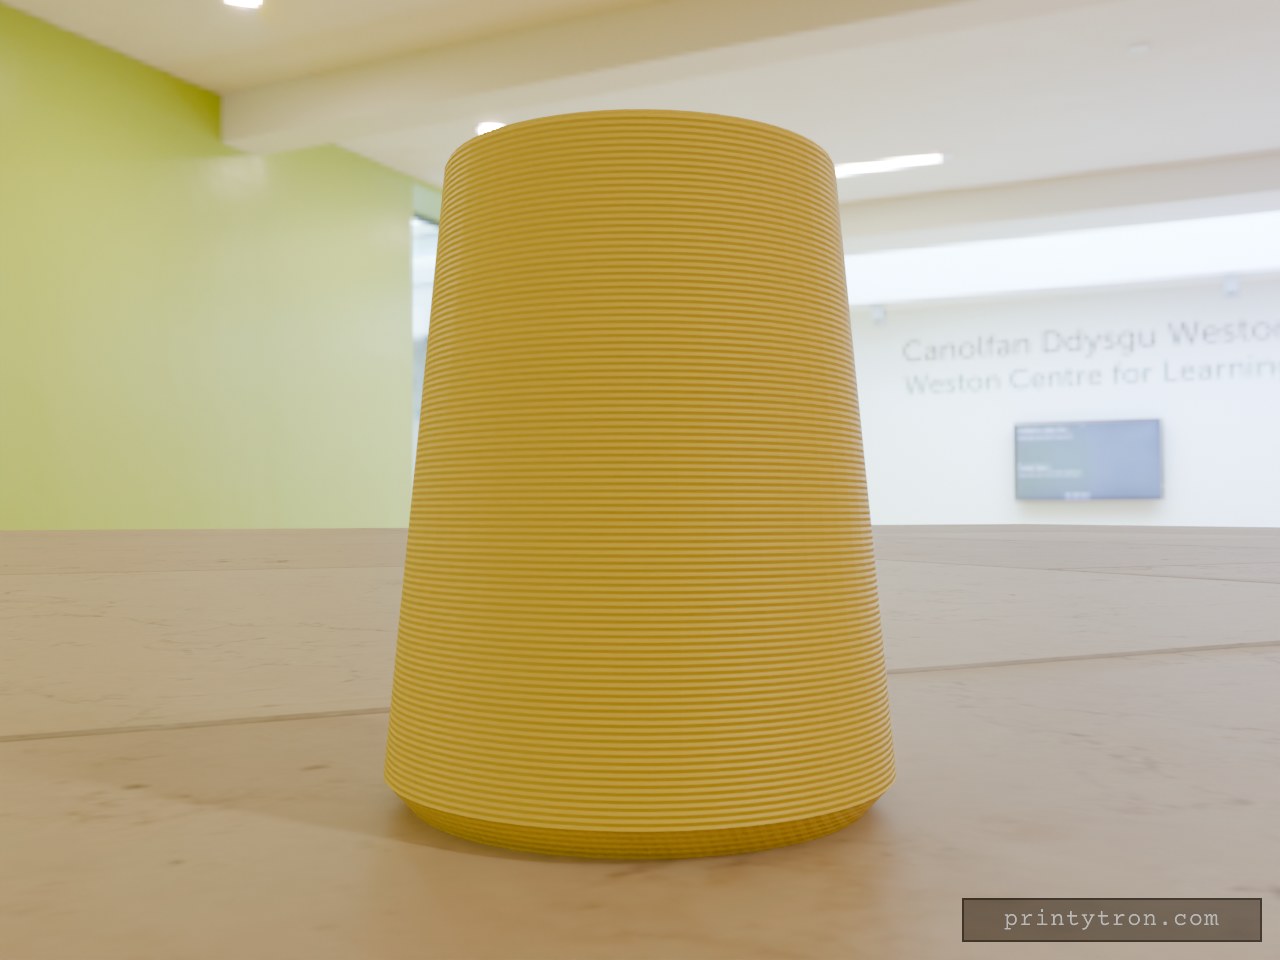
A cabinet handle end that slams into the door or wall now has a cone-shaped TPU bumper to take the hit. The bumper slides over the handle end and stays put on an 11.8 mm blind hole. Key numbers Height: 32 mm Base diameter: 26 mm, with a 1.5 mm 45° chamfer on the bottom edge Narrow end diameter: 20 mm Hole: 11.8 mm diameter, 24 mm deep, opening at the narrow end Print: TPU, base down, no supports needed
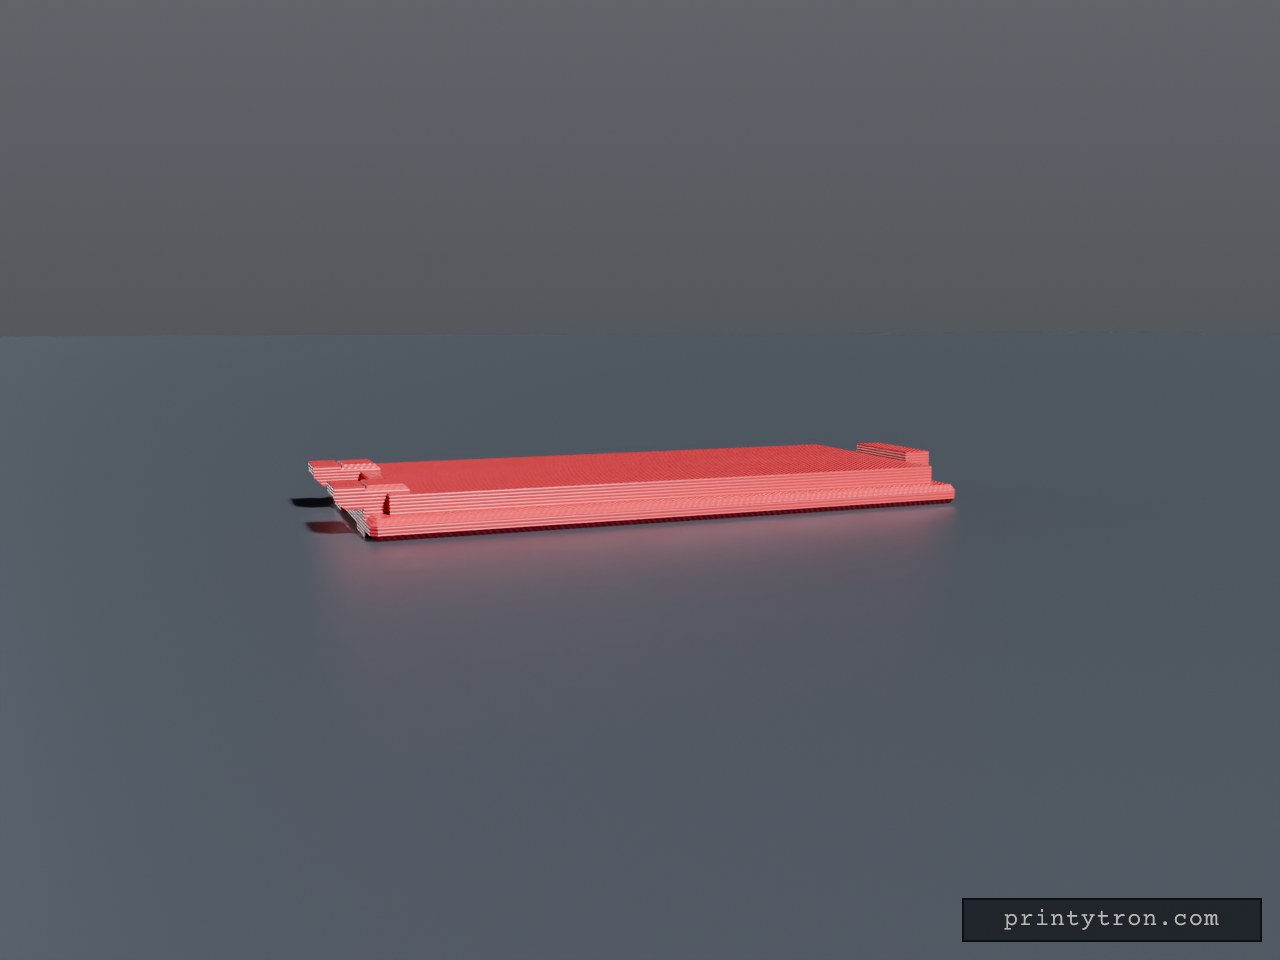
Bug Zapper Battery Cover 27.65 x 60 mm
Sliding battery compartment cover plate for a bug zapper, 27.65 x 60 mm. A locating lip sits in the compartment opening, a latch tab sits at one end, and two low retention tabs at the opposite end keep the cover from falling out. Plate: 27.65 x 60 x 2 mm, chamfered edges Lip: 23.65 x 56 mm, 3.8 mm total height Retention tabs: two, 5 mm wide, flush with lip height, at X = ±8 mm Latch tab: 10 mm wide at the +Y end Grip grooves on the outer face Dimensions are estimates; verify against the original opening
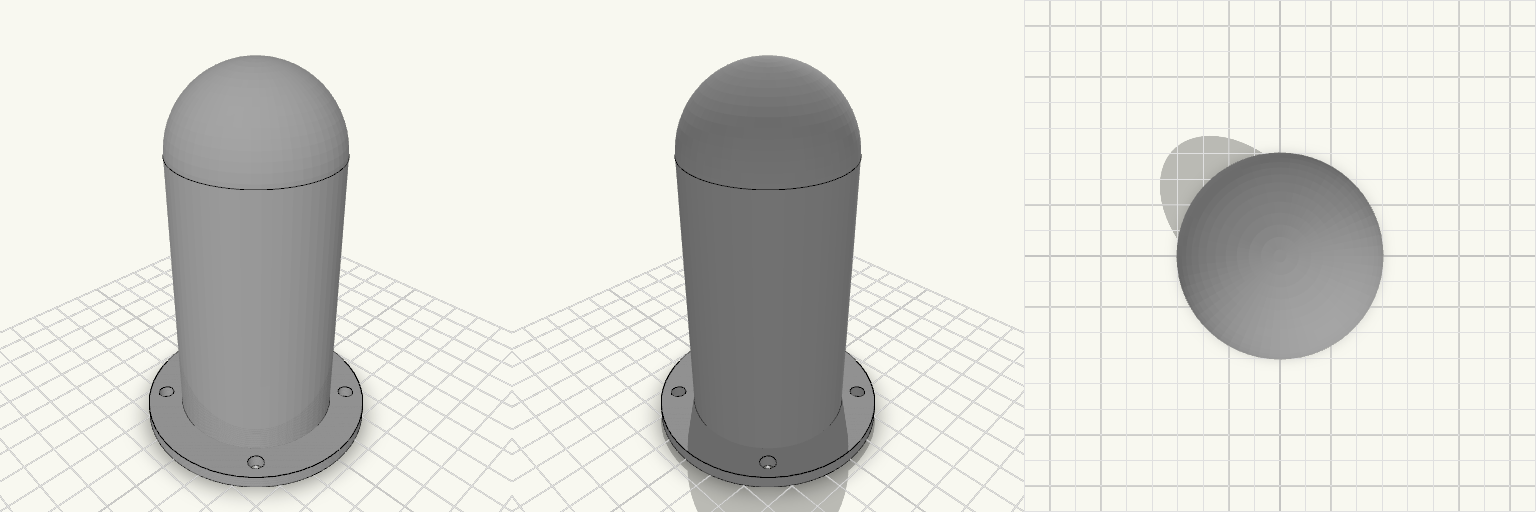
Antenna Cover With Mounting Flange
An antenna protective cover that keeps weather and knocks off the antenna: a hollow cylinder with a domed top, open at the bottom, on a flat bolt-down flange. Total height: 115 mm including the 4 mm flange Body: 50 mm outer, 46 mm inner diameter (2 mm wall), dome radius 25 mm blending tangentially into the cylinder Flange: 72 mm diameter, 4 mm thick Holes: four 5 mm through-holes in a square, 43.1 mm between adjacent centres Print: open end down on the flange, no supports needed, 3+ perimeters recommended