Pijl
Created today
Description
A two-part LED arrow: an open-top frame and a separate flat top plate, printed side by side and pressed together after printing. The assembled arrow is about 188 mm long, 84 mm across the widest part of the head and about 15 mm thick. The two barb corners of the head sit forward toward the tip for a more open head profile. The tail matches the head at 84 mm across the far end and narrows to 28 mm where it meets the arrowhead, with both long edges bowing inward about 4 mm at the midpoint before flaring back out, so the arrow reads as a wide-fletched, waisted shape rather than a plain bar.
The frame is 15 mm deep with 2.4 mm walls and a 2 mm floor, leaving a deep interior for an LED strip; the cavity is completely empty, with no posts or ribs to shadow the light. The cable enters through a round 10 mm hole in the floor, set into one tail corner about 15 mm in from the tail end and 28 mm off the centre line, with room around it for the walls; the wiring drops straight down and out of sight.
The top plate is a single flat 2 mm layer with an oversized edge. A 0.8 mm deep groove, about 2.4 mm tall, runs around the inside of the frame walls at the top rim and is open at the top edge. Press the plate down from above and its edge slips into the groove, landing on the ledge below so it sits flush with the rim. The fit is snug: the plate edge sits about 0.1 mm from the groove wall, so it fills the recess with almost no play. Because there is no overhanging lip, the grip comes from that close edge fit; if it feels loose, a thinner gap of about 0.05 mm gives more bite, and if it is too tight to press in, open it to about 0.15 mm. A 2 mm plate this long is stiff, so press it in at one end first and work along.
Both parts sit flat and the cable hole is a plain vertical bore, so the print stays simple on a standard 0.4 mm nozzle. The frame is 188 × 84 mm and the plate about 182 × 79 mm, so the two sit side by side on a 220 × 220 mm bed with a little margin to spare.
Remix hooks
- Footprint (188 mm long, 84 mm head): the size is a choice, not a fixed value. Scale down for a desk-size arrow, or scale to your own bed limit and re-check that the plate and frame still fit side by side in one go.
- Head shape (84 mm across; barb corners sit toward the tip): push the corners back toward the tail for a sharper swept-back profile, or bring them further forward for a more open head; keep the plate outline matched to the frame.
- Tail taper and curve (84 mm at the far end, 28 mm where it meets the head, about 4 mm inward bow): narrow the tail end back down for a fan-tailed look, straighten the long edges toward a constant shaft, or deepen the curve for a more waisted silhouette.
- Frame depth (currently 15 mm): the main volume choice. Shrink it for a slimmer arrow, grow it for a deeper strip or to hide a battery holder; check that the top plate still lands flush at the rim.
- Wall and floor thickness (2.4 mm and 2 mm): thick enough to stay opaque and rigid at this size. Thinner walls let more light through the sides; thicker ones make a sturdier shell for outdoor use.
- Plate fixing (flat 2 mm sheet; 0.8 mm deep groove at the top rim, plate edge about 0.1 mm from the groove wall): the first thing to tune. A deeper groove or a smaller edge gap gives a tighter hold; a shallower groove or more gap makes the plate easier to press in. Add a thin lip over the groove for a true snap, or clips and screw bosses if you want a different hold. Thicken the plate for more diffusion.
- Floor cable hole (10 mm, in one tail corner about 15 mm from the tail and 28 mm off centre): widen it for a chunky connector, move it to the opposite tail corner, or shift it along the shaft if your wiring runs from a different direction. Two or three small holes in a row would suit a multi-colour strip installation.
- Joint style: the open-top rim groove is the current no-glue method; a lip, small clips, screw bosses or a glued seam are fair variants if you want a permanent or firmer assembly.
Pairs with
An LED strip cut to fit the cavity, and the plate printed in a white or natural diffusing filament. Because the frame is a closed outline with a flat back, a row of arrows in the same style prints as a matching set.
Images
More like this
Explore more in Decor & Display →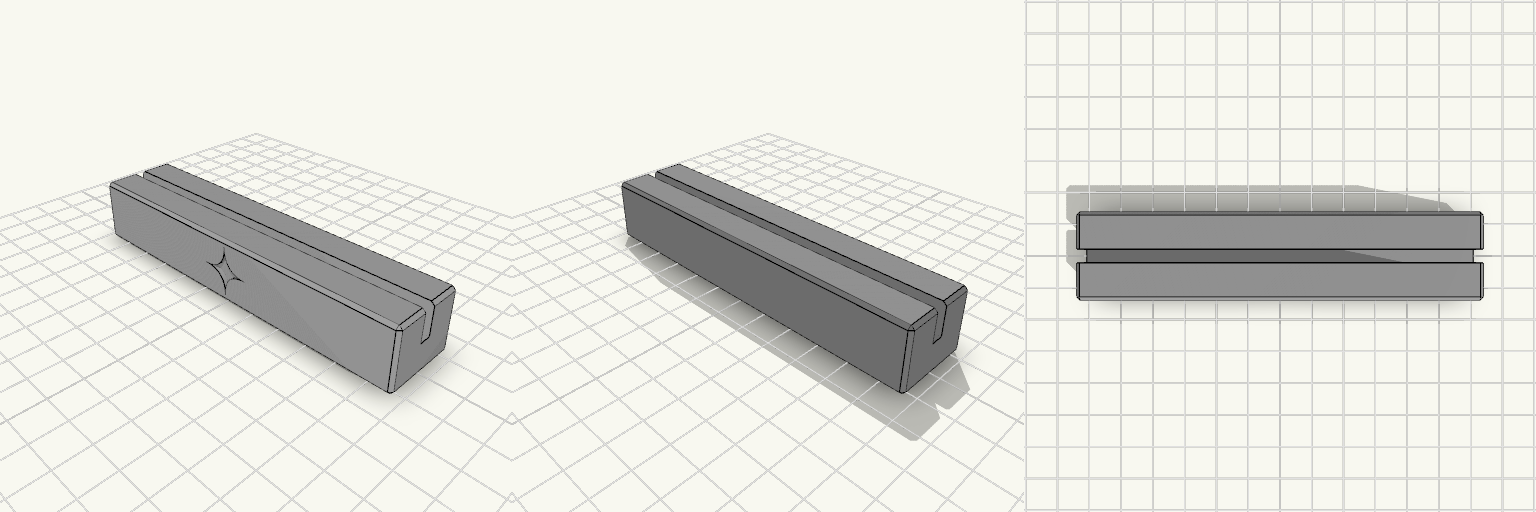
Soporte de tarjetas con estrella grabada
Bloque rectangular con una ranura central para tarjetas y una estrella de cuatro puntas con lados curvos, grabada hacia el interior de la cara frontal. Bloque de 115 x 25 x 20 mm con bordes achaflanados Ranura de 4 mm de ancho y 10 mm de profundidad, de extremo a extremo Estrella curva de 16 mm de punta a punta, hundida 1,5 mm y centrada en la cara frontal Se imprime sin soportes apoyada sobre su base
Moonlit Ghost Chain Swing Display
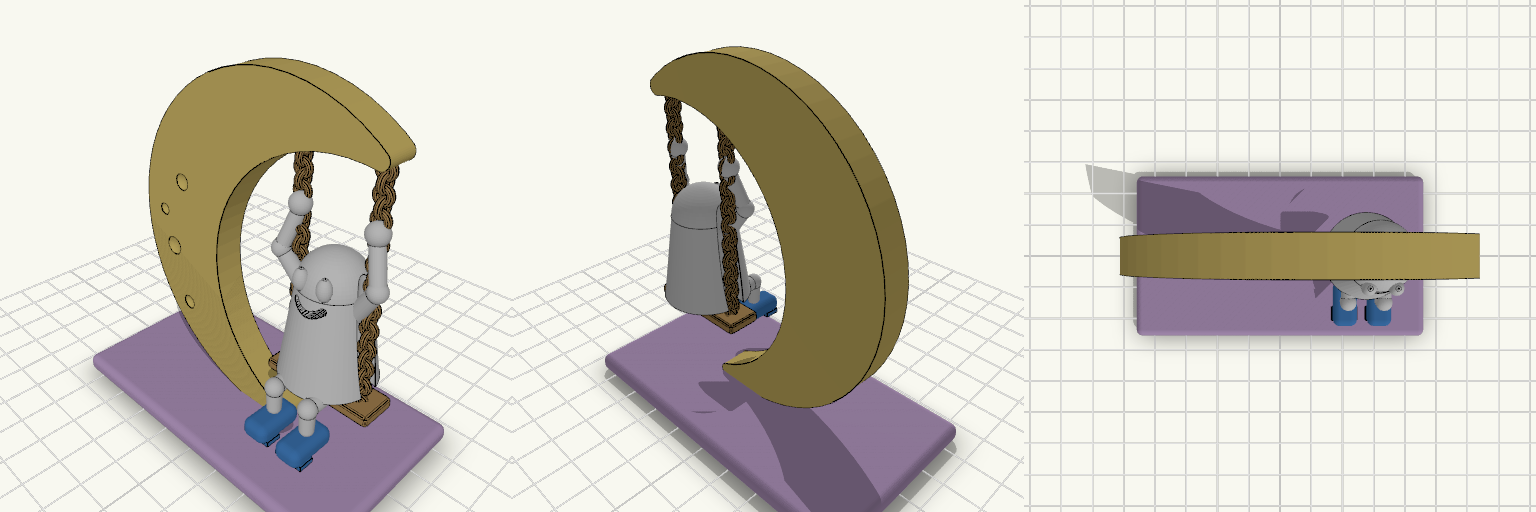
A friendly sheet-wearing ghost sits on a chain swing hanging from the horn of a crescent moon, in the spirit of a Halloween nursery rhyme. His blue tennis shoes dangle below the sheet and his hands grip the chains above his head, the way a kid holds on mid-swing. Crescent moon with shallow craters Chain swing with a rounded seat Cut-out eyes and a recessed smile Flat rounded base keeps the whole scene standing upright Sand the edges before handing it to a child.
Placa Retangular com Borda Dourada e Texto
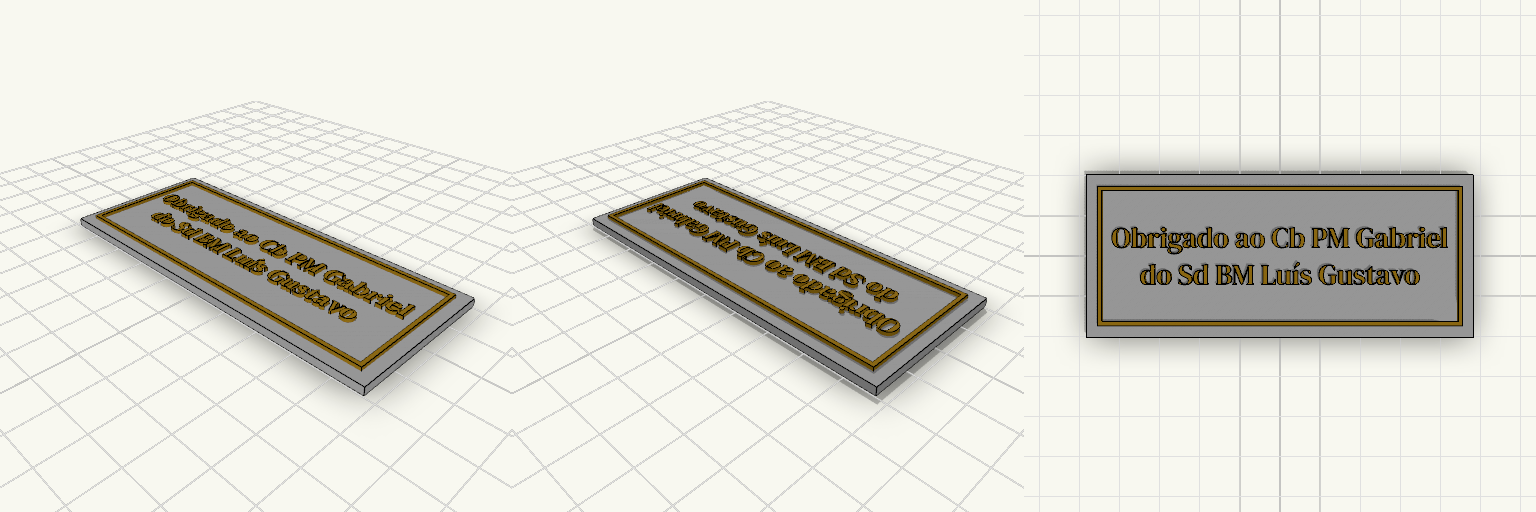
Placa retangular de 95 x 40 mm e 2 mm de espessura, com uma margem dourada fina recuada da beirada e a frase "Obrigado ao Cb PM Gabriel do Sd BM Luís Gustavo" em relevo, em duas linhas. Placa: 95 x 40 x 2 mm Margem dourada: 1 mm de largura, recuada 3 mm da beirada, 1 mm acima da superfície Texto: em relevo de 1 mm, centralizado dentro da margem Pensada para impressão multicolor ou pintura posterior
Cwmlech Manor Steampunk Horseless Carriage
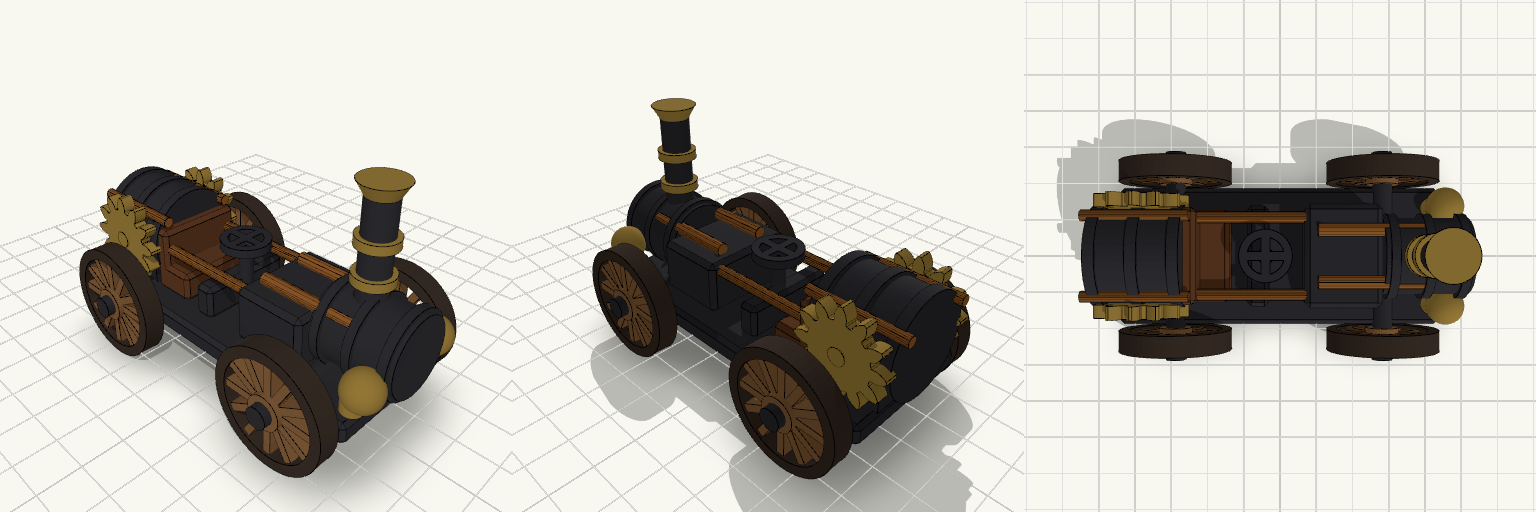
A miniature Victorian steampunk horseless carriage in the spirit of The Ghost of Cwmlech Manor, arranged in three clear zones from front to back. Up front sits the cylindrical boiler with two round brass headlights and a tall black smokestack, banded in brass with a flared cap. In the middle, the brown padded seat and backrest ride on the black frame with the steering column just ahead of them, open to the air. Behind, a short horizontal tank with ring bands carries a brass gear on each side and copper piping that runs along its upper flanks and forward to the engine, passing overhead on its way. Thin-spoked wheels with dark rims roll on straight through-axles, and the whole thing keeps a low, mechanically believable silhouette with a vintage industrial finish. Built in three zones Front: cylindrical boiler, tall banded smokestack with flared cap, two round brass headlights on posts, and the engine housing Middle: brown padded seat and backrest on the frame, with the steering column, ring and cross grip just ahead Rear: short horizontal tank on saddle supports, a brass gear on each side, and copper pipes along its upper sides Four round, thin-spoked wheels with dark rims, all the same size, on straight through-axles Print notes The carriage prints as one connected solid with thick, simple shapes and no floating parts, so it suits a beginner-friendly print. The wheels sit level on the plate. The viewer colours show the intended finish: black body, brown seat, copper pipes, brass fittings, wheel spokes and rims — the part runs roughly 86 mm long, making it a desk-scale piece. The forward pipes pass above the seat, so check their clearance before you slice.
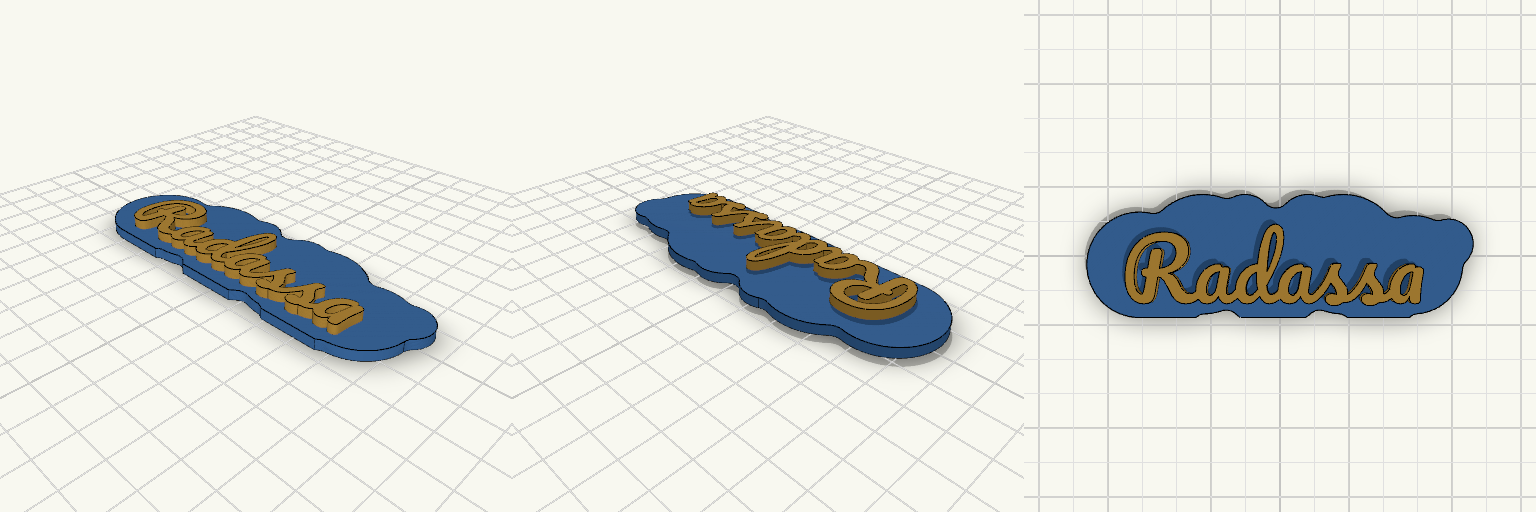
Placa Radassa Pacifico, Base Reta
Placa orgânica com o nome "Radassa" em alto relevo, fonte Pacifico, e base reta para apoio. Medidas a conferir Placa: cerca de 110 × 35 mm, 3 mm de espessura. Relevo do nome: 3 mm acima da placa. Base reta em Y = -15 mm, com apenas 3 mm de espessura; sozinha, a placa tende a tombar. Use um suporte ou apoio. Não inclui Furos de fixação. Borboletas.
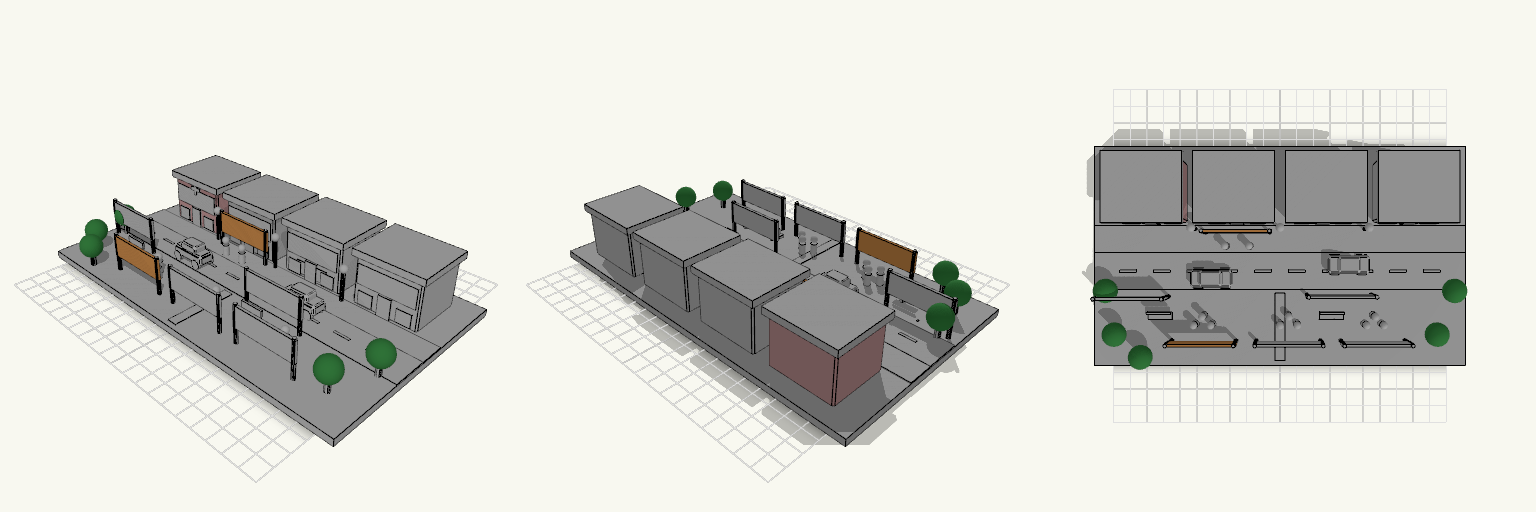
Blank-Sign Mandarin Storybook Town
A tabletop storybook town in the spirit of a classroom diorama: four pastel buildings along a back row, a road with parked cars, and a park with banners, people, trees and benches. Every sign and banner is left blank, ready for hand lettering with paint pens or stickers. Where each word goes 医院, 图书馆, 商店, 社区中心: white plaques on the four building fronts (hospital has a red cross) 工作: small plaque on the shop 服务: orange banner in front of the library, with people nearby 公园: green banner at the park 活动, 一起, 参加: banners above groups of people 社区: blue banner near the road Extra features Road, path, trees, people, benches, cars and streetlights