Under-Shelf LED Routing Corner
Created 3 months ago
Description
A 25mm right-angle block designed to route under-shelf LED strips cleanly around inside corners without kinking. It guides the strip through a 90-degree arc inside a 10.5mm wide, 4mm deep channel, with flat back faces meant for simple adhesive mounting against the shelf walls.
Remix Hooks & Constraints
- Wall Offset: The block's 25x25mm footprint sets the center of the strip exactly 12.5mm from both walls. Changing the block's footprint will let you shift the lighting closer to or further from the front edge of the shelf.
- Channel Clearance: The 10.5mm width seats a standard bare 10mm LED strip. If you swap to waterproof IP65 strips with heavy silicone doming, this channel needs to be widened to 12.5mm to avoid pinching the arc.
- Mounting Strategy: The current design relies entirely on flat surfaces for double-sided tape or VHB. An obvious variant for rougher wood shelves is adding a pair of 3mm countersunk holes on the mounting faces.
Images
More like this
Explore more in Home & Fixtures →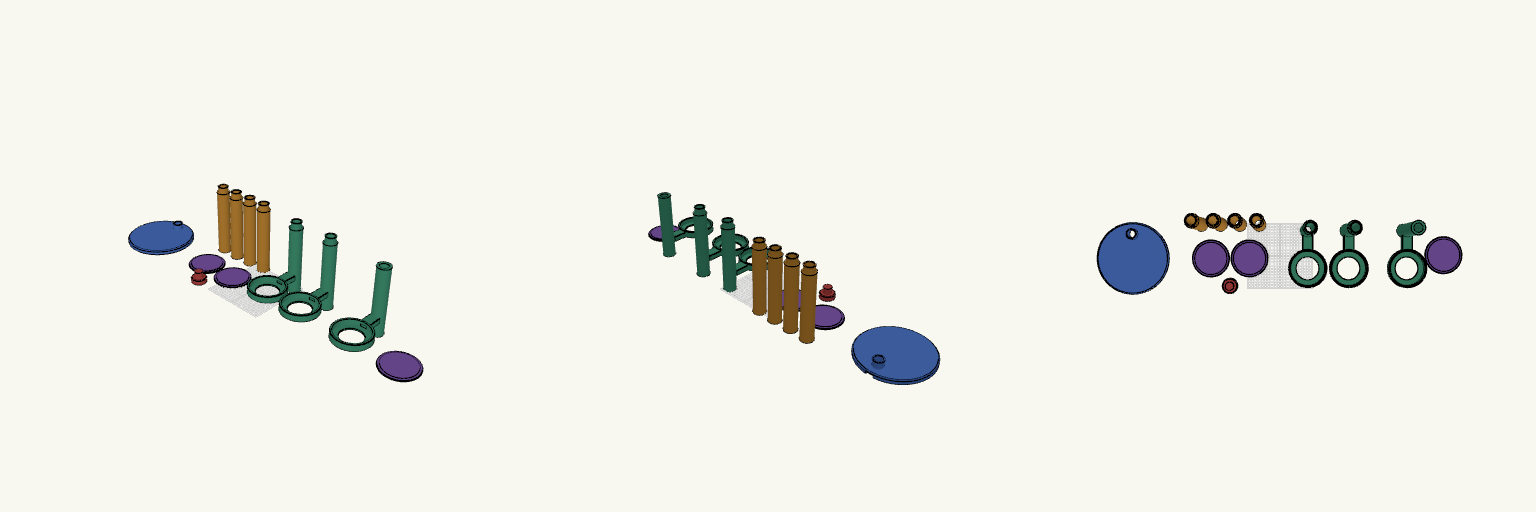
1.5 m Corner Lamp with Three Lamp Trays
A 1.5 m floor lamp for a room corner, built around a round 240 mm base and a hollow central pole. Three arms extend toward the room at different heights, each ending in a round cradle for a disc-style LED lamp of the kind used for model lighting. The lamps drop in face-down and shine through the opening in the floor of each cradle, and each holder has a removable top cover. The lamp prints as separate parts: a round base, hollow pole sections, three arm sections, a top cap and three lamp covers. The parts are laid out as separate pieces in four groups, each group fitting inside a 250 mm bed, so each one can be sent to its own plate in the slicer. Every part is at most 230 mm tall, so build height is not a limit. The pole sections push together with spigot-and-socket joints; dry-fit first, then glue once the fit is checked. Cables run inside the 26 mm bore in the pole and out through a groove under the base to the back edge. Build plates: four groups — base; four pole sections with two covers and the top cap; two arm sections; top arm section with the third cover Base: round disc 240 mm across and 14 mm thick, with a 3 mm chamfer and a plug for the first pole section Overall height: 1500 mm Pole: hollow sections, each 210 mm long, with a 26 mm bore for cables Arm heights: about 480, 900 and 1320 mm Cradle: 104 mm pocket, 114 mm outer ring, 17 mm deep, 70 mm floor opening Cover: 114 mm disc with 100 mm lip, removable, print flat with the lip up Cable route: 20 × 9 mm arm channel, cable notch in the rim, 24 mm exit groove under the base Printing: arm sections need supports under the arm and tray Assembly: push-fit joints with 0.3 mm clearance; glue after checking the fit Each cradle has a 104 mm pocket inside a 114 mm outer ring, with a 70 mm floor opening that lets the light out. The pocket and floor ring seat the lamp; the removable cover is a 114 mm disc with a 100 mm lip that sits inside the pocket. The cradles are sized around a disc-style lamp roughly 100 mm across; check the actual lamp diameter and thickness before printing. Each arm has a 20 × 9 mm internal channel that opens into the pole bore and runs to the cradle, sized to pass a USB plug. The disc base fits a 250 mm plate with about 5 mm to spare on each side, so check your slicer's plate margins before committing the print. The cradles reach about 170 mm out from the pole, past the front edge of the base. With three lamps loaded, add weight in the base or secure the lamp if it will be somewhere it can be knocked.
U-Turn — Zweiteilige 180°-Schlauchführung
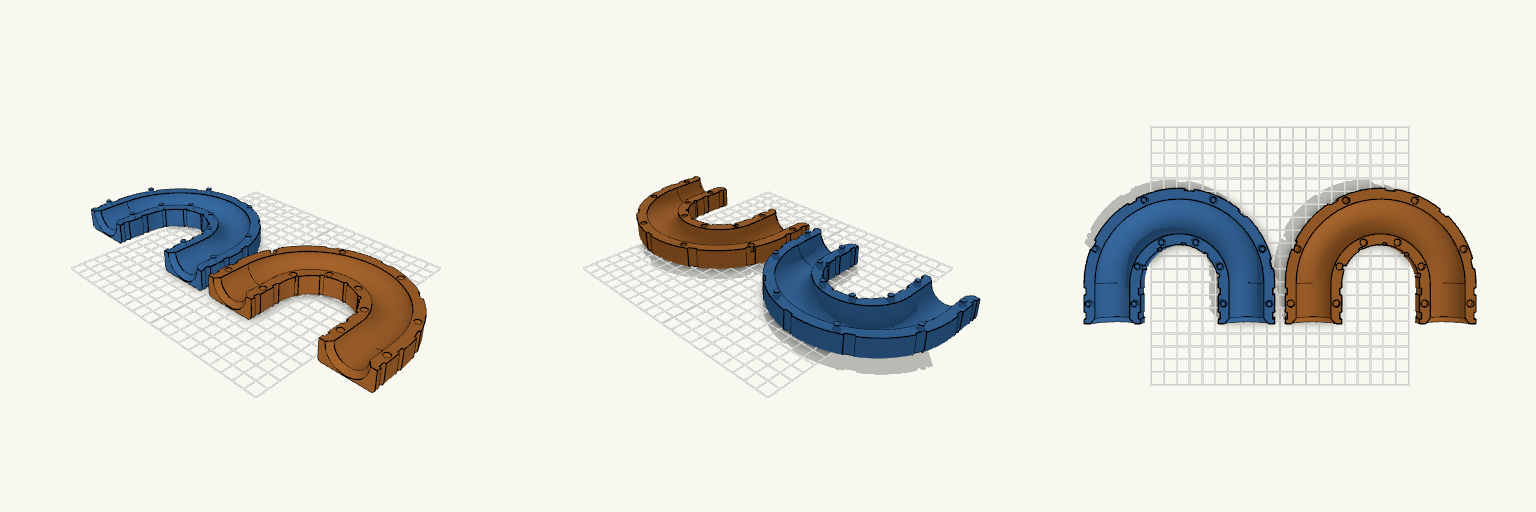
U-Turn ist eine zweiteilige 180°-Schlauchführung, die einen Schlauch mit 25 mm Außendurchmesser in einem gleichmäßigen Bogen umlenkt, sodass Ein- und Auslauf parallel nebeneinander in dieselbe Richtung zeigen. Statt Schrauben oder Muttern halten handelsübliche Kabelbinder die beiden Hälften zusammen: Mehrere außenliegende Nuten laufen um den gesamten Querschnitt, sodass die Binder nicht seitlich abrutschen und nicht in den Schlauchkanal hineinragen. Die flache Außenseite liegt beim Druck unten, die Nut zeigt nach oben — dadurch kommen beide Hälften ohne Stützmaterial aus. Maße Schlauchkanal: 26 mm Innendurchmesser für einen Schlauch mit 25 mm Außendurchmesser Bogen: exakt 180°, Biegeradius 50 mm zur Mittellinie, Mittellinien 100 mm auseinander Gerade Ein- und Auslaufstrecken: je 30 mm, an den Enden auf etwa 33 mm aufgeweitet Wandstärke: 4 mm; Querschnitt 42 mm breit, jede Hälfte 17 mm hoch Kabelbindernuten: 5,2 mm breit und 1,5 mm tief für 4,8 mm breite Binder; Restwand an der dünnsten Stelle 2,5 mm Aufbau Beide Hälften verlaufen über den gesamten 180°-Bogen und tragen je eine halbrunde Nut, die zusammengesetzt einen geschlossenen, kreisförmigen Kanal ergibt. Die Hälfte mit den Zapfen trägt Zapfen von 5 mm Durchmesser und 4 mm Höhe, die Gegenhälfte passende Aussparungen von 5,4 mm Durchmesser — das ergibt ein Montagespiel von 0,2 mm je Seite. Die Zapfen sitzen beidseitig des Kanals, sowohl auf dem Bogen als auch an den geraden Endstücken, und verhindern ein seitliches Verrutschen. Montage Die Hälfte mit den Aussparungen umdrehen, auf die Hälfte mit den Zapfen setzen und andrücken. Anschließend Kabelbinder durch die Nuten führen und festziehen: fünf Nuten verteilen sich gleichmäßig entlang des U-Bogens, je zwei sitzen an den geraden Endstücken. Druckhinweise Beide Hälften werden getrennt gedruckt und anschließend zusammengesteckt; die Kabelbinder übernehmen die Fixierung. Der Kanal ist an beiden Enden großzügig abgerundet, damit der Schlauch ohne Knickstellen ein- und ausläuft.
Cabinet Handl Bumper
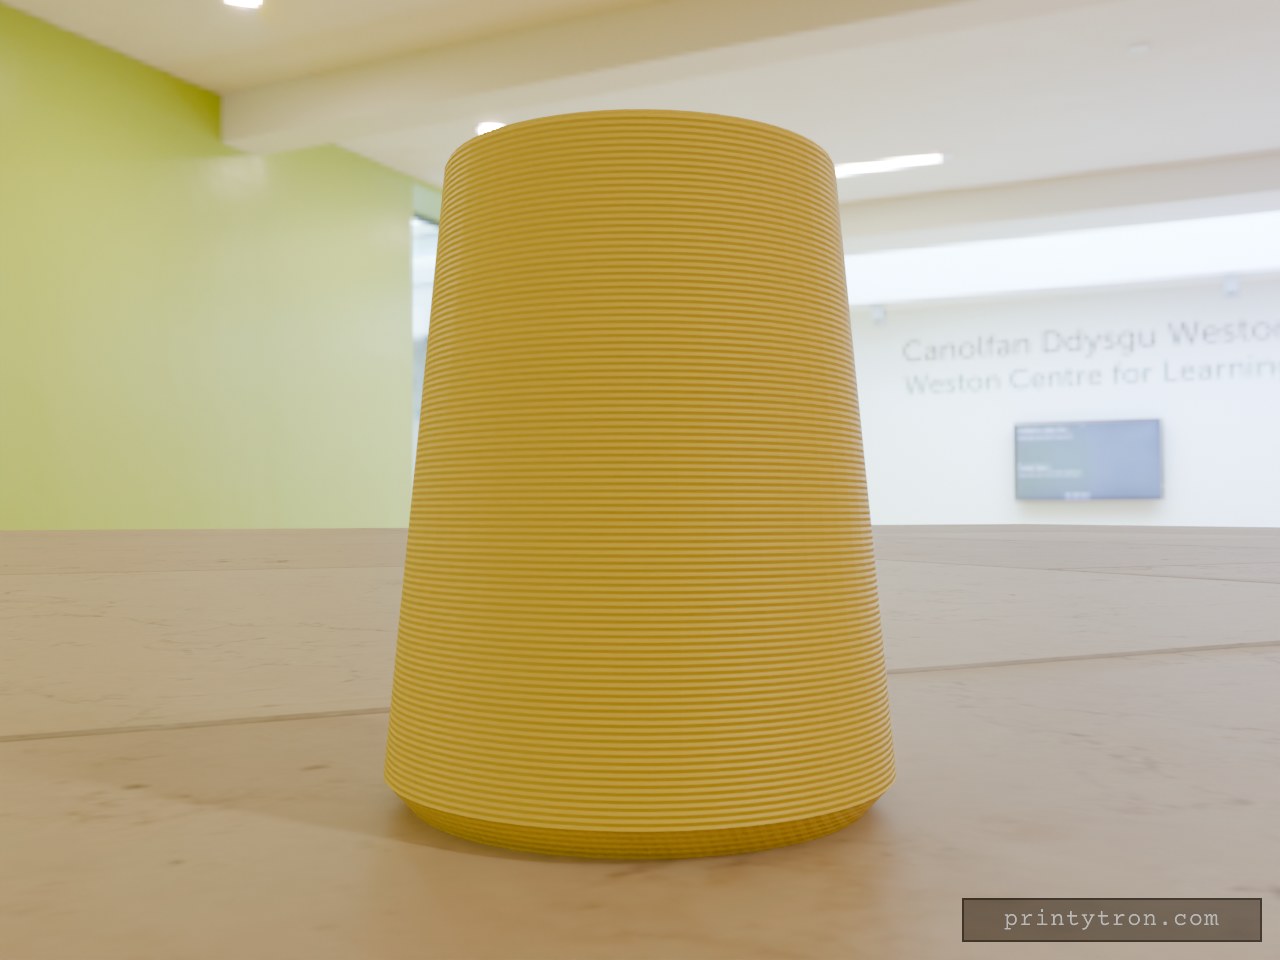
A cabinet handle end that slams into the door or wall now has a cone-shaped TPU bumper to take the hit. The bumper slides over the handle end and stays put on an 11.8 mm blind hole. Key numbers Height: 32 mm Base diameter: 26 mm, with a 1.5 mm 45° chamfer on the bottom edge Narrow end diameter: 20 mm Hole: 11.8 mm diameter, 24 mm deep, opening at the narrow end Print: TPU, base down, no supports needed
Flat-Printing Interlocking Hexagonal Wall Shelf
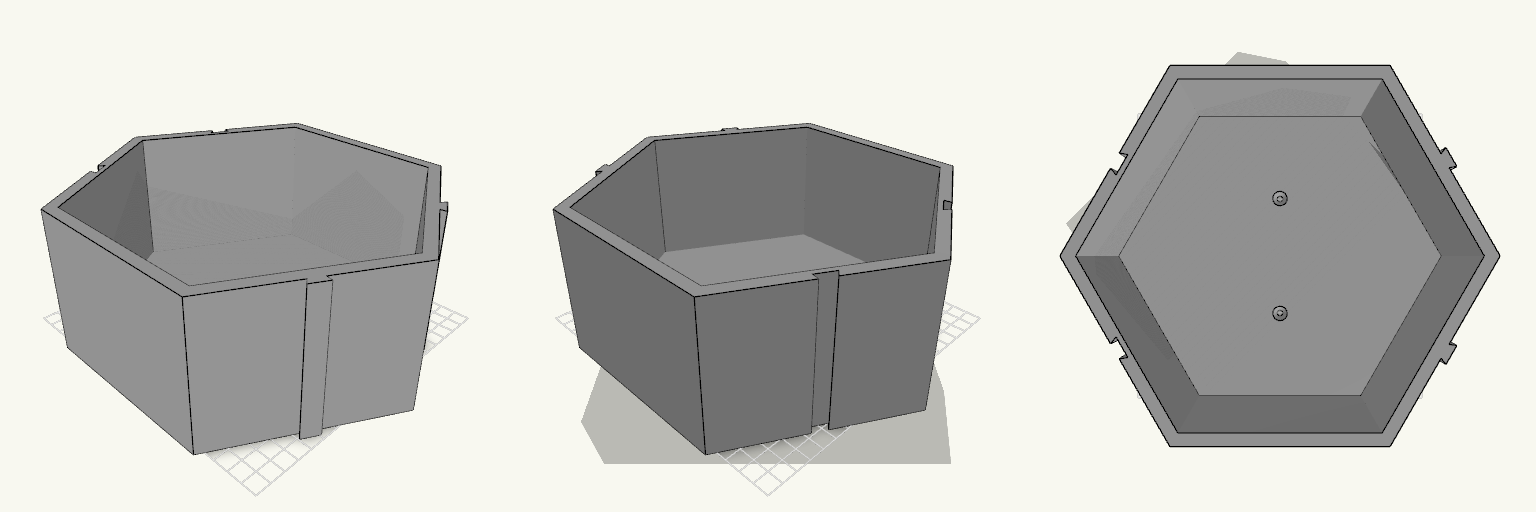
A hexagonal wall shelf that locks to matching units through dovetail keys and slots, so several can form a honeycomb. The back plate has two countersunk screw holes for wall mounting, and the front is open and flush. 170 mm flat-to-flat height, 95 mm deep 8 mm walls, 5 mm back plate Dovetail keys and slots with 0.5 mm clearance per side Printed lying on the back plate, fits a Creality K2 bed PETG recommended, with supports for the dovetails Test one pair of faces first to confirm the fit.
Charging Station Marker Nail
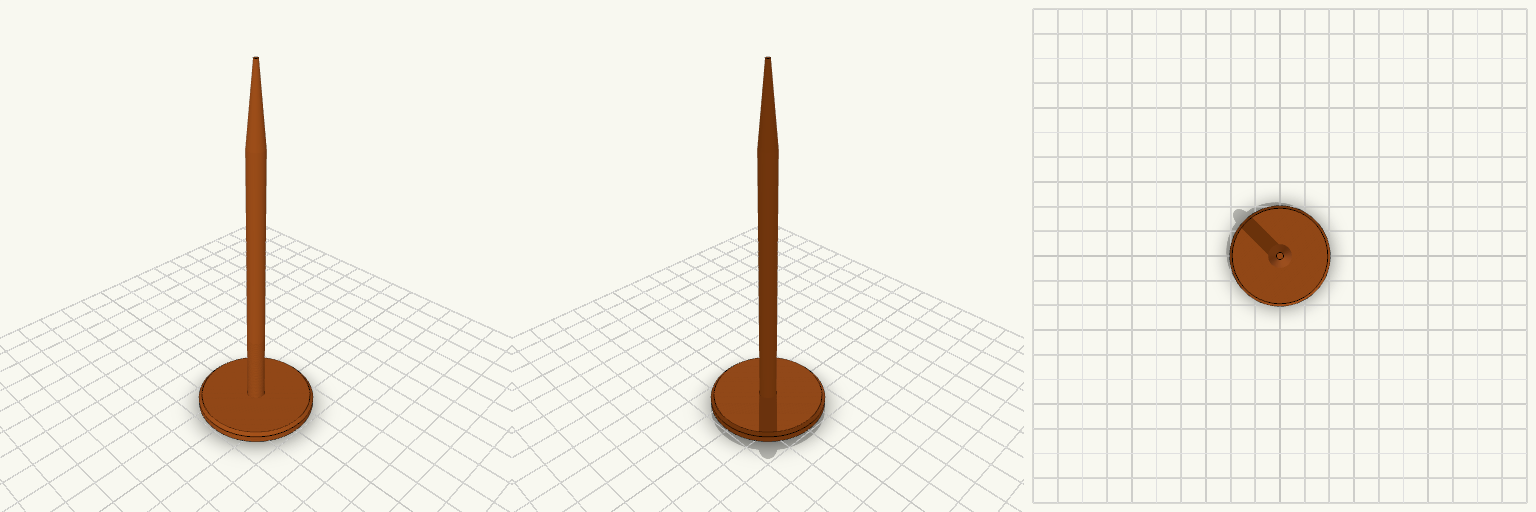
A ground marker nail for holding the position of a robot mower charging station while the charger is stored for the season. It is pushed into the soil where the charger's screw sits in summer. The nail has a wide, flat 40 mm head that stays visible at ground level, a slim 6 mm round shaft, and a tapered point for easy insertion. It prints head-down, so no supports are needed. Head: 40 mm diameter, 4 mm thick, chamfered edge Shaft: 6 mm diameter, about 90 mm long Tip: tapers to a point over 25 mm Overall length: about 119 mm Prints without supports
Faceted Weighted Bookend Pair
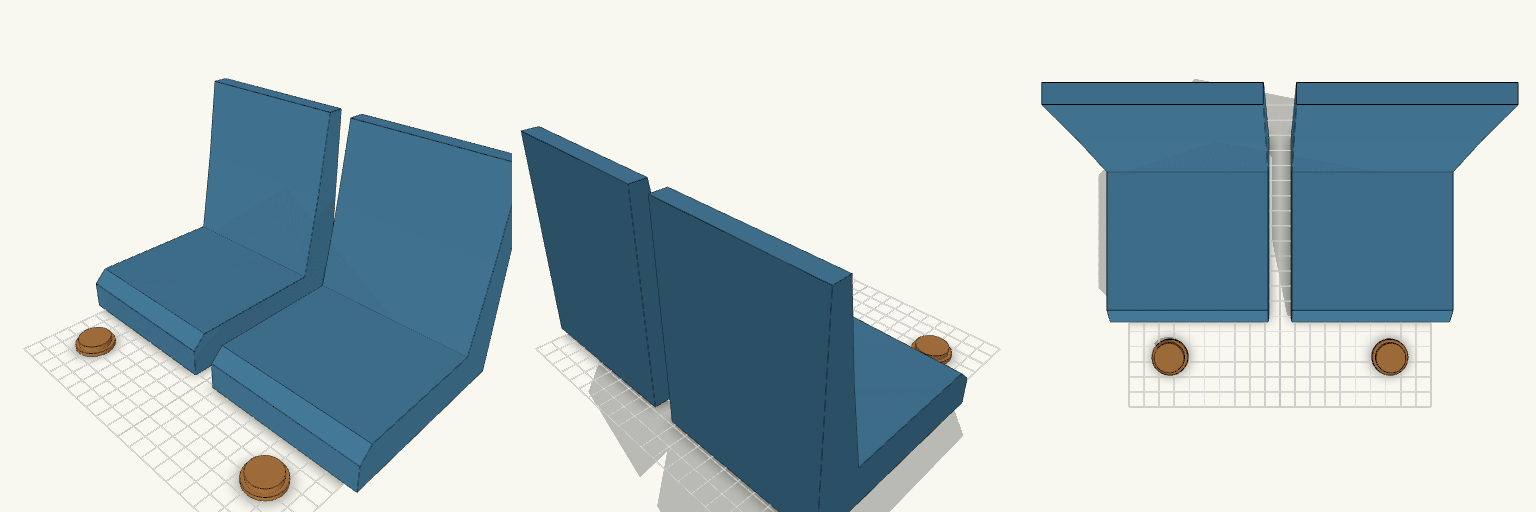
A pair of L-shaped bookends with a faceted upright and a hollow, sealed foot. The cavity can be filled with sand or coins through a filler hole in the underside, then closed with a printed plug. Weighting the foot is meant to keep paperbacks from toppling on a shelf. What it's for Holding up paperbacks and other light books that tip over on a shelf. Adding ballast after printing, so the print stays light and quick until you fill it. Printing as a matched pair: two identical bookends and two plugs. Dimensions Height: 130 mm. Foot: 100 mm wide by 120 mm deep, 25 mm tall at the front. Sealed cavity: about 90 x 106 x 16 mm inside the foot. Filler hole: 20 mm diameter in the underside, with a counterbore so the plug sits flush. Plugs: 0.3 mm clearance all round, printed separately beside the bookends. Overall layout: both bookends side by side, about 215 mm wide. Print notes The cavity ceiling is a 90 mm bridge. Turn on supports if it sags. Print the bookends upright on their feet. The plugs print flat. After filling, glue the plug into the recess so it sits flush and the bookend doesn't rock. Remix ideas Extend the cavity up into the upright for more ballast. Add a felt or cork pad to the underside. Change the facet angles or upright height for a different look. Increase the foot depth for taller or heavier books.