Amanda LED Strip Light Sign
Created today
Description
A 100 × 40 mm lighted sign reading "Amanda" in Pacifico, built as three pieces: an opaque body, a thin white translucent letter layer, and a snap-in back cover. Run an LED strip inside the 12 mm deep cavity and the light shows only through the letters.
Remix hooks
- Diffuser thickness (
dif, 0.8 mm): thicker glows more evenly and hides LED dots; thinner is brighter. Print in white or natural PLA/PETG. - Front wall (
face, 1.6 mm): sets how deep the letters are inset. Print the body in a dark or opaque filament so light stays in the letters. - Depth (
D, 12 mm): increase for a wider strip or a double row of LEDs. - Cover fit (
clr, 0.2 mm): loosen or tighten for your printer; the 3 mm lip locates the cover. - Cord notch: 8 mm wide at the bottom rear; move or widen for a USB lead or barrel jack.
- Pairs with a USB 5 V LED strip, or a small stand or wall-hanger remix.
The counters of the "A" and "d" are separate islands in the body, so glue them to the diffuser sheet.
Images
More like this
Explore more in Decor & Display →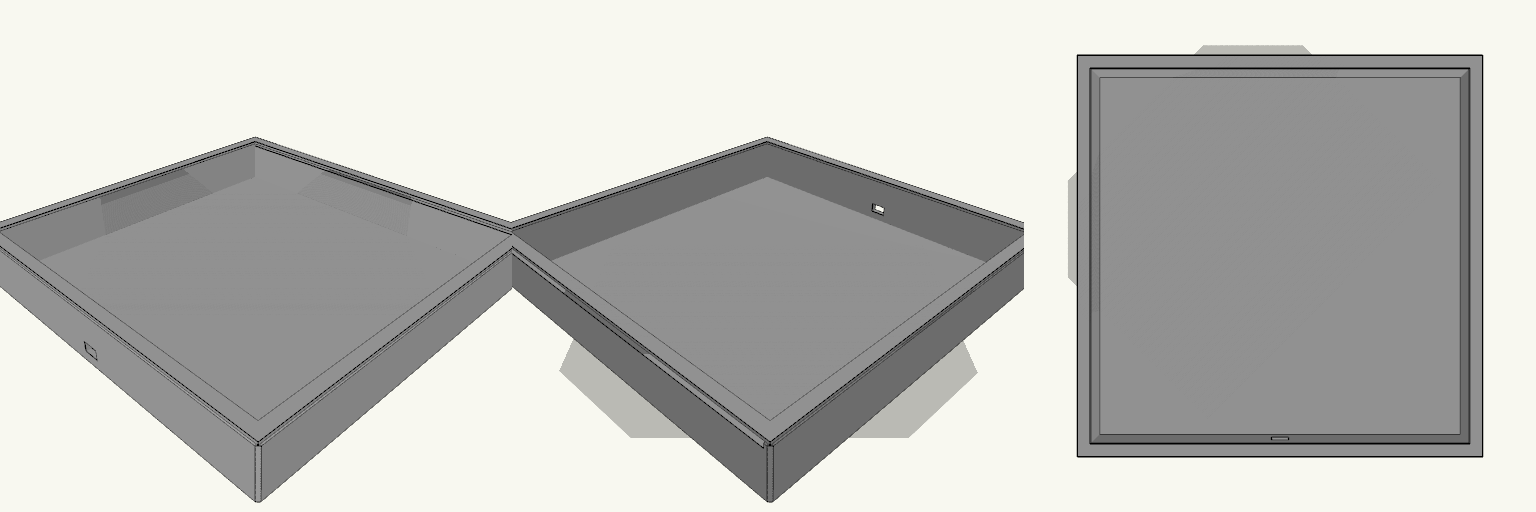
Light Box Picture Frame with Top Loading Slot
A lit picture needs a frame that holds the print flat, leaves room for the LEDs behind it, and gets the power lead out without pinching it. This is that frame: a single printed box with a pocket sized to the picture, a deep cavity behind it for the light source, and a slot along the top edge so the picture slides in without dismantling anything. Fit and build Outside: 223 × 220.9 × 33.5 mm. Picture pocket: 216.5 × 214.4 mm — 0.25 mm clearance per side on a 216 × 213.9 × 3 mm print. Front window: 208 × 205.9 mm, with a 4 mm retaining lip, 1.5 mm thick, around the opening. Lip overlap: it covers 4 mm of the picture's edge on every side, so the picture cannot slide out the front. Light cavity behind the picture: 30 mm deep, enough for an LED strip or panel. Loading: slide the picture in through the slot in the top edge. Cable: 10 mm notch in the bottom edge for a USB or power lead. The picture drops in from the top, the lip holds it at the edges while the rest stays lit, the wire leaves through the bottom where it should, and the whole thing prints as one piece.
Red Fire Goat Ornament, 120 mm
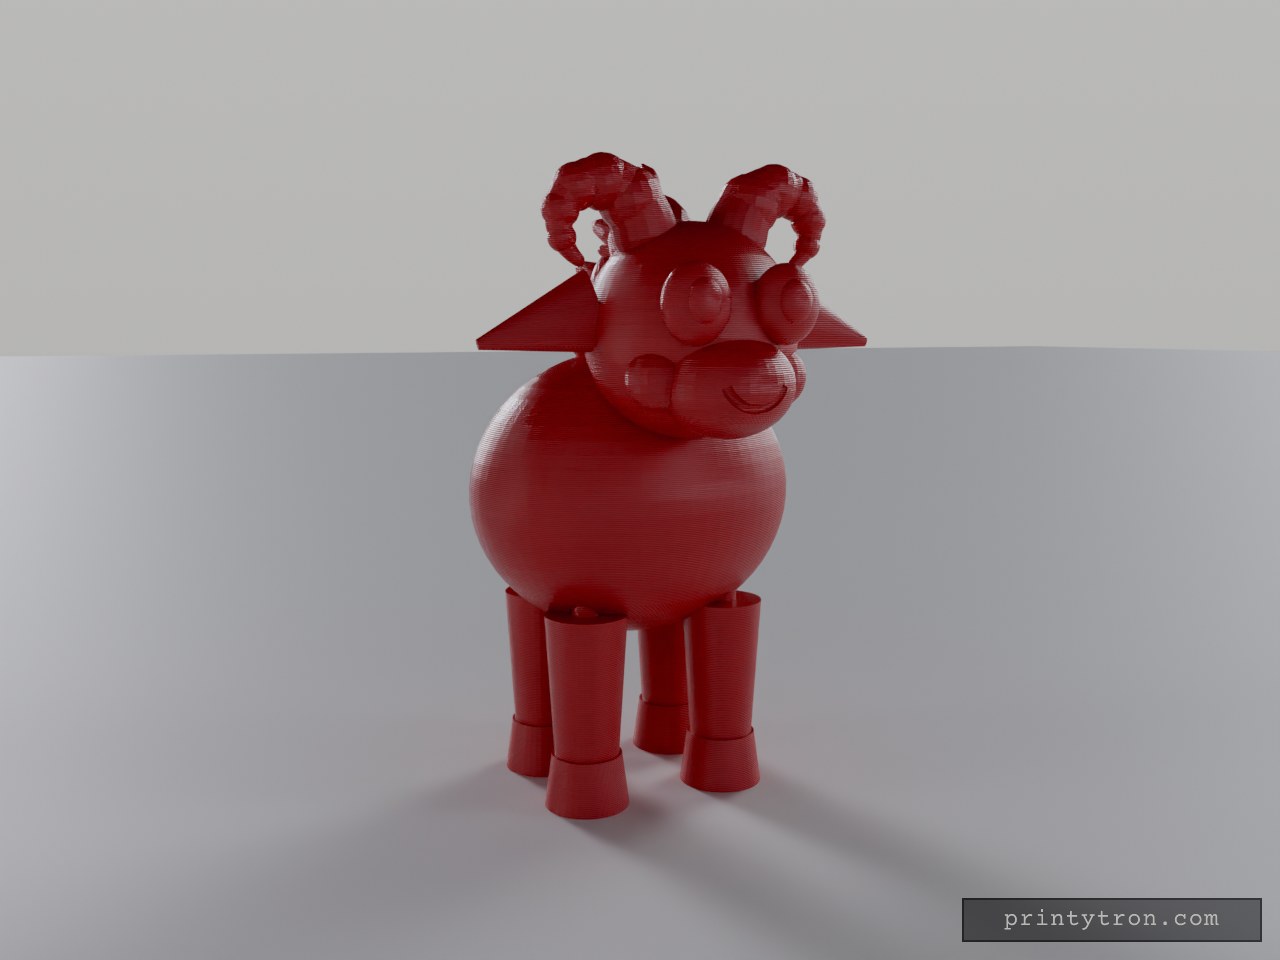
Multi-part Christmas tree ornament of a cartoon red goat with curled golden horns, amber eyes, a smiling muzzle, a flame-shaped mane and a curled tail. The body carries an integrated hanging loop on top. Head, horns, ears, eyes, pupils, legs, hooves, mane, mane flame tips and tail are separate pieces that join with round pegs and sockets. Height: about 120 mm assembled Joints: round pegs in sockets, 0.2 mm clearance per side Pieces: body, head, horns, ears, eyes, pupils, four legs, four hooves, mane, mane flame tips, tail Colours: red body, gold horns, amber eyes, orange and yellow mane, orange tail Printer: FDM, suited to a Bambu Lab P1S in PLA or PETG Export: a part selector at the top of the file switches between the assembly and each single piece for STL export Supports: horns, tail and mane may need light supports or a tilted orientation
道路围栏和交通灯杆
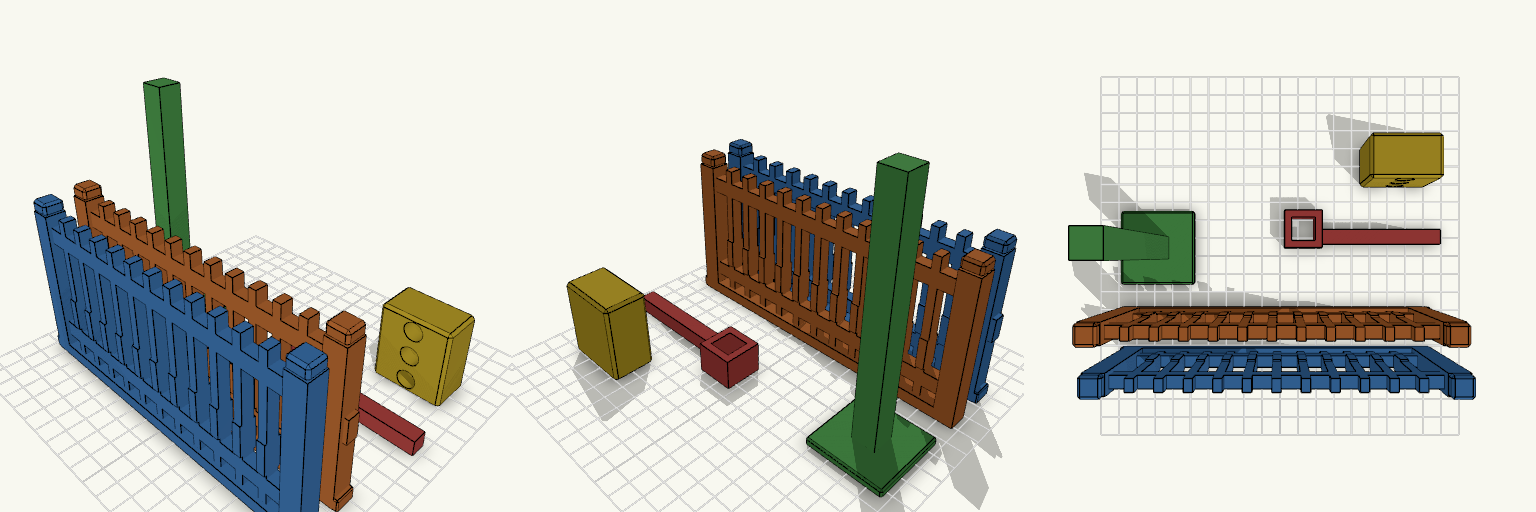
What it's for A miniature municipal road isolation set in the style of a city traffic median fence: a matched pair of guardrail sections plus a centre traffic-light assembly. All five pieces are independent parts with no merged or intersecting geometry, so each prints and finishes on its own and is glued together afterwards. The full set fits inside a 225 × 145 × 140 mm print envelope. LeftMunicipalFence and RightMunicipalFence — mirrored guardrail sections that flank the scene TrafficLightPoleMain — the centre pole the signal assembly stands on TrafficLightArm — the cantilever that carries the signal head out over the road TrafficLightHousing — the three-lamp signal head at the end of the arm Dimensions LeftMunicipalFence and RightMunicipalFence: 170 × 10 × 85 mm each. Two 10 × 10 mm end posts with chamfered caps, a top rail, a bottom rail and 11 vertical slats, each slat carrying a raised marking block on its lower half. A small reflector tab on the outer face of the end post is included in the 170 mm width. The right fence is a mirror of the left. TrafficLightPoleMain: a 12 × 12 mm square pole, 130 mm tall, on a 40 × 40 × 4 mm base plate. TrafficLightArm: an 8 × 8 × 75 mm arm with a 20 × 20 × 16 mm slip-on socket; the socket opening is 12.6 mm, leaving about 0.3 mm clearance per side on the pole. TrafficLightHousing: 36 × 22 × 42 mm, with three 10 mm lamp recesses and a closed back. Nothing is thinner than 2.4 mm, and the whole set is set up for a 0.4 mm nozzle. Assembly Print all five parts separately. Set the left fence on one side and the right fence on the other, with the pole standing in the gap between them. The arm slips over the pole, and the housing mounts at the end of the arm. Join the parts with glue after printing — no pre-joined geometry is included. Print notes Every piece is built from simple prismatic shapes with flat starting surfaces: the fence base feet and the pole base plate sit directly on the bed, and no part needs support. Orient the fences upright and stand the pole on its base plate. Colours Each part prints as a single colour, so the dark post bases, the marking blocks on the slats and the reflector tab are all part of the fence's own body. Paint them after printing, or change filament mid-print, to pick them out. Remix ideas Repeat or scale the fence sections to build a longer median run. Swap the three-lamp housing for a different signal head or a blank cap. Use the pole and arm as a mount for street signs, lamps or other scene accessories. Print the fences in a contrasting colour to the pole and housing for a clearer model-road look.
Germania Relief — Wypukła Mapa Niemiec
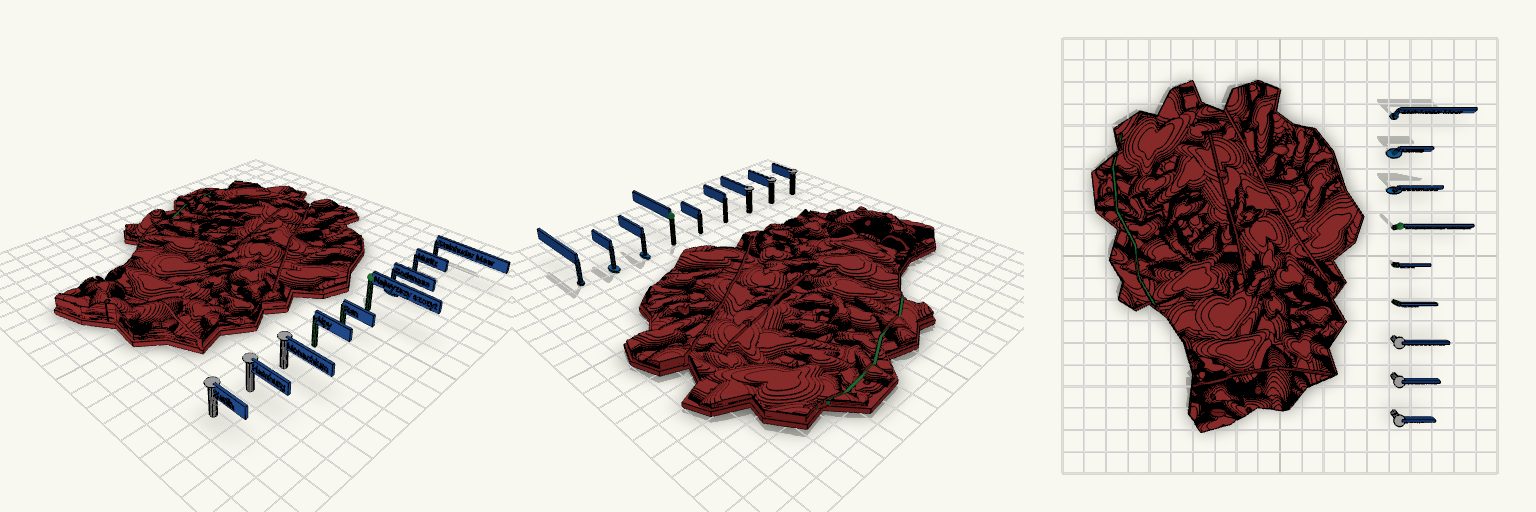
Germania Relief to wypukła mapa Niemiec z rzeźbą terenu: cała powierzchnia jest lekko falista, także na nizinach, a góry wybijają się ponad nią. Wzniesienia mają gładkie, wielowarstwowe zbocza i nieregularne, powyginane obrysy zamiast regularnych owali. Cztery wyżłobione rzeki przecinają teren, a Ren jest wyróżniony zielonym wypełnieniem koryta, przyciętym do zarysu mapy, oraz tabliczką „Ren”. Znaczniki — trzy miasta, szczyt, Alpy, Ren i jeziora — są osobnymi elementami: leżą płasko obok mapy, bez dodatkowej podstawy, i pasują do gniazd w mapie. Całość czyta się jak dekoracyjna mapa reliefowa, a nie płaski plan. Najważniejsze cechy Ukształtowanie terenu w gładkich, wielowarstwowych zboczach, z Alpami wybijającymi się ponad resztę mapy i zieloną tabliczką „Alpy” Cztery rzeki, w tym Ren z zielonym wypełnieniem koryta przyciętym do zarysu mapy i podpisem; wypełnienie leży w korycie na mapie Trzy największe miasta — Berlin, Hamburg i Monachium — oznaczone wyjmowanymi słupkami z pionową tabliczką z wypukłym napisem Najwyższy szczyt Alp oznaczony wyjmowanym znacznikiem z kulką, kołkiem i tabliczką „Najwyzszy szczyt” Jeziora: Muritz, Bodensee i Steinhuder Meer — niebieskie wkładki w wycięciach, podpisane małymi tabliczkami Wyjmowane znaczniki leżą luzem obok mapy, bez podstawy; po przełożeniu wciska się je w gniazda mapy W zestawie Mapa Niemiec ok. 124 × 160 mm z gniazdami na znaczniki Wyjmowane znaczniki miast, szczytu, Alp, Renu i jezior, leżące płasko obok mapy Znaczniki nie mają osobnej podstawy Druk i montaż Model składa się z mapy i osobnych znaczników. Znaczniki są wciskane w gniazda mapy; pasowanie jest ciasne, więc luzy warto sprawdzić na wydruku. Najdrobniejsze elementy, jak kołek szczytu, są delikatne.
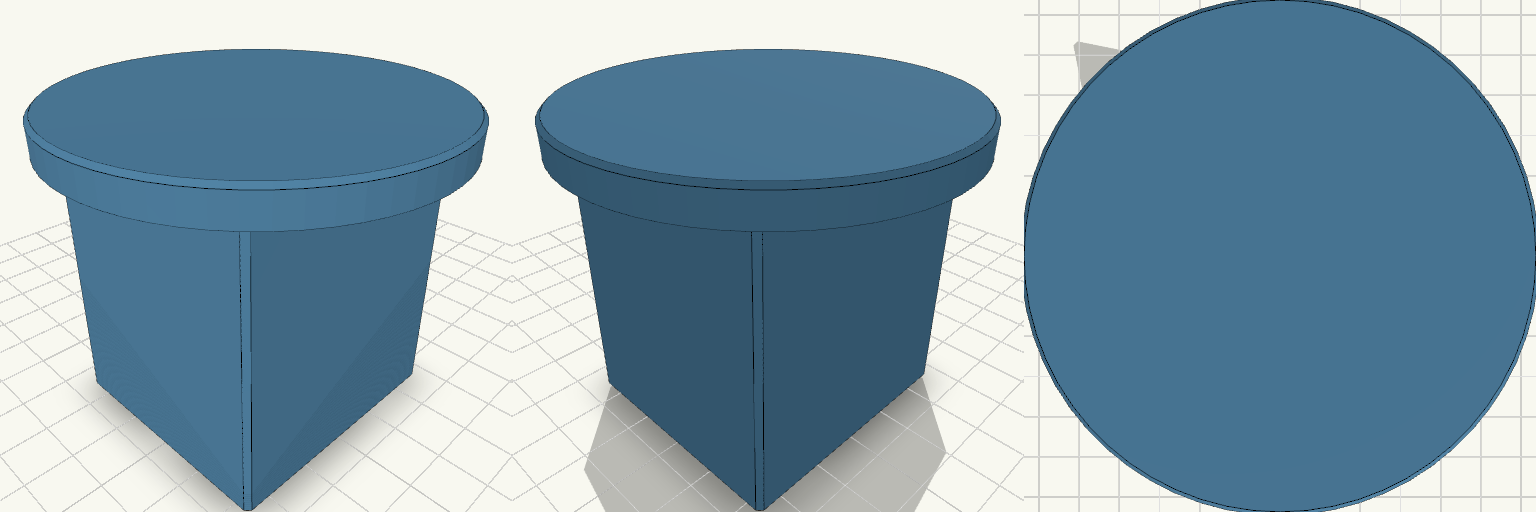
PostCrown — Metal T-Post Cap
PostCrown is a push-on cap for a metal T-post: a squared body with a T-shaped channel that drops over the post’s flange and web, topped by a solid round platform. The point is the platform — it turns the raw top of a fence post into a flat, 3-inch-wide round surface, useful for resting a drink, a tool or a marker while you work, and for capping off the sharp edges of the post itself. The internal slot is cut deliberately oversized so it clears the raised humps and ridge that run along many T-posts. The crossbar and stem have both been enlarged for that clearance, making it a slip-on rather than a press-fit: it settles over the post without hammering, and the platform stays level because the body bottoms out on the flange rather than wedging on the ridge. The cap stands 2.5 in (63.5 mm) tall overall, which keeps it compact on the post while leaving the full 1/4-inch platform thickness intact. Dimensions Overall height: 2.5 in (63.5 mm) Top platform: 76 mm round, 1/4 in (6.35 mm) thick, solid Body footprint: 48 × 52 mm Slot crossbar: 41 × 10 mm Slot stem: 9 mm wide, 34 mm deep Features T-shaped channel sized to clear the post’s raised humps and ridge, so it slides on without force Full-thickness 1/4-inch platform on top — solid material, not a ring with a hole through it Compact 48 × 52 mm body keeps the cap close to the post’s own profile Prints as one piece with no supports when oriented platform-down Print notes Print platform-down: the slot opens upward and needs no support that way The slot was set from typical T-post dimensions rather than a measurement of a specific post, so check your post’s flange width, web depth and material thickness if a snug or loose fit matters Compatibility Intended for common metal T-posts with a flange roughly 35 mm across; the slot is oversized to clear the post’s humps, but posts with heavier flanges or a thicker ridge may still need the slot adjusted
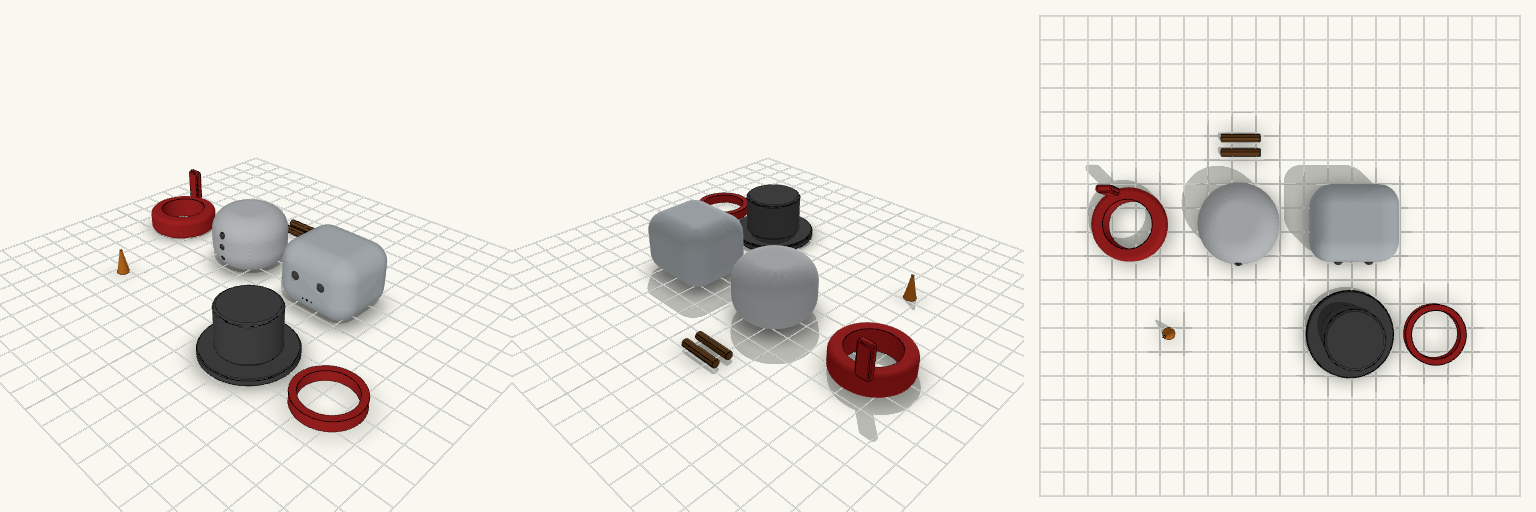
Santa
A Funko-style snowman built as separate pieces: body, square head, top hat and two stick arms. The head has a 17.49 × 17.49 mm square pocket, 9.92 mm deep, in its flat underside. Fit notes Pocket: 17.49 × 17.49 × 9.92 mm in the head underside. Measure your mating part before printing. Head top: flat. The threaded post has been removed. Hat: still carries its threaded socket, so it does not screw onto this head as built. Not fitted: the body has no matching peg for the pocket.