Mini Pry Bar for Stuck Edges and Gaps
Created today
Description
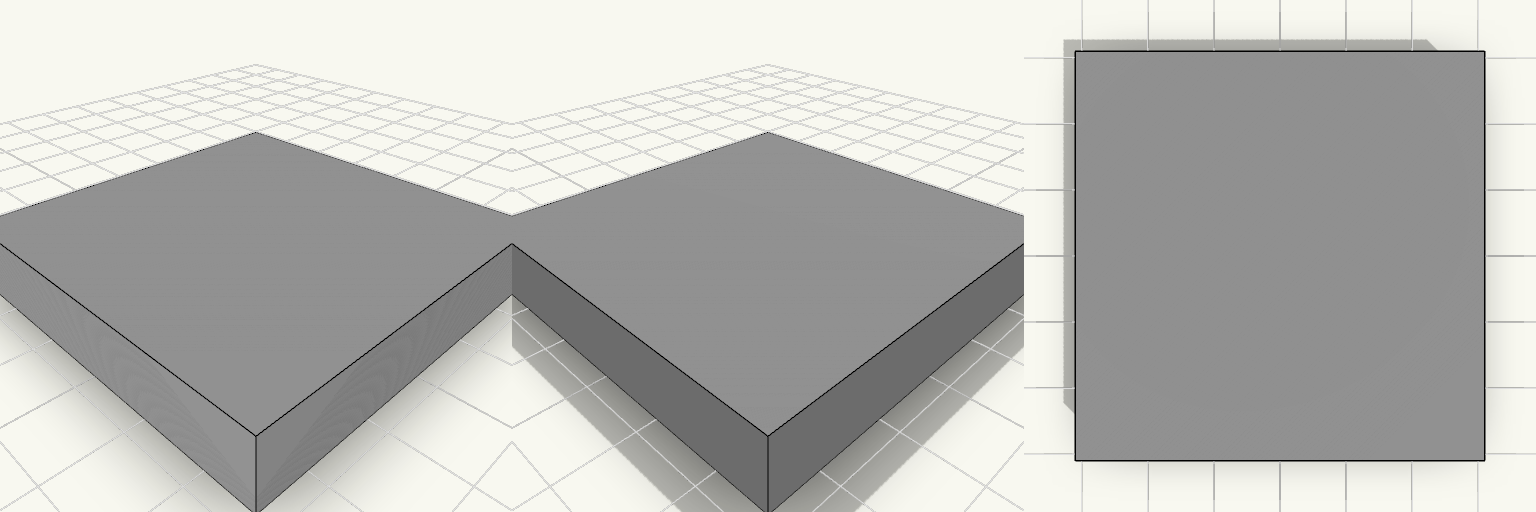
A mini pry bar for the gap that is too tight for a fingernail and too shallow for a real crowbar — nothing gets under the edge, so the lid stays shut, the panel stays seated, the trim stays put. It is a flat 4.5 in bar, 2/5 in wide, with a chisel-bevel straight end to start the lift and a 165° claw hook at the other end to catch and hold what you have opened.
What it does at each end
- Chisel-bevel straight end: taps into a seam and starts the gap.
- 165° hook: wraps the edge you have lifted so it does not drop back.
- Slanted claw tip: cut at a 35° slant like a crowbar claw, so it bites instead of skating off.
- Full-width hook: the hook stays 2/5 in (10.16 mm) wide from the handle to the tip, so it catches the full edge instead of narrowing away.
Sizes that decide fit
- Bar length: 4.5 in (114.3 mm), with the hook adding to the overall footprint
- Overall width at the handle: 2/5 in (10.16 mm)
- Bar thickness: 6 mm at the handle, thinning to about 2 mm at the hook tip
- Hook curl: 165° around a 14 mm centerline radius — check this against the edge you want it to wrap
- Printed footprint: about 130 × 10 × 32 mm, lying flat
Printing
One piece, straight off the plate — the bar and the curve share solid material at the joint, so there is no slip fit, no glue, no assembly. Lay it flat as it comes and print; the flat bar and the curl sit on the plate without supports. Check the curl radius and the 2/5 in width before you start; those two decide whether the hook wraps your edge or rattles around it. Look over the joint between the bar and the hook in the preview first, since that is where the two shapes meet.
Images
More like this
Explore more in Workshop & Tools →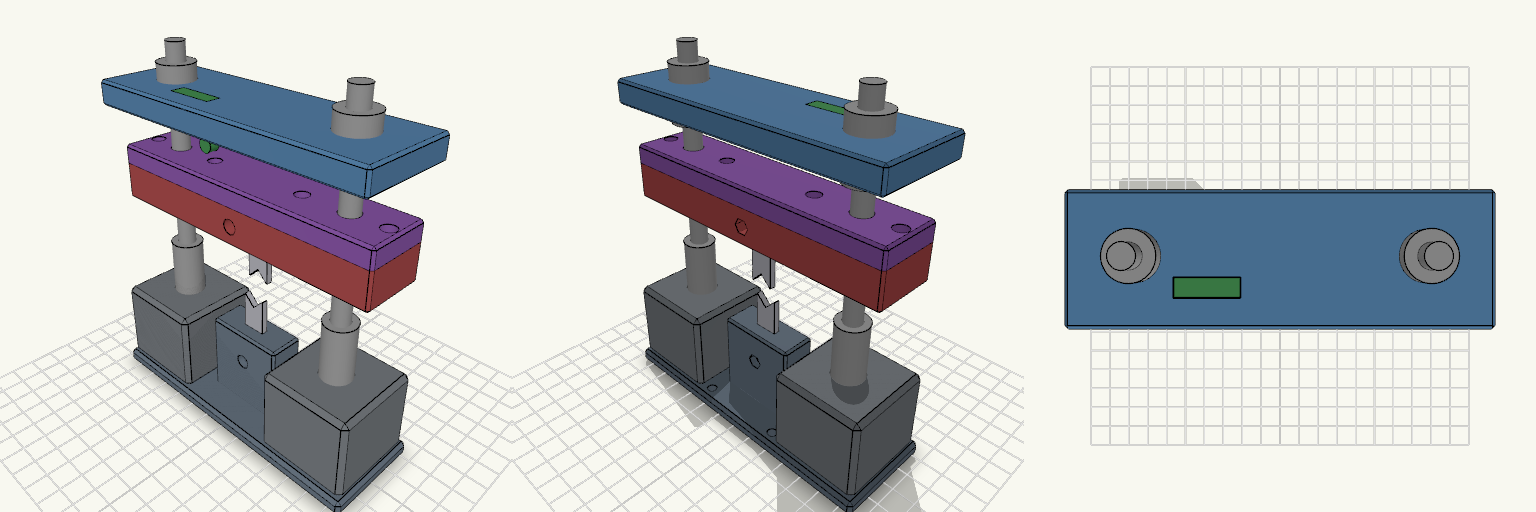
Twin-Screw Guillotine Wire Cutter
A guillotine wire cutter in the spirit of a workshop shear: two V blades pass each other with no face gap, driven by twin 8 mm lead screws on NEMA 17 motors. Design notes Base and bottom blade holder print as one upright piece. Split carriage captures the flanged nuts between two halves. Hex nut traps are 7.0 mm; blade holes sit 4 mm from the held end. Assembled view shows black motors, screws, nuts, blades and limit switch for visualisation only.
Tape Measure Holster with Label Window
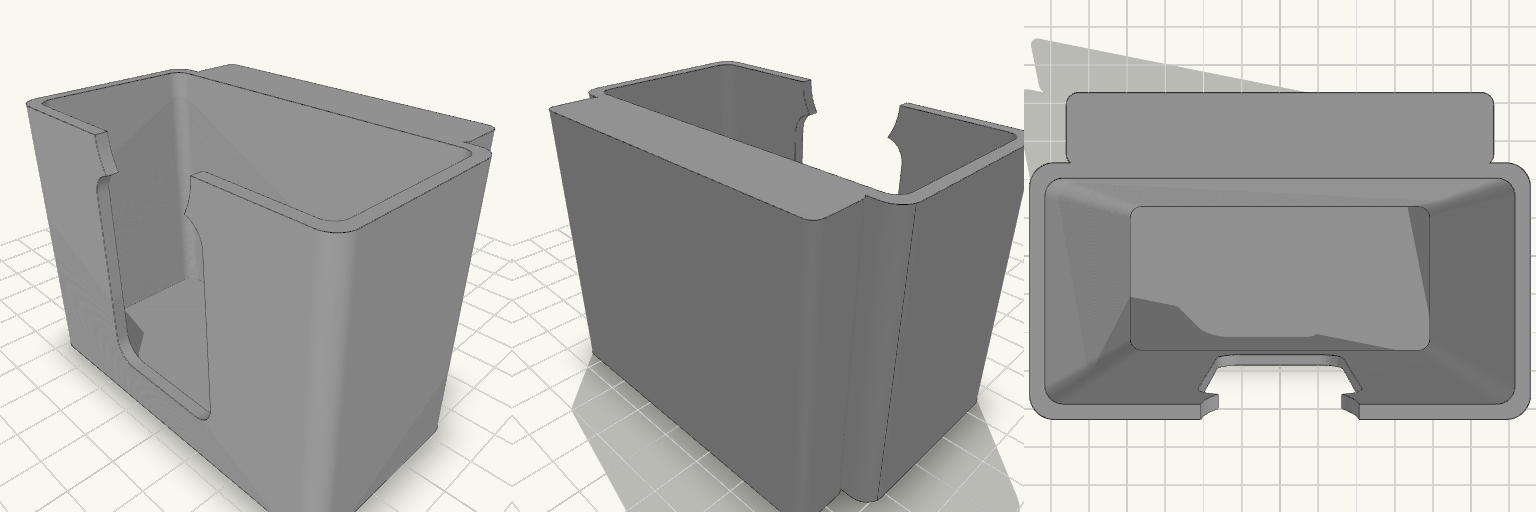
A belt-worn holster cup for a 5 m tape measure, sized for a body of about 75 × 75 × 35 mm with 2 mm of total clearance. A vertical window in the front lets you read the size label without pulling the tape out, and a round thumb scoop at the top edge makes it easier to grip and lift. A loop on the back takes a belt. The cup is open at the top and covers the lower 80% of the tape (60 mm). Outer size is 82 × 42 mm, with 2.5 mm walls and a 2.5 mm floor. Remix hooks Tape size: the tape width, height and thickness (75 / 75 / 35 mm) and the 2 mm clearance are the main numbers. Change them and the cup, loop and window all follow. Other tape brands or 3 m / 8 m sizes are a quick swap. Cup height: set at 80% of tape height (60 mm). Lower it for easier draw, raise it for a more secure hold. Label window: 30 mm wide, with rounded ends, centred on the front. Widen it for a bigger label, or move it to the side for a tape with an offset label. Thumb scoop: 26 mm diameter cut at the top front. Shrink it for a snugger hold. Belt loop: the slot is about 5 mm deep and the loop spans the back at 70 mm wide. Thicker or wider belts need a deeper slot, which is the first thing worth testing against your own belt. Wall thickness: 2.5 mm. Go thicker for rigidity, or thinner to save material. Pairs well with A flexible filament such as TPU for a grippier cup, or PETG for a stiffer loop. A second window on the back or side if you want to read the metric scale as well. A small retention tab or friction bump inside the cup rim if the tape needs a firmer hold.
Zauberstab final
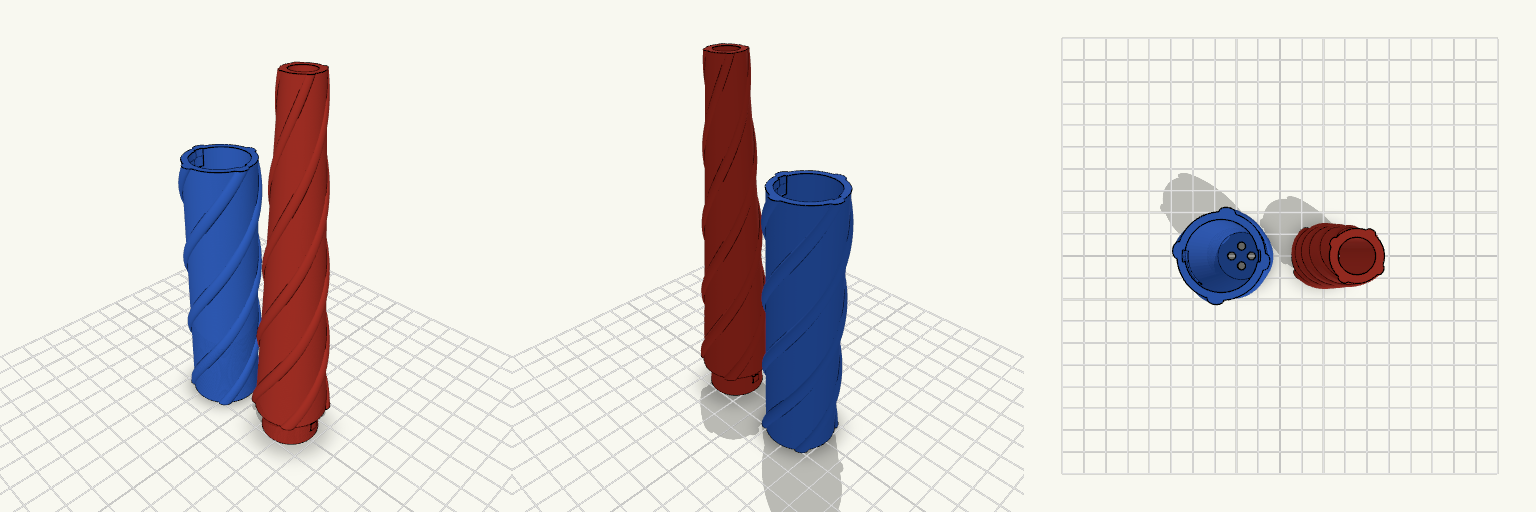
What it's for Zweiteiliger Zauberstab aus Griff und Spitze, gebaut für eine UV-Taschenlampe im Griff. Der Griff bietet 97 mm Innenhöhe, sodass die Lampe vollständig unterhalb des Bajonettverschlusses sitzt; die hohle Spitze lässt das UV-Licht oben austreten. Außen liegt ein glatter Kern mit vier runden, spiralförmig aufgelegten Teigsträngen, die wie um den Stab gelegte Teigbahnen wirken. Ein innenliegendes Bajonett mit Rastnocke hält die Teile bündig zusammen und sichert gegen unbeabsichtigtes Aufdrehen. Vier Bodenlöcher im Griff erlauben den Zugang zum Druckknopf der Lampe. Dimensions Griff: 99 mm hoch, 97 mm Innenhöhe, Innen-Ø 21,8 mm; Lampe sitzt unterhalb der Bajonettnut. Spitze: 135 mm inkl. Zapfen; Lichtkanal von 18 mm unten auf 9 mm oben; Wand im Bajonettbereich mindestens 1,5 mm. Außen: glatter Kern Ø 26,4 mm; vier Stränge unten ca. 5 mm breit und 1,4 mm hoch, nach oben ca. 2,5 mm breit und 0,7 mm hoch; größtes Außenmaß ca. Ø 29,2 mm. Bajonett: innenliegende Nut im Griff, Nasen an der Spitze, Rastnocke; Einführschlitz bis zur Oberkante; Muster auf die 45°-Endstellung abgestimmt. Boden: vier Löcher Ø 3,75 mm, enger zur Mitte gesetzt. Print notes Griff und Spitze werden getrennt gedruckt und über den Bajonettverschluss verbunden. Die Außenkontur ist glatt ausgelegt; das Relief der Teigstränge liegt als aufgesetzte Struktur darüber. Für eine saubere runde Außenwand ist eine feine Auflösung sinnvoll. Die Rastnocke ist als spürbarer Widerstand ausgelegt; je nach Drucker und Material kann der Eingriff straffer oder weicher ausfallen. Remix ideas Anzahl der Stränge oder Windungszahl über die Höhe ändern. Strangquerschnitt dicker für kräftigeres Relief oder dünner für eine glattere Oberfläche. Griffhöhe und Lichtkanal an eine andere Taschenlampe anpassen. Rastnocke stärker oder schwächer auslegen.
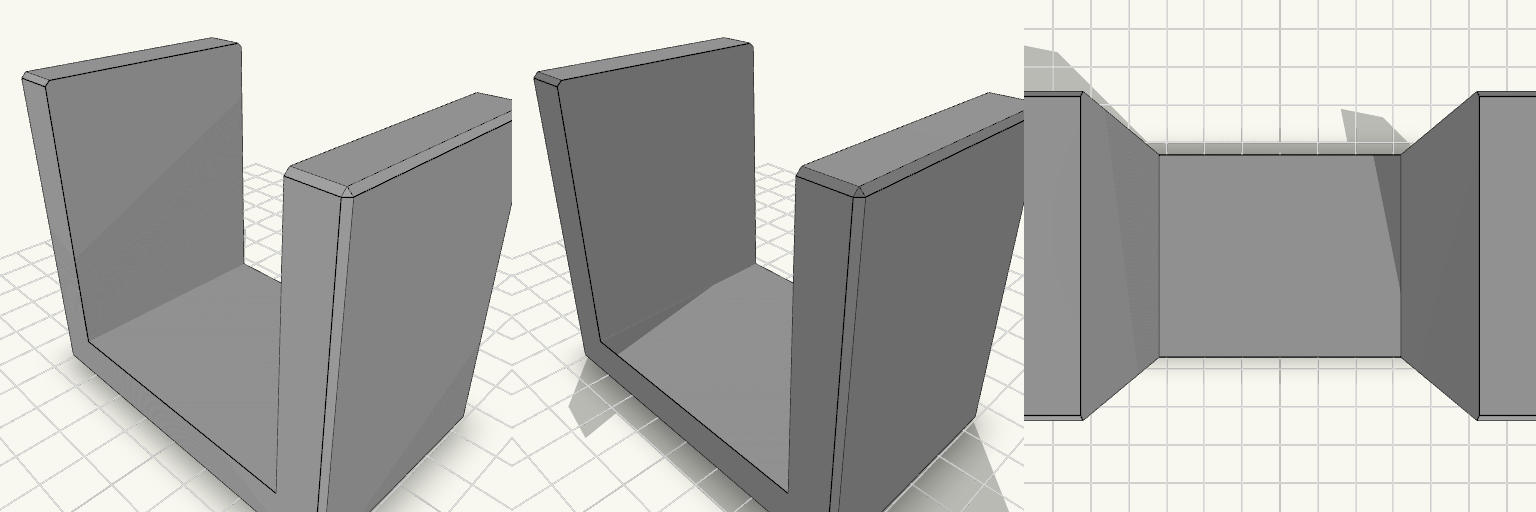
U profilis, 60 mm tarpas, aukštos sienelės
U formos laikiklis, kuriame detalė neslysta į šonus: 60 mm tarpas tarp sienelių, 10 mm sienelės ir dugnas, 50 mm pagrindo plotis. Matmenys Vidinis tarpas: 60 mm Sienelių ir dugno storis: 10 mm Sienelės virš dugno: 60 mm (pailgintos 50 mm) Bendras dydis: 80 × 50 × 70 mm Spausdinimas: dugnu ant stalo, atramų nereikia
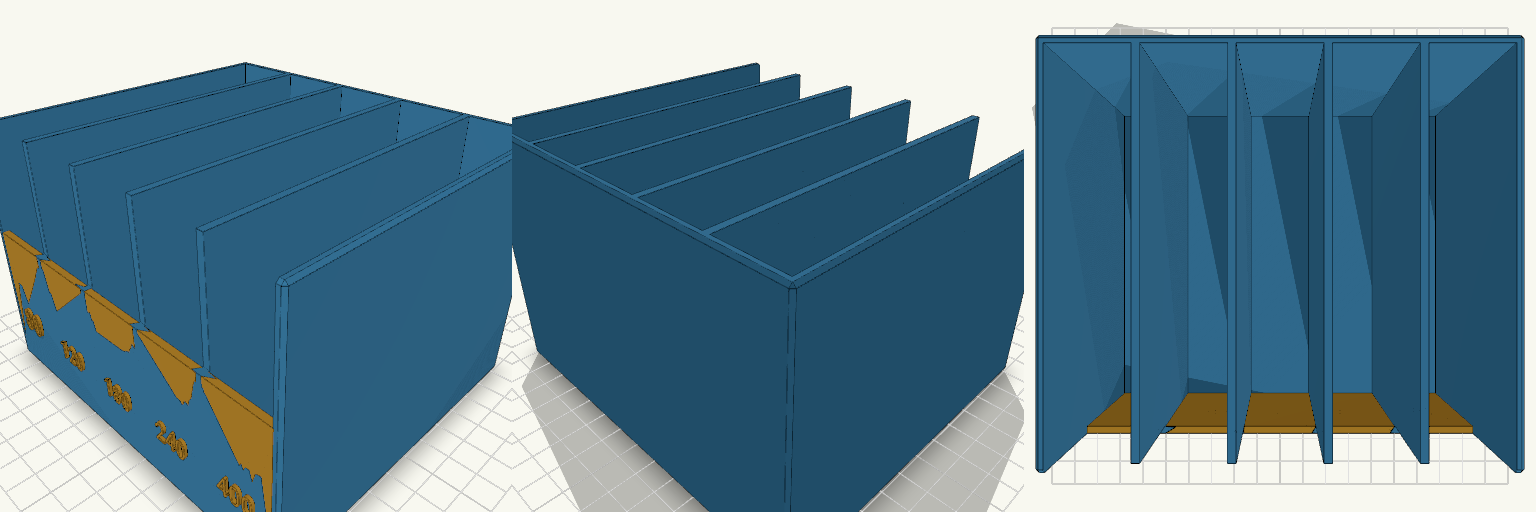
GritHouse — Five-Slot Sandpaper Rack
GritHouse is a bench-top sorting rack that gives every grit of sandpaper its own slot, so a 400 never gets pulled out when a 40 was the target. Five upright slots hold quarter-sheets, and each slot has a front tab with its grit number embossed in raised, easy-to-read digits: 80, 120, 180, 240 and 400, left to right. A tall back wall keeps sheets standing, while the lower front tabs leave room to grip a sheet and pull it out. Features Five slots, each 25 mm wide and 120 mm deep, sized for quarter-sheets Embossed grit labels on the front tabs: 80, 120, 180, 240, 400 Back wall 95 mm tall, front tabs 55 mm tall for easy grabbing Finger scoops cut into the front of each slot Chamfered outer edges for a cleaner print Two colour regions: the rack body and the front tabs with numbers Dimensions Overall: about 139 × 126 × 95 mm (W × D × H) Slot interior: 25 × 120 mm Divider and outer wall thickness: 2.4 mm Floor thickness: 3 mm Print notes Prints upright on its base with no supports needed for the main body. Raised numbers face forward; a 0.2 mm layer height keeps the digits crisp. Use a contrasting filament for the tabs to make the grit numbers stand out.