Modular Sofa Frame Clip
Created 3 months ago
Description
A heavy-duty snap-fit clip for keeping modular garden sofa frames locked together. It clamps over two adjacent square tubes to stop the sections from drifting apart on the patio.
Remix Hooks
- Tube size: Currently sized for 20mm square tubing. Measure your frame before printing.
- Wall thickness: Set at 5mm for rigidity. If it's too tough to snap over the metal, drop this down to 3mm or 4mm.
- Grip length: Extruded to 40mm long. Print a short 10mm test slice first to check the snap fit.
Photos
Technical views
More like this
Explore more in Home & Fixtures →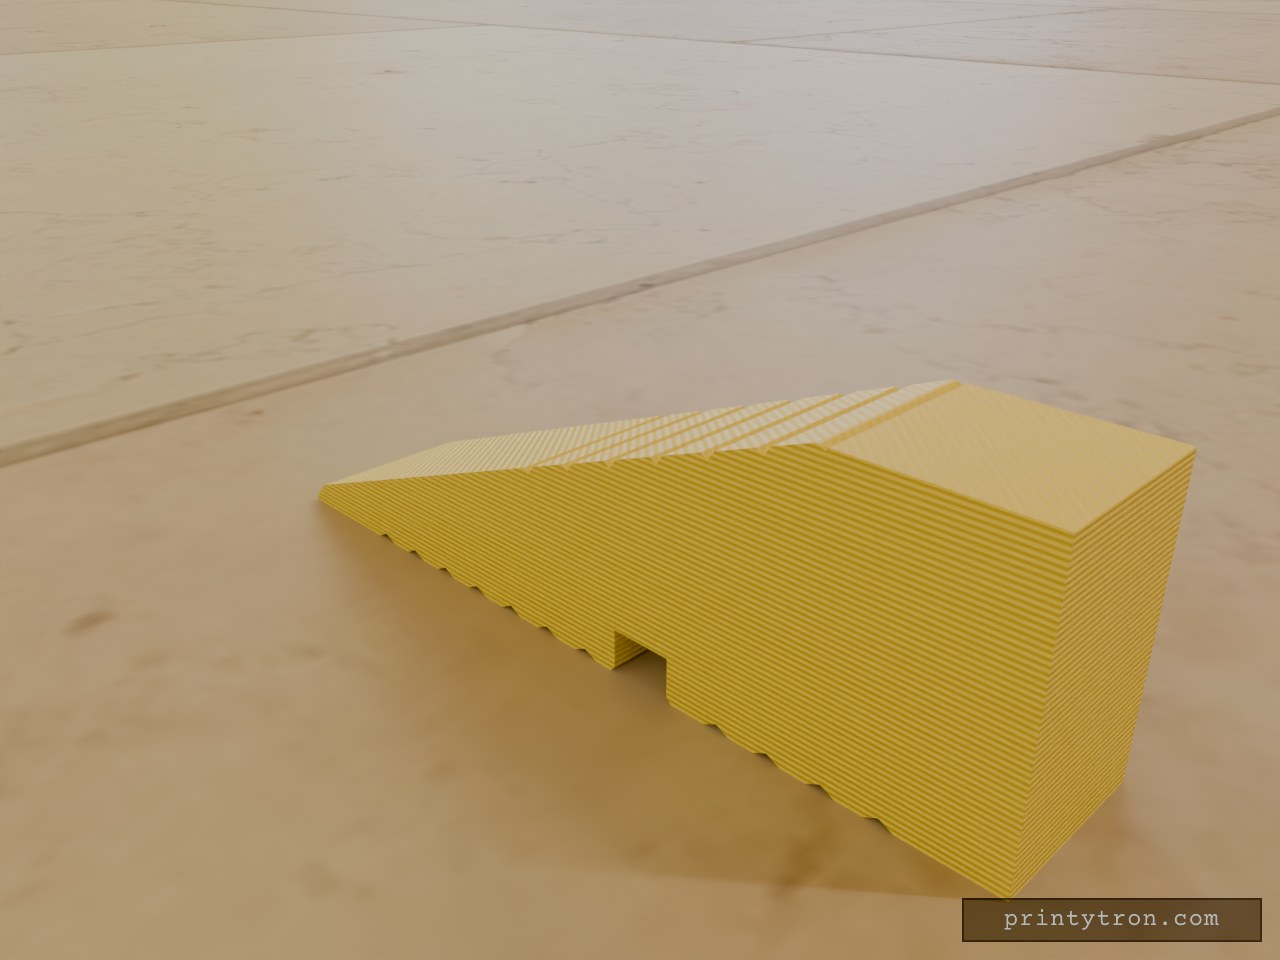
Doorstop Wedge Rib Clip
A doorstop wedge with the low, hard-working profile of a chalk wedge, cut to a 10 mm width to grip the raised PVC rib on a balcony door sill. The underside carries a straight snap-fit groove that presses over the rib, the thin tip lets the door glide across, and the block behind it stops the door dead so it cannot swing open while you are out on the balcony. The top rises from a 1 mm tip to a flat 16 mm shelf — the ramp reaches that height about 39.5 mm back from the tip and then runs flat to the fat end. Both the top and bottom faces carry shallow V-ribs across the width: grip where a hand or a door meets the wedge, and a lightly textured finish underneath. Design notes 50 × 10 mm footprint with a 16 mm flat top; the ramp climbs from a 1 mm tip to the shelf, and the shelf’s front edge is left sharp Bottom groove 3.6 mm wide (3.4 mm rib plus 0.2 mm clearance) and 2.5 mm deep, flat-bottomed with a 0.3 mm entry chamfer, centred 20 mm back from the fat end V-ribs run 3 mm apart at 0.4 mm deep; bottom ribs start about 8 mm from the tip and stop clear of the groove so its edges stay clean, while top ribs begin where the wedge is thick enough to cut into 0.5 mm chamfers along the top edges, and a 1 mm 45° bevel at the tip to help the door ride over Printing Print flat on the bottom face with the groove facing down, in PETG at 0.2 mm layers, 4 walls and 40% infill.
Fly Screen Frame Snap Lock for Wall Gap
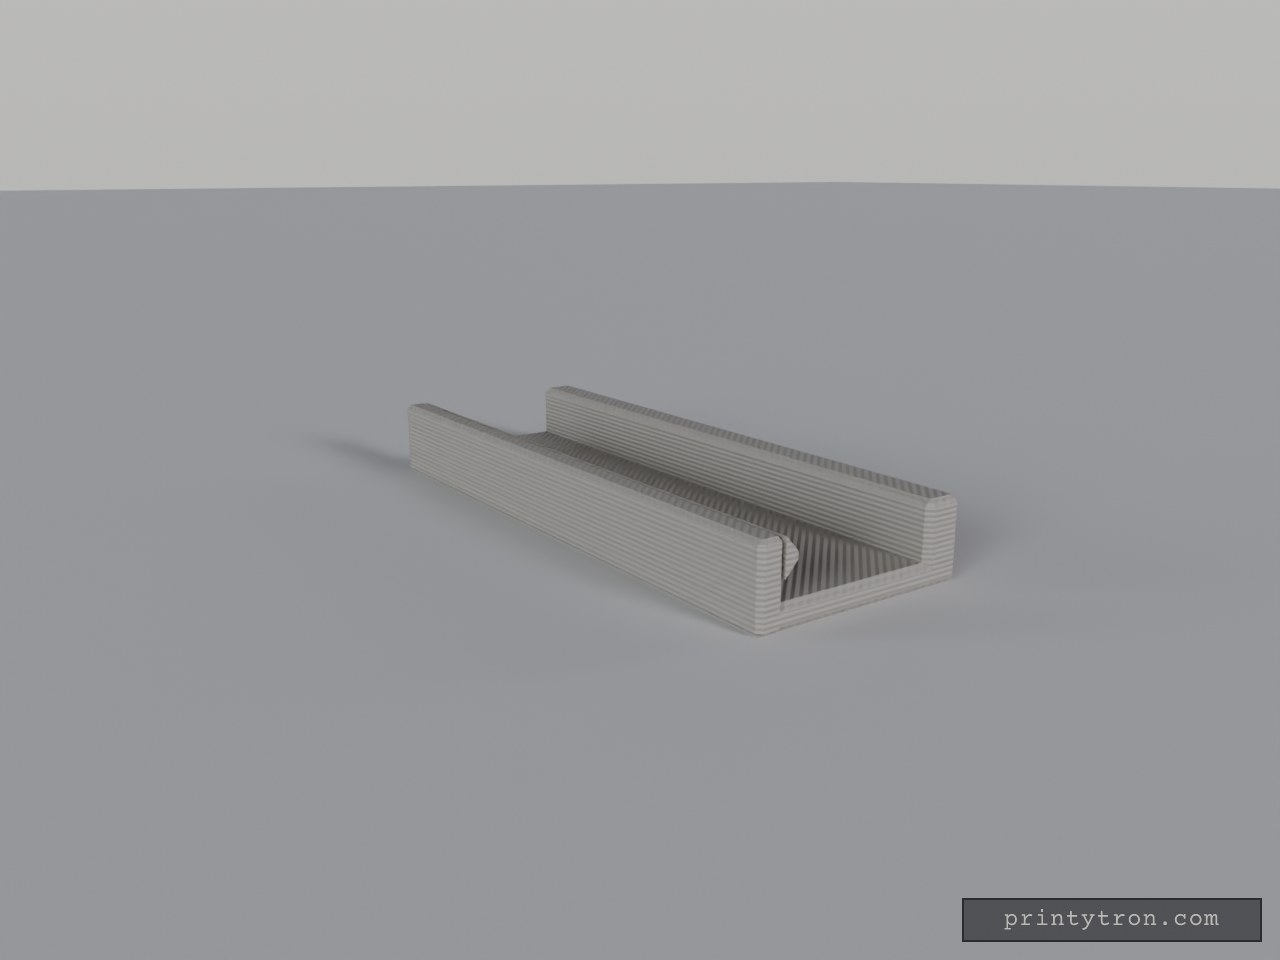
A fly-screen frame that keeps popping out of the gap between it and the wall is the annoyance; this clip holds it in line without screws. The frame slides in along the channel from either end, past ramps on a thin flexible arm — it gives way to a deliberate pull but stays put in a gust — and the back carries a glue strip so the clip sits flat against the wall. Fit and hold Channel: 10.2 mm wide for a 1 cm frame, 0.2 mm clearance. Entry: open at both ends, so the frame slides in along the 40 mm length; the arm's lip is ramped down at both ends to start it easily. Front arm: 1.6 mm thick and flexible, fixed only along its base, so the frame opens up easily and still holds in wind. Back wall: rigid, no lip — it stays clear of the sliding frame and only the arm does the holding. Glue recess: 0.8 mm deep and 30 mm long on the back, so the glue strip sits flush and the clip lies flat. Size: 40 × 14.3 × 5 mm, matching the 0.5 cm gap between wall and frame. Use PETG for the flexing front arm — it takes the repeated opening and closing better than a brittle filament, and the stiffness of the arm is what decides whether the frame holds or rattles loose.
Industrial Saddle Wall-Mount Air-Hose Clip
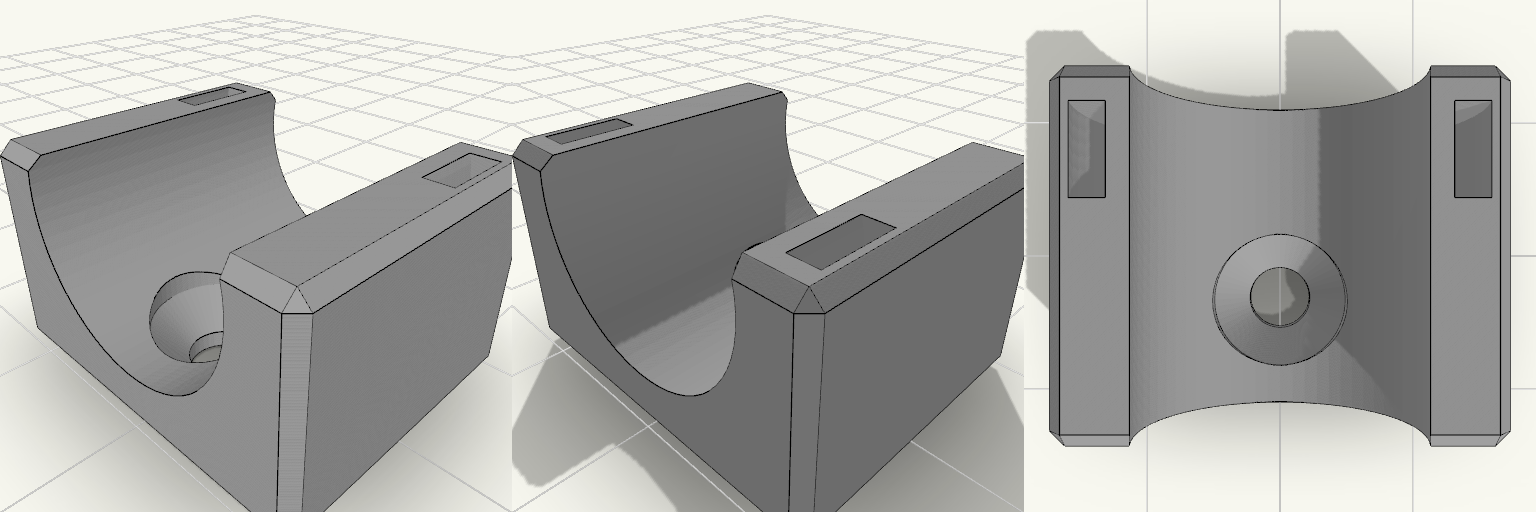
A plain block with a channel across its top and a single hole sunk into the floor of that channel — drive a drywall screw through it, drop the 5/8″ OD air hose in, and the fixing disappears beneath the hose. A slot cuts through the other half of the block, so a zip tie loops down over the hose and cinches it without ever crossing the screw. No side tabs, no bracket ears, nothing protruding past the saddle: a small, purely functional piece of wall hardware with a squared-off, industrial silhouette. Design notes Top channel sized for 5/8″ OD air hose, with a little clearance. Countersunk screw hole sits in the channel floor with a 9 mm countersink, wide enough for a typical drywall screw head and hidden once the hose is seated. Zip tie slot is offset to the far half of the block, clear of the screw area; takes a common tie up to about 5 mm wide. Load order matters: drive the screw first, then lay the hose in and tension the tie. With a single fastener the block can spin before the hose is loaded — snug the screw down before fitting the hose so it stays square to the wall. Block is 20 mm long, 24.3 × 20 × 14.1 mm overall as it sits on the build plate. Prints as a single body; screws and zip ties are separate hardware.
Charging Station Marker Nail
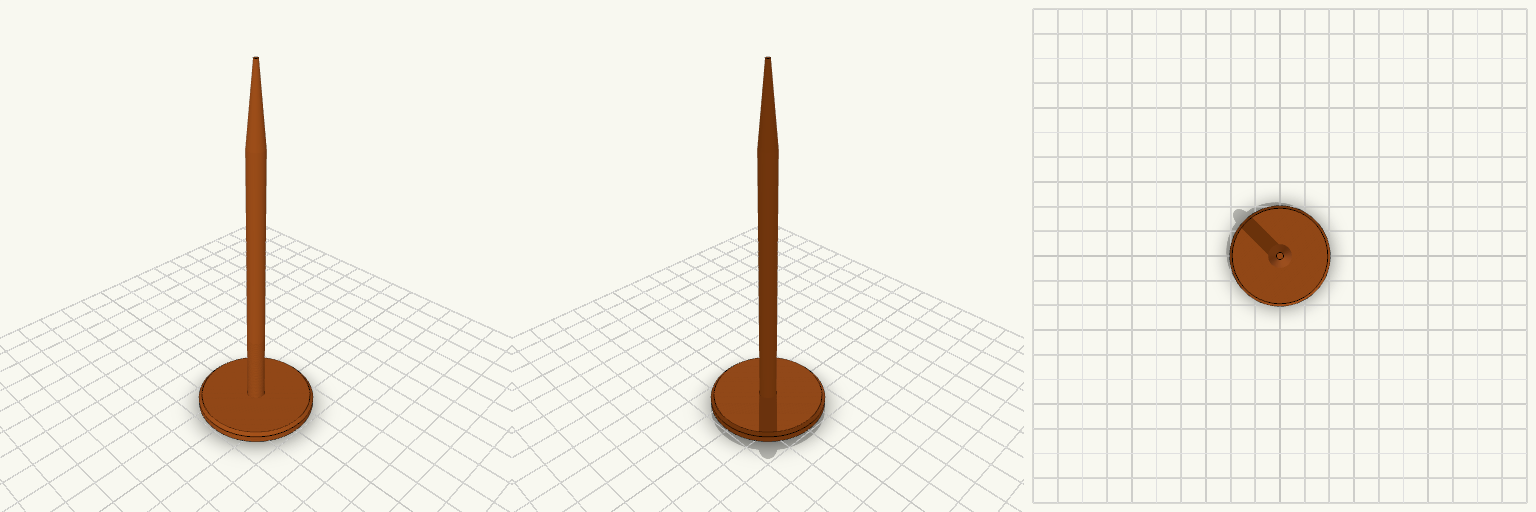
A ground marker nail for holding the position of a robot mower charging station while the charger is stored for the season. It is pushed into the soil where the charger's screw sits in summer. The nail has a wide, flat 40 mm head that stays visible at ground level, a slim 6 mm round shaft, and a tapered point for easy insertion. It prints head-down, so no supports are needed. Head: 40 mm diameter, 4 mm thick, chamfered edge Shaft: 6 mm diameter, about 90 mm long Tip: tapers to a point over 25 mm Overall length: about 119 mm Prints without supports
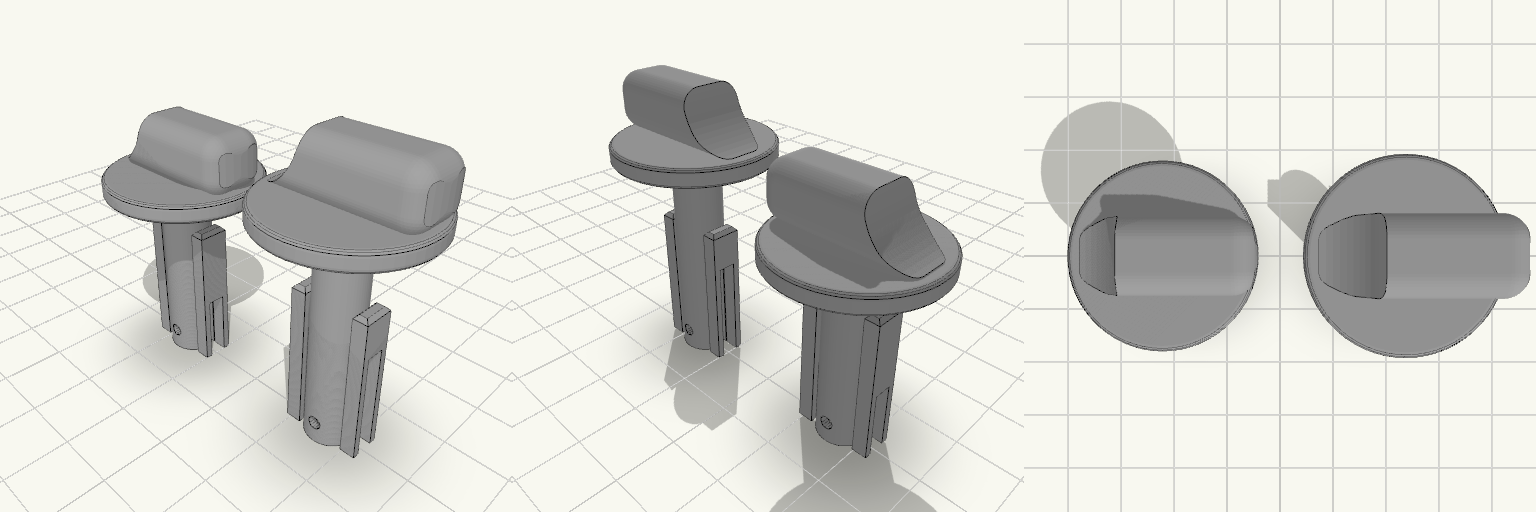
Perilla de estufa de repuesto con vástago reforzado
La perilla de la estufa que gira en falso o se parte deja el fuego sin control; esta perilla de repuesto se calza sobre el caño de gas y se traba con pasador, con el pulgar recortado al contorno del collar y todos los bordes del agarre redondeados para girar sin engancharse. La placa trae dos perillas: la original y una copia con vástago de 35 mm para cambiar el largo según la estufa. Cotas que deciden el calce Dos perillas en la misma placa: la original mide 41,5 mm de alto total (12 mm de cabeza + 29,5 mm de vástago); la copia mide 47 mm de alto total (12 mm de cabeza + 35 mm de vástago). En la placa ocupan 58 × 26 × 47 mm. Vástago: 8 mm de diámetro exterior, con dos aletas planas de refuerzo de 24 mm a los lados; en la copia, las aletas quedan en la zona de la punta. Vástago hueco: orificio de 5,5 mm de diámetro, abierto en la punta. En la original llega a 26 mm de profundidad y queda ciego en los últimos 3,5 mm hacia la cabeza, con paredes de aproximadamente 1,25 mm; la copia mantiene el mismo orificio de 5,5 mm. Agujero pasante: 2,2 mm de diámetro, horizontal, con el centro a 3,5 mm del extremo inferior; cruza la cavidad del vástago, así que la chaveta atraviesa el caño de gas. Endija: 3 mm de ancho, abierta en la punta; va a 90° del agujero del pasador, atraviesa el vástago y corta también las aletas laterales, dejando el extremo dividido en dos mitades flexibles. En la original llega a 11 mm; en la copia llega a 17,5 mm, la mitad de su vástago. Cabeza: collar de 26 mm de diámetro por 3 mm de alto; el pulgar mide 26 mm de ancho, 10 mm de grosor y 9 mm de alto sobre el collar, ya no pasa el contorno del collar, es plano de un lado y baja curvo del otro. Todas las aristas del pulgar tienen 3 mm de radio; los bordes del collar tienen 0,8 mm. Cada perilla se imprime de una sola pieza; la endija no separa el modelo, solo deja flexibles las dos mitades del extremo. El acabado negro mate sale del filamento que elijas, no de la geometría. Antes de imprimir, mide el diámetro del caño de gas y el del pasador: el hueco del vástago y el agujero pasante son las dos cotas que no perdonan, y si no coinciden es mejor ajustarlas antes de gastar material.
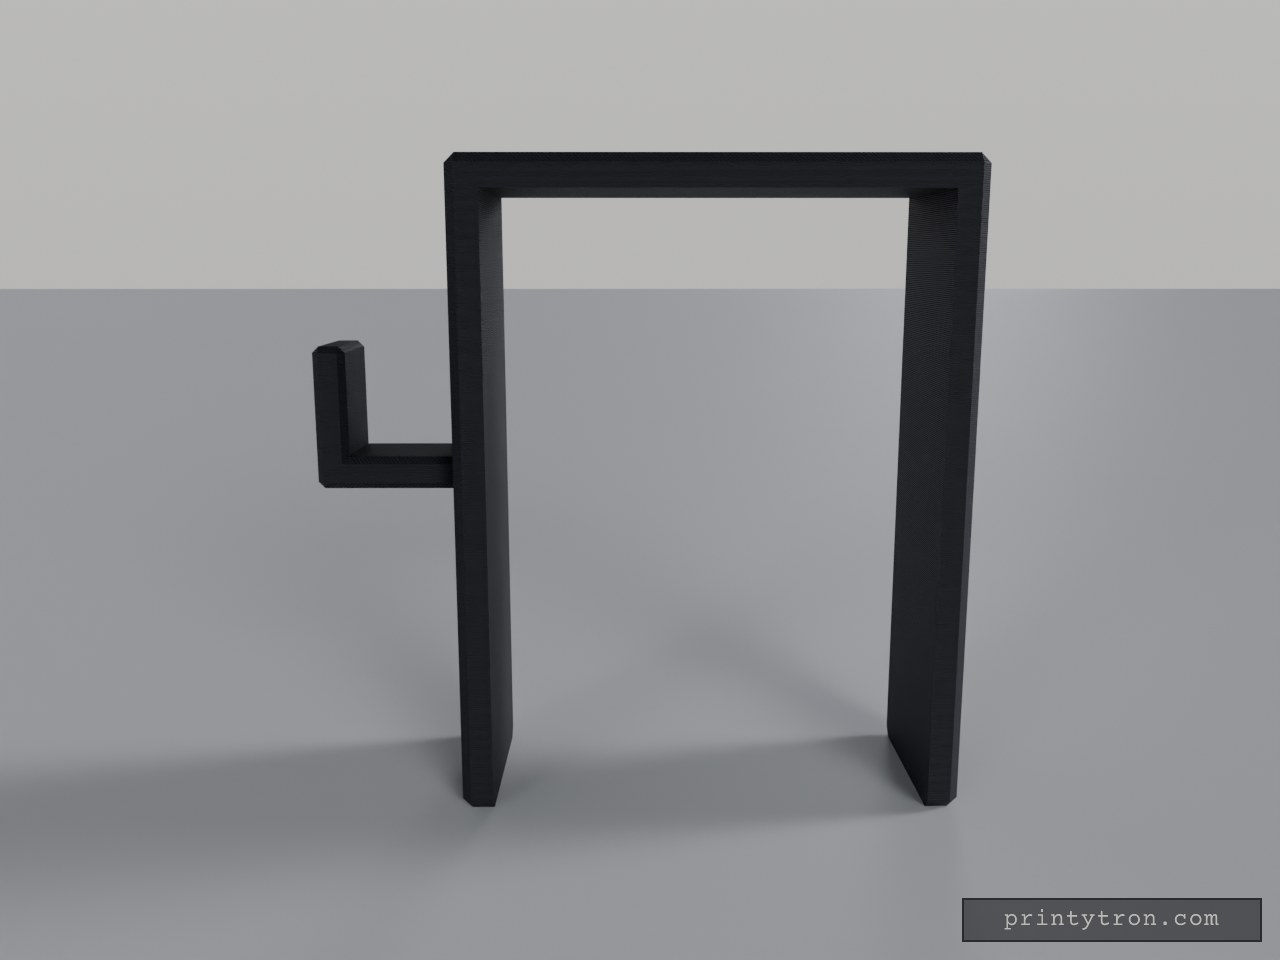
Beam Clamp Clothes Hanger with Side Hook
What it's for A saddle that drops over the top of a support beam and turns it into a place to hang clothes. The inverted U-shaped channel grips the beam from above, and a hook projects from one side with an upturned tip so hangers and garments stay put. Beam Saddle — the U-shaped body that slides down over the beam Hook — the side arm with an upward tip for hangers or coats, set at mid-height of the saddle Both areas print as a single piece; nothing needs assembling. Dimensions Saddle opening: 68 mm inner width, sized for a beam of that width Overall saddle: 78 × 30 mm footprint, 100 mm tall Channel: 95 mm deep, with 5 mm thick walls Hook: 22 × 15 × 22 mm, mounted at mid-height so its tip stays inside the 100 mm envelope The 95 mm channel is generous for a shallow beam — the saddle simply sits lower on it, and the hook rides down with it. Print notes Print the saddle opening facing up so the channel needs no supports A few extra perimeters on the hook help when it carries heavy coats Scale the opening slightly if your beam measures over 68 mm Remix ideas Lengthen the hook for bulky winter coats Shorten the legs for a shallower beam and keep the height with a taller top plate Add a second hook on the opposite side for more hanging room Add a small lip or screw hole at the bottom of the saddle to stop it shifting sideways