Fly Screen Frame Snap Lock for Wall Gap
Created today
Description
A fly-screen frame snap lock holds the screen frame in a narrow gap between wall and frame without screws. The frame presses past two angled lips into a 10.4 mm channel sized for a 10 mm frame, and the back has a shallow inset so a glue strip sits flush against the wall.
- Fit: 10.4 mm channel for a 10 mm frame, with 0.4 mm clearance; the frame snaps in from above past the lips.
- Wall gap: 5 mm tall overall, sized for a 0.5 cm gap.
- Glue pocket: 0.8 mm deep, 24 × 11.4 mm recess on the back, so the glue strip does not hold the clip off the wall.
- Footprint: 30 × 15.4 mm against the wall.
Images
More like this
Explore more in Home & Fixtures →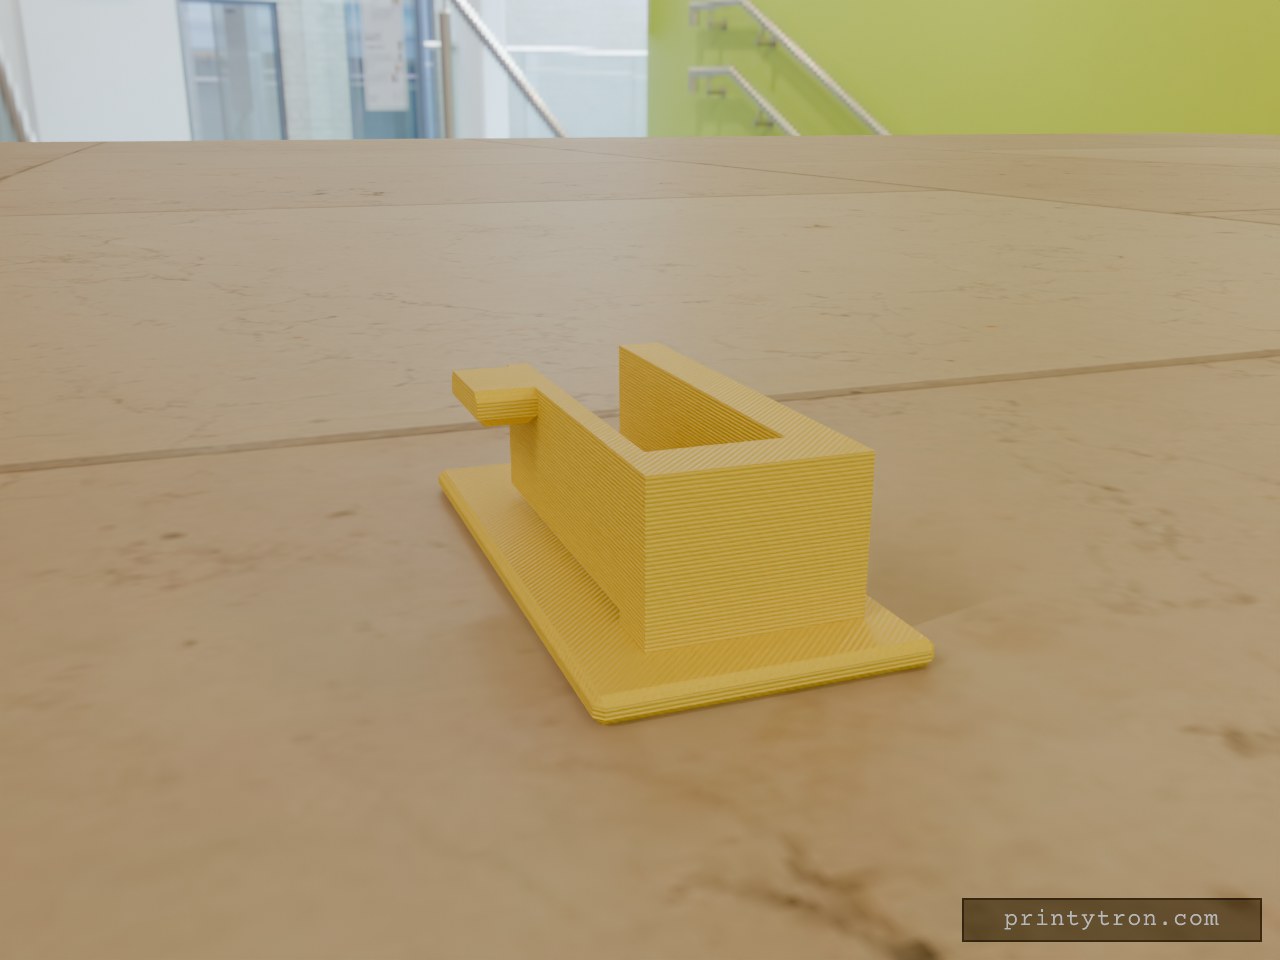
Glue-On Snap Latch for Fly Screen Frames
A fly screen frame that lifts out of its catch every time the door moves needs a latch that holds it and lets go on demand. This one glues to the wall, the frame presses into the slot and snaps past the hook, and a thumb tab on the outside of the arm pulls the hook clear. One hand does both jobs — no second hand holding the frame, no screwdriver. Fit Slot: 10.4 mm wide, sized for a 10 mm frame with 0.4 mm clearance. Base plate: 50 × 24 mm, 2 mm thick, with two shallow relief pockets underneath to hold the glue. Snap arm: 30 mm long, 1.8 mm thick. Printing One piece. No screws, no loose parts, nothing to assemble. Print standing as modelled, so the layers run across the arm's bend rather than along it. PETG suits the flex the snap arm needs. Measure the standoff between wall and frame before gluing: the base plate is 2 mm thick, so it sits in the gap rather than spanning it. Snap strength and tab size are the two things to adjust if the catch is too stiff or too easy for the frame you have.
Finger Trunking with Snap-On Lid
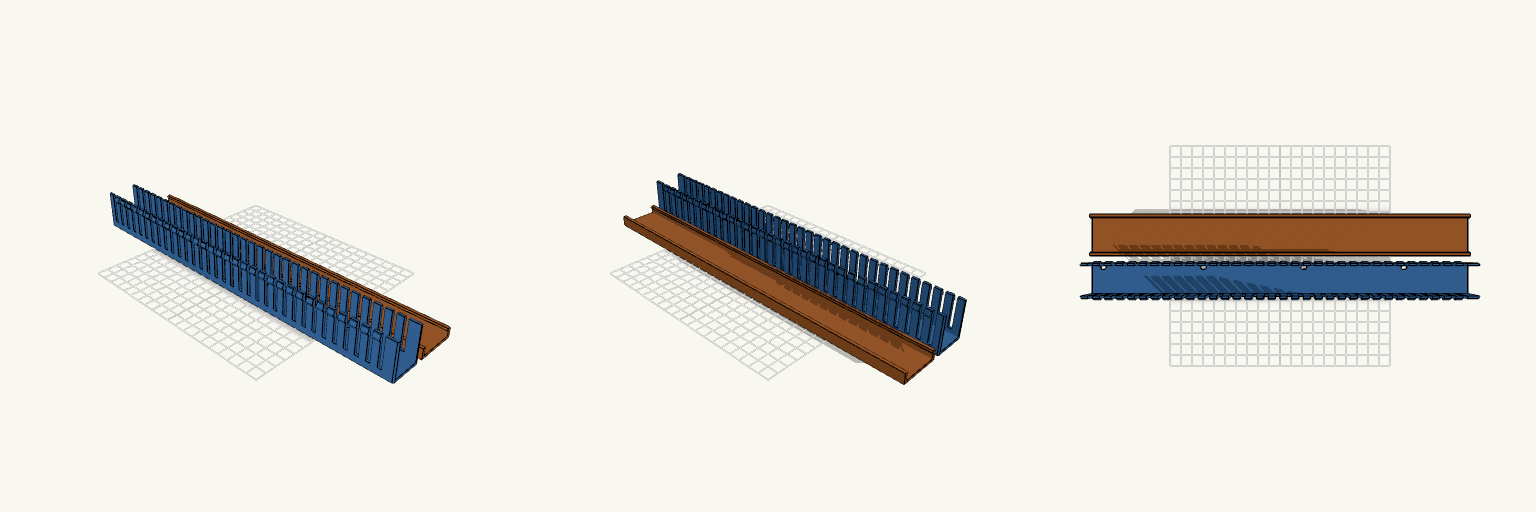
Finger trunking that blocks access to your mounting holes is a problem. This one has floor slots cut where the screws and the access hole need to be, plus a snap-on lid. The walls are free-standing fingers with barbs at the tips. The lid's inward lip clips under the barbs. Size: 340 × 30 × 35 mm, with 2 mm walls and a 2 mm floor. Fingers: 4 mm gaps on a 10 mm pitch. M3 slots: Four slots, 3.4 mm wide and 5.4 mm long. They sit at 10, 100.75, 191.5 and 282.25 mm from the left end, 90.75 mm apart. Access hole: 7 mm diameter, 201.5 mm from the left end. Slot line: All slots sit 10.786 mm toward +Y from the centreline. Printing: The trunking is longer than most print beds. Print it diagonally or split it. The lid lip is a small overhang when printed flat.
Capstop — Magnetic Wall Bottle Opener
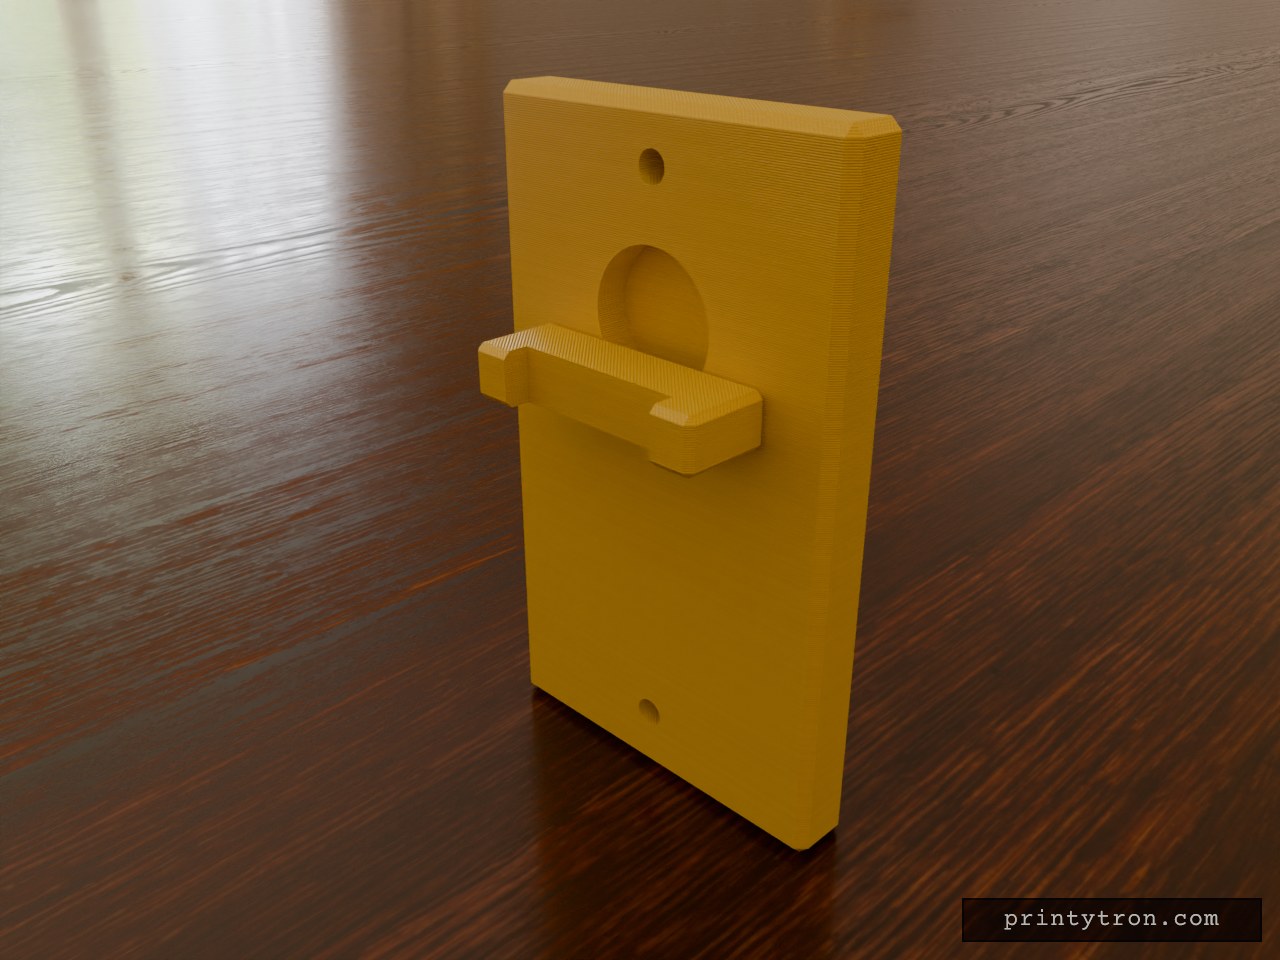
Capstop is a wall-mounted bottle opener built around a simple idea: the cap should not hit the floor. A flat back plate carries a cap-catching lip, and a recess behind the opening holds a disc magnet that grabs the cap as it comes off the bottle. The magnet pocket is sized for a 20 mm diameter, 5 mm thick disc magnet, with a small clearance so it seats without forcing. Two countersunk screw holes let the plate sit flush against the wall. Features Back plate, 60 mm wide and 100 mm tall, with chamfered edges Opener lip with a cap slot, projecting from the front face Magnet recess for a 20 × 5 mm disc magnet, located behind the opener Two countersunk screw holes for wall mounting Slim funnel and removable cup intended to sit below the opener to collect caps Dimensions Plate: 60 × 10 × 100 mm Opener lip: 40 mm wide, 14 mm projection, 8 mm thick Magnet pocket: 20.4 mm diameter, 5.2 mm deep Screw holes: 4.5 mm shank, 9 mm countersink Print notes Print the plate on its back or side; the opener lip prints best flat. PETG or ASA is suggested for durability against repeated cap contact. Secure the magnet with a drop of glue if the wall mount sees heavy use.
100x59 Oval Body Hole Cover with Snap Clips
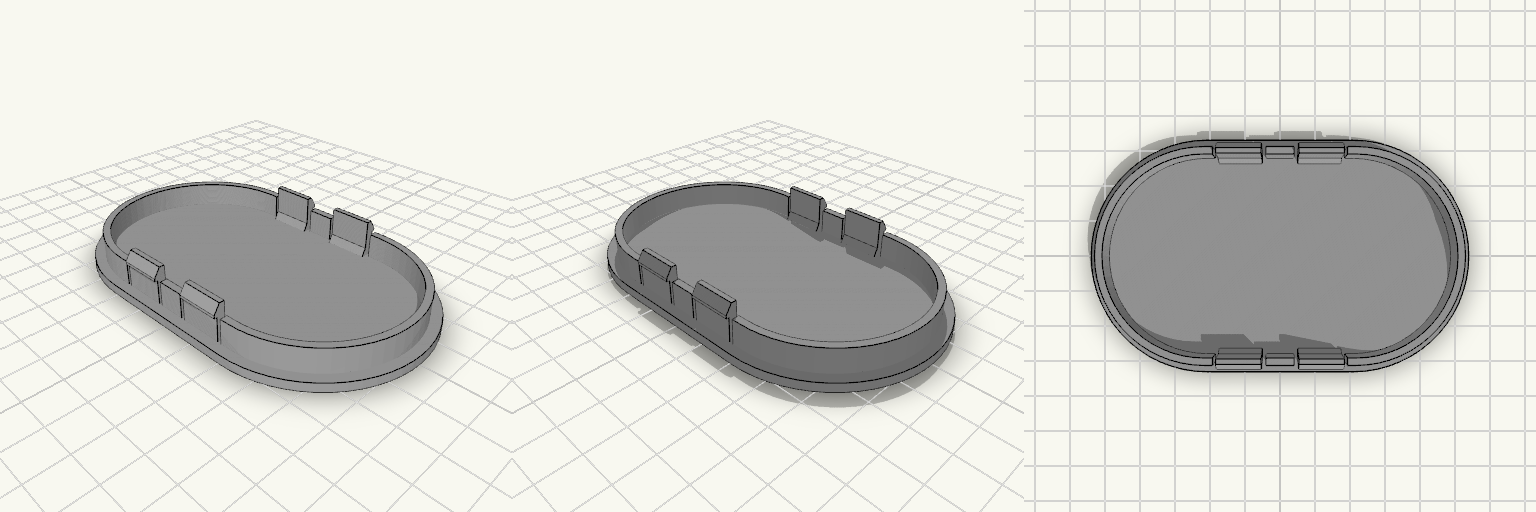
Einsteckbare Abdeckung für eine ovale Öffnung von 100 × 59 mm in etwa 1 mm dickem Blech. Die Frontplatte ist vollständig geschlossen und liegt mit einem 3 mm breiten Auflageflansch rundum auf dem Blech auf; außen misst die Abdeckung 106 × 65 mm bei 2,5 mm Plattendicke. Auf der Rückseite zentriert ein Rahmen mit 2 mm Wandstärke und einer Innenöffnung von 96 × 55 mm als ovales Langloch mit Endradius 27,5 mm. Der Rahmen reicht 7 mm über den Flansch hinaus. Die vier flexiblen Clips – je zwei an den langen Kanten – haben 0,8 mm hohe Haken und angeschrägte Einführflächen; die Rastkante sitzt 7 mm über der Flanschfläche. Mit den verlängerten Federschlitzen baut die Abdeckung insgesamt 13 mm hoch. Bei 1 mm Blech bleibt zwischen Blech und Rastkante in Einsteckrichtung Luft; der Clip rastet erst nach 7 mm Einstecktiefe ein. Werkzeuglose Montage und Demontage Einteiliger Körper, keine Schrauben und kein Kleber Flansch nach unten drucken, in PETG oder ASA Clipsitz beim ersten Druck prüfen, da die Federwirkung des Materials schwankt
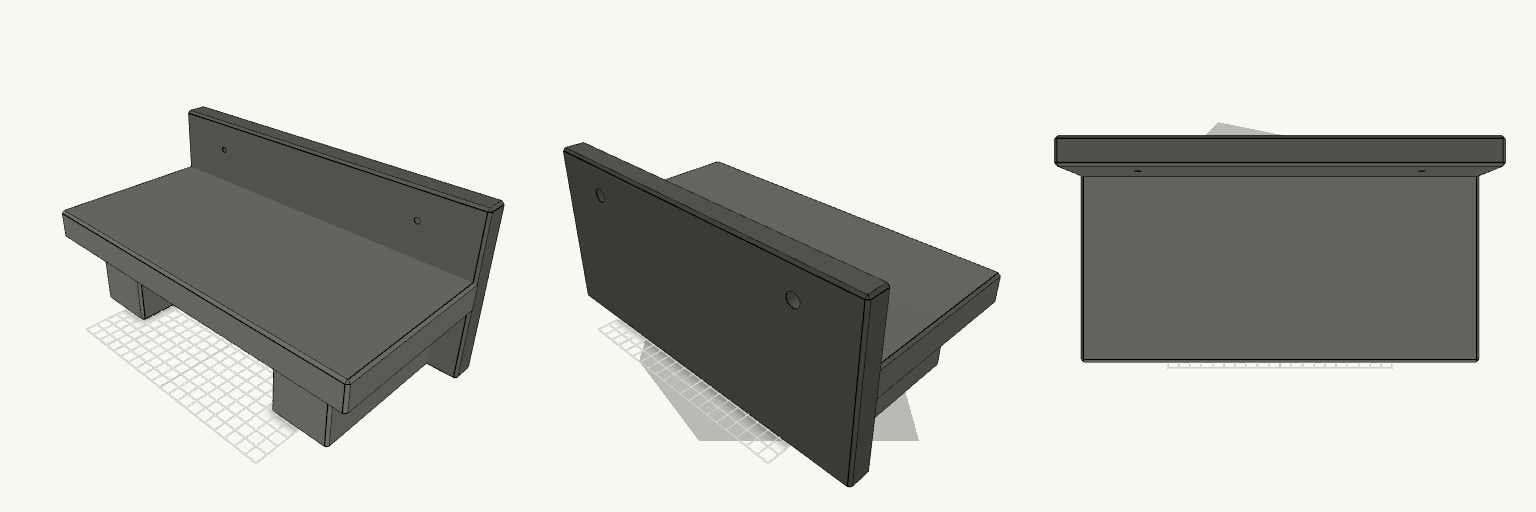
Wall Shelf for Lamps and Small Decor
A lamp with nowhere to stand but the windowsill, a handful of small things spreading across the desk, and a shelf that dips the moment you put any weight near its edge — this wall shelf fixes that by being thick enough not to care. The slab is a solid 300 × 140 × 25 mm block that projects forward from the mounting plate, carried on two 50 mm supports underneath so the front edge stays level when you set something down on the end of it. Nothing on the shelf surface to snag on or route around: it's a flat slab with clear space above it, so a lamp base sits flush and a row of small items lines up without wandering. Mounting Back plate is 300 × 20 × 140 mm, sitting flat against the wall behind the slab. Two countersunk screw holes in the plate, above the shelf line, so the heads finish flush and nothing catches on them. Fix into studs or proper wall anchors — the printed mass plus a lamp is real weight hanging off the wall. Printing The shelf body and back plate are labelled as separate areas, so you can run them in different colours for a concrete-and-shadow look. The chunky sections want a few walls and moderate infill rather than solid — you're after the mass, not the plastic bill. The slab itself prints without supports.
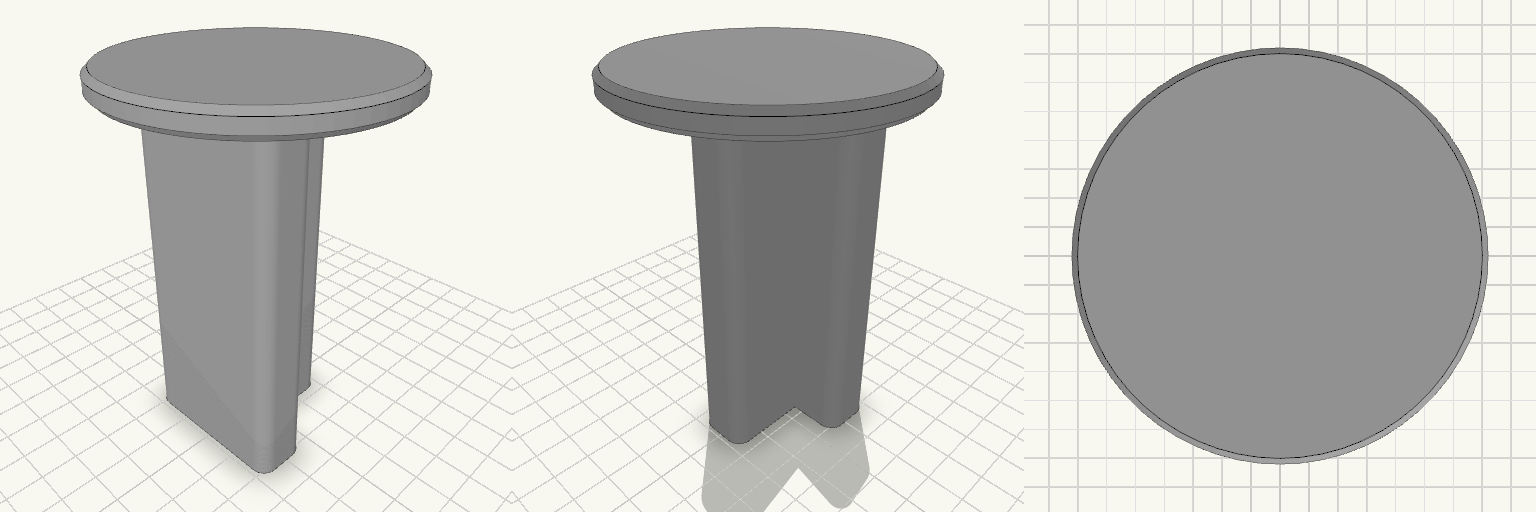
T-Post Cap With 3-Inch Round Platform
A slip-on cap for a steel T-post: 4 in tall, with a T-shaped socket that drops over the post and a 3 in round platform, 1/4 in thick, on top. Fits Steel T-posts, matched to the T-socket below. The socket is a T: a 36 mm crossbar, 7 mm wide at the stem entry, with a 7 × 30 mm stem running down, and a 4 mm wall following that T all the way around. Takes the place of a plain post cap and adds a flat, 3 in round surface on top of the post. Check before printing The socket is the whole fit, and its numbers are a starting size, not a standard — T-posts differ in flange width and web thickness between manufacturers and post weights. Measure the post you intend to use across the crossbar, across the stem, and across the full depth, then set the socket to those sizes plus a little clearance for paint and burrs before you commit filament. Nothing else on the part affects fitment. Does not fit Round posts, wooden 4x4 posts, or any post without a T cross-section. T-posts whose crossbar or stem is wider than the socket above — T-post profiles are not interchangeable, so do not assume a fit from the post name or the post weight alone. The cap prints as a single piece, 76 × 76 × 102 mm overall.