Monster Kart box
Created today
Description
A hinged-lid card game box for a deck of 63 × 88 mm cards, sized for about 50 cards. The lid pivots on a mechanical barrel hinge along the back: three knuckles on the box and two on the lid, interleaved and held by a removable 1.75 mm filament pin. A front snap latch keeps the lid closed, and the hinge axis sits behind the back wall so the lid corner clears the rear wall and knuckle supports through 120°. Beneath the card stack, a removable divider plate with a 20 mm finger hole covers a hidden 12.7 mm compartment for paper inserts or original drawings. The box and divider plate are plain black to limit AMS waste; only the lid top carries the four-colour relief artwork.
Specifications
- Box: 72.4 × 106.8 × 45.7 mm overall; card space approximately 66 × 91 × 20 mm for about 50 cards.
- Hidden compartment: 12.7 mm high under the card stack, with four corner posts supporting the divider plate.
- Divider plate: flat and removable, 2 mm thick, with a 20 mm finger hole.
- Hinge: five interlocking 9 mm knuckles with 0.4 mm axial gaps; moving-part clearance approximately 0.3–0.4 mm; 2.1 mm bores on one straight coaxial axis. The axis sits 4.9 mm behind the back wall. A 1.75 mm filament pin feeds in from one end through a flared lead-in and is held by friction; the opposite end is closed 1.2 mm short of the face, so the pin is pulled back out from the entry side.
- Latch: two flexing front posts with sloped hooks snap into lid notches; a thumb tab at the front centre releases it.
- Lid artwork: red rectangular border; dark black/purple background; large white moon near the upper centre; black haunted-castle silhouette with varied pointed towers; black bat silhouettes that read mainly as two long curved wings with very small bodies, sharp tips and scalloped trailing edges; purple hills and mist; a curved purple path; angled MONSTER in white and KART in red with black outlines; a 16 mm interlocking TB monogram centred near the bottom — a white glyph inside a red disc separated by a 0.5 mm black gap. The T carries an 8 mm top bar and a 1.8 mm full-height stem. The B shares the stem as a flat left spine, with a smaller upper bowl and fuller lower bowl, a pinched waist, and D-shaped counters rather than circular holes. A gap of about 1 mm separates the T bar from the top of the B. Only black, red, purple and white are used.
- Printing: support-free geometry for a 0.4 mm nozzle; latch posts are 1.4 mm thick; bat membranes come to about 1 mm. In the TB monogram the upper counter is about 1.1 mm tall — check it on a first print.
- Assembly: three printed pieces — box, divider plate and lid — plus a 1.75 mm filament pin. The lid's colour layers are grouped as one multi-colour object for four-slot AMS printing.
Photos
Technical views
More like this
Explore more in Storage & Organization →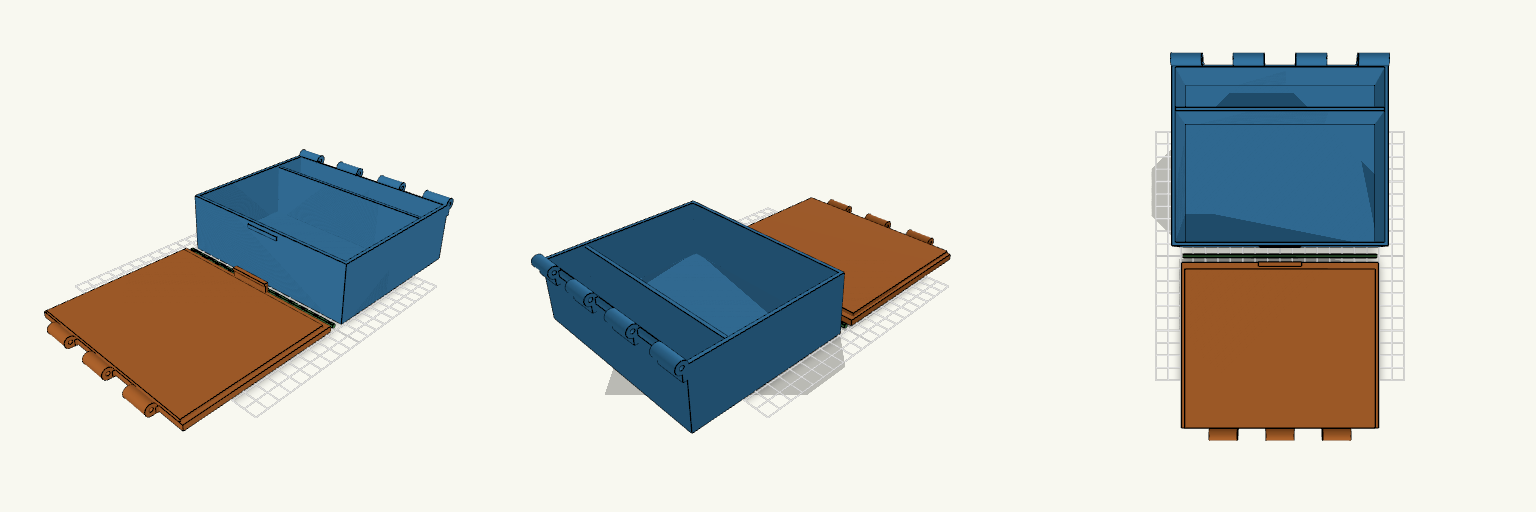
Hinged Latching Box With Front Divider
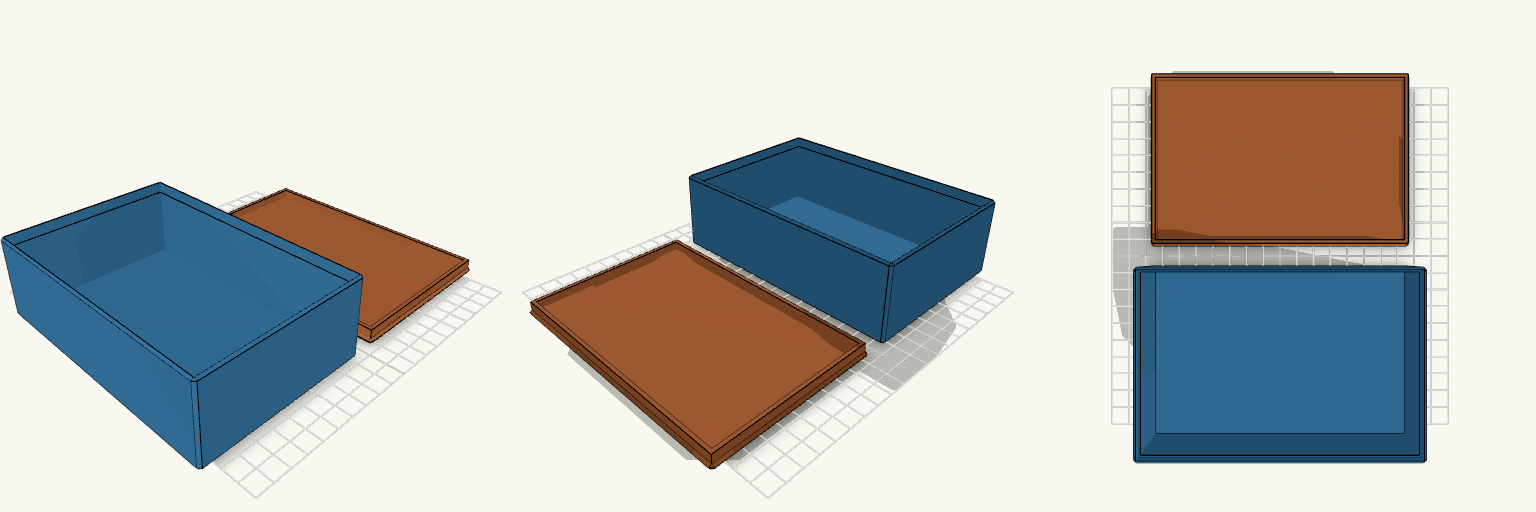
Small parts slide into one pile the moment the lid comes off; this hinged latching box keeps two bays apart and snaps shut. The clear interior is 152 × 127 × 45 mm, split by a 2.5 mm divider set 97 mm back from the front, so the front bay is 97 mm deep and the rear bay is about 52.5 mm. The walls stand 2 mm taller than the divider, and the divider top sits level with the underside of the lid lip, so the full 45 mm of clear height is usable rather than eaten by the lid. Fit and compartments Clear interior: 152 × 127 × 45 mm (length × width × height). Divider: 2.5 mm thick, 97 mm back from the front; front bay 97 mm deep, rear bay about 52.5 mm. Walls and floor: 2.5 mm; the divider is 2 mm shorter than the walls so the lid lip clears it. Lid: 2 mm inner lip locates it on the base. Hinge clearance The lid's back edge has notches where the base's hinge knuckles pass through it. The base's back wall is cut away where the lid's knuckles swing down into it. Both cuts carry roughly 0.3 mm of play, so the lid closes without catching. Latch The hooked tab on the lid is kept short so the hook sits close over the catch bump instead of rattling. Closed, the gap between the top of the hook and the underside of the catch bump is about 0.3 mm. If it prints too loose to hold, or too tight to snap over, adjust the hook by a fraction of a millimetre. Printing and assembly Prints as three separate pieces: base, lid, and hinge pin. The pieces sit apart on the plate with gaps: the lid is flipped so its flat top face is on the bed, and the 3 mm pin lies flat in the gap. None of the three touch. If your slicer imports it as one body, use Split to objects or Separate parts. Hinge: seven interleaved knuckles with a 3 mm pin (155 × 3 × 3 mm). Use a 3 mm rod or filament, or print the pin. Slide the pin through the knuckles after printing; the lid hinges on it and the front latch holds it shut.
Apothecary Box With Lift-Off Lid
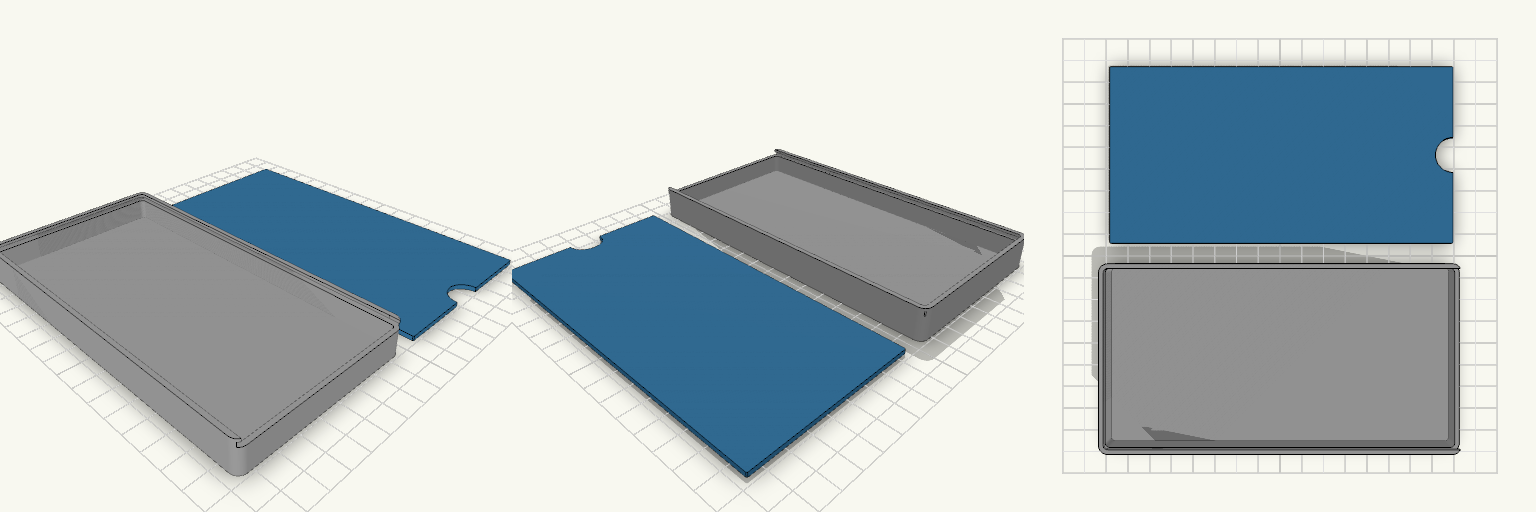
A classic apothecary-style storage box, 6" x 4" x 2", with a separate lid whose inner lip plugs into the body. The two pieces are laid out side by side for viewing and print as two separate jobs, so each fits an 18 x 18 cm bed. Body: 152.4 x 101.6 x 47.5 mm, 2.4 mm walls, chamfered edges Lid: 152.4 x 101.6 mm, 3 mm plate with a 5 mm plug lip Fit: 0.3 mm clearance between lip and body recess Print the lid flat with the lip facing up, no supports needed
Sliding Lid iPhone 11 Box
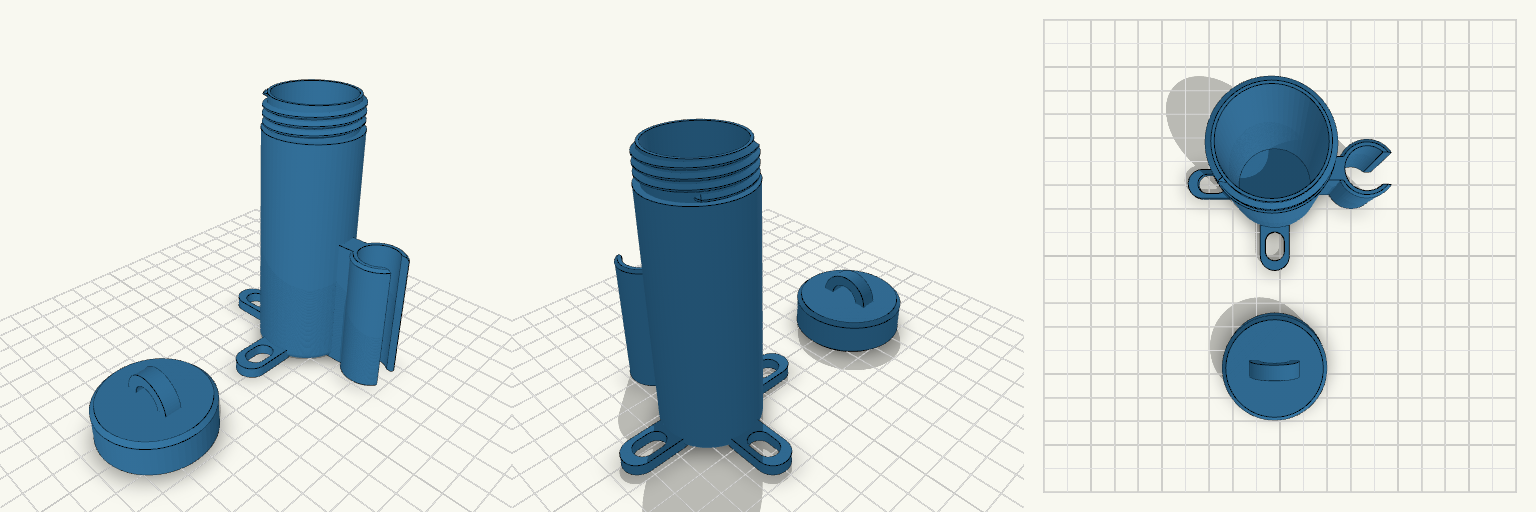
A two-piece protective box for an iPhone 11. The base holds the phone; a flat lid slides in from one end along grooves cut into the long walls, with a round thumb slot to push it open. Remix hooks Cavity: 154 × 79 × 13 mm open space (phone is ~151 × 76 × 8.3), 2 mm walls and floor. Change the cavity numbers for other phones. Groove fit: grooves are 1 mm deep and 2.2 mm tall, lid is 2 mm thick, about 0.2 mm clearance each side. Tune for your printer. Thumb slot: 16 mm diameter at the open end; make it larger or swap for a slot. Pairs with: a foam or felt liner, or a detent bump to stop the lid sliding open. Print both pieces flat, no supports needed.
Stickpot
A screw-top tackle jar in the spirit of a carp angler's bankstick kit: tall bore, flat slotted tabs at the base, and a half-circle arch standing on the lid for hanging rigs. Design notes 30 mm bore, 100 mm tall Bankstick clip now runs from the base of the jar upward, 50 mm long, with a snap-in slot Three flat slotted loops at the base, printing flat with no overhang Lid with a 6 mm wide half-circle arch, printed upside-down beside the jar
Clara Key 01
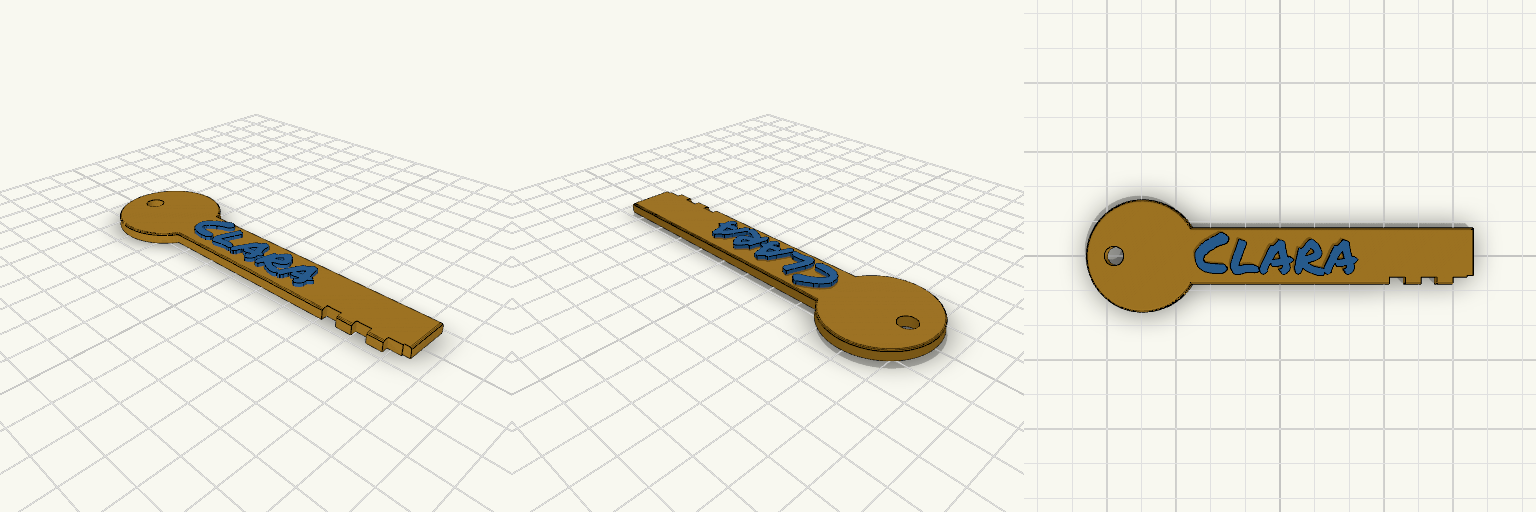
A flat, key-shaped keychain with "Clara" raised on the blade in a marker-style hand. The round bow carries a 5.5 mm ring hole, and the tip has a few simple teeth cut into the lower edge. Remix hooks Name: swap "Clara" for any other name. The lettering is scaled to a 46 mm width, so longer names get shorter letters. Widen the blade past 82 mm if you want them to stay tall. Thickness: the plate is 3 mm with 1.2 mm raised text. For a two-colour print, pause at layer 3 mm and swap filament. Bow: 32 mm diameter. Shrink it for a slimmer fob, or enlarge it and add a second hole. Teeth: three 4.5 mm notches plus a tip notch. Change the spacing or depth for a different silhouette. Pairs with: a split ring, a small lobster clasp, or a matching set with other names. Prints flat with no supports. The overall length is about 96 mm.
Esquinero en L 20 mm
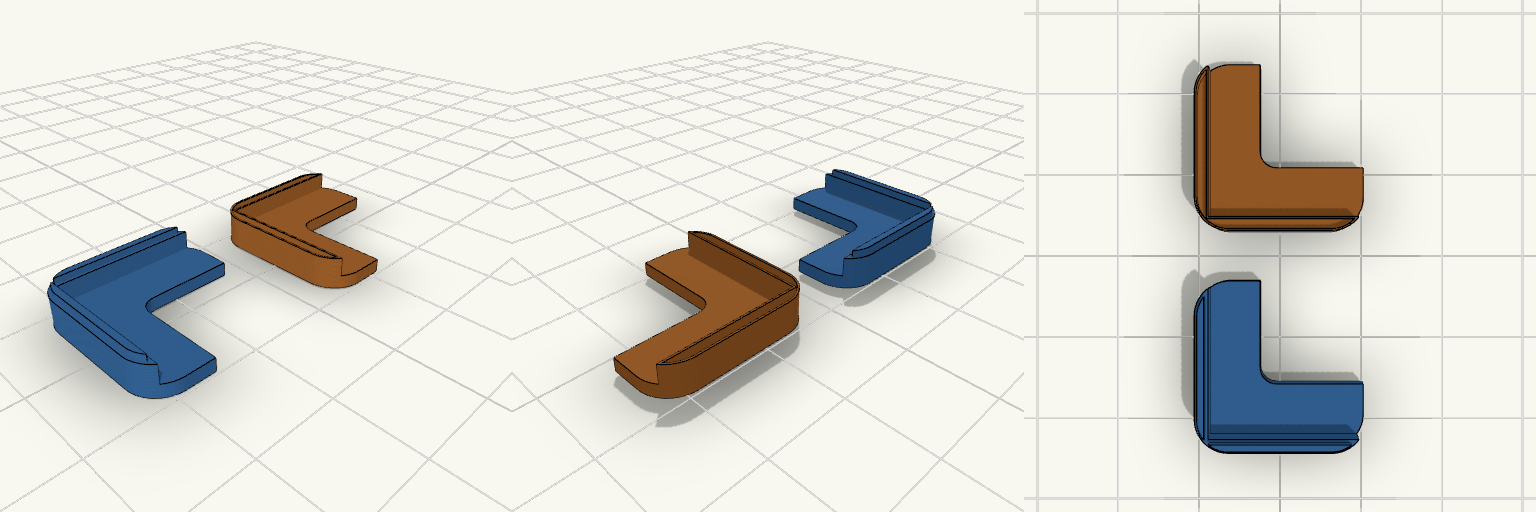
Para qué sirve Esquinero en L para sujetar la esquina de un taco de hojas de hasta 4 mm de espesor. Las esquinas redondeadas lo hacen más suave al tacto y evitan puntas. Se imprime en dos mitades planas que se encajan y se pegan para formar la pieza completa. Dimensiones Brazos: 20 × 20 mm Ranura: 4,6 mm (4 mm de papel + 0,6 mm de holgura) Paredes: 1,6 mm Banda entre la esquina interior y la exterior: 6 mm Alto total montado: 7,8 mm (mitad inferior 4,7 mm, mitad superior 3,9 mm) Esquinas exteriores redondeadas con radio de 4 mm Encastre: cresta de 0,8 × 0,8 mm en la mitad inferior y ranura con 0,2 mm de holgura por lado en la superior Impresión y montaje Las dos mitades se imprimen planas y sin soportes; en la mitad superior la cara de pegado queda hacia arriba. La cresta recorre toda la pared en L de la mitad inferior y encaja en la ranura de la superior, de modo que las mitades quedan alineadas y rectas. La superficie de pegado es estrecha, porque la ranura de las hojas ocupa casi todo el centro. Conviene un pegamento que rellene bien, como cianoacrilato en gel o epoxi. Ideas de remix Cambiar el largo de los brazos para hojas más grandes. Ajustar la ranura según el espesor del taco. Añadir un agujero para atornillarlo a una superficie.