TIG Filler Wire Tube v2
Created 1 months ago
Description
What it's for
A multi-part modular storage tube designed specifically for 250 mm TIG filler wire. It features a sealed bottom section, an open top cap section, and an unlimited-stacking extension section, allowing custom lengths for different cut sizes or un-cut filler wire rods.
Dimensions
- Length per section: 250 mm
- Internal diameter: 10 mm
- Wall thickness: 4 mm (18 mm outer diameter)
Assembly
All pieces thread together directly. You can print multiple extension sections if you need to double or triple the total length for standard 36-inch (914 mm) filler wire rods. No supports required.
Photos
Technical views
More like this
Explore more in Workshop & Tools →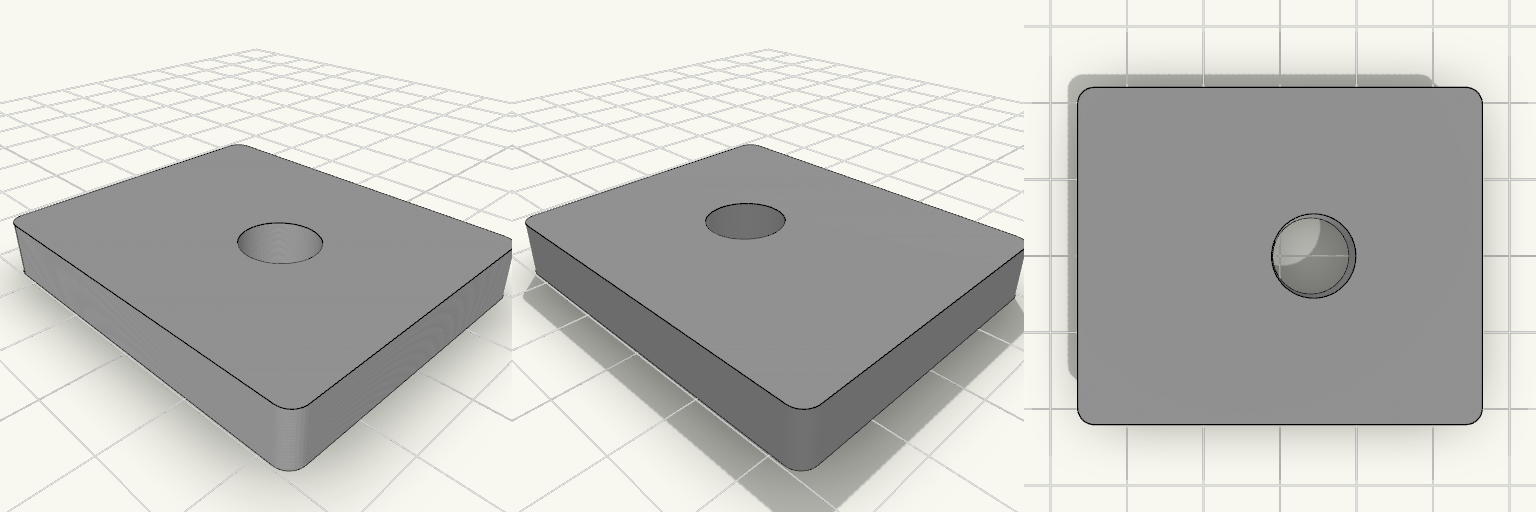
Elliptical Pedal Insert 48x40 Offset Hole
What it's for Central reinforcement insert for an elliptical trainer pedal, bonded into the damaged opening. Flat top, ribbed underside. Dimensions Base: 48 × 40 × 7 mm, rounded corners Through-hole: 10 mm, centered at 24 mm along the length and 4 mm toward the top edge from the width center 18 mm boss around the hole, 5 ribs to a 3 mm frame Remix ideas Change the hole offset for a different pedal Add or remove ribs Thicken the frame for heavier loads
Кольцо 37/33 мм, толщина 5 мм
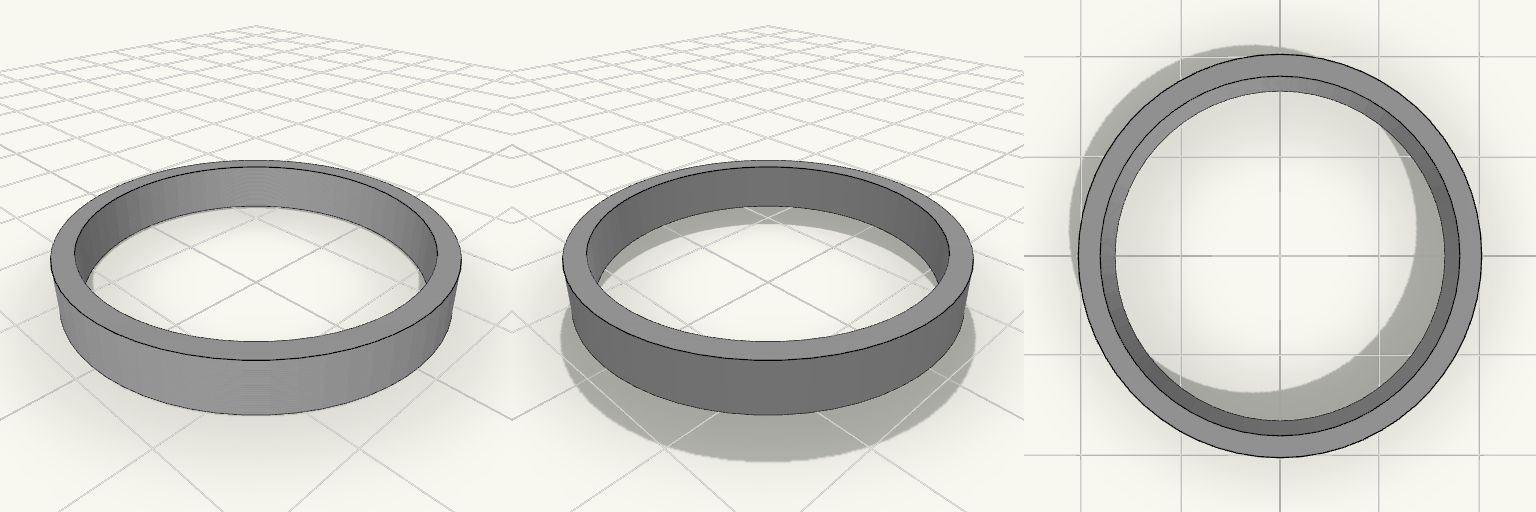
Простое круглое кольцо-втулка с ровными торцами. What it's for Прокладка, проставка, втулка или заготовка для переходного кольца. Печатается лёжа, без поддержек. Dimensions Наружный диаметр: 37 мм Внутренний диаметр: 33 мм Толщина стенки: 2 мм Высота (толщина кольца): 5 мм Remix ideas Добавить фаски на кромках. Увеличить внутренний диаметр на 0,2–0,4 мм для посадки с зазором. Добавить выступ или паз для фиксации.
sink drain lever, G*b*rit
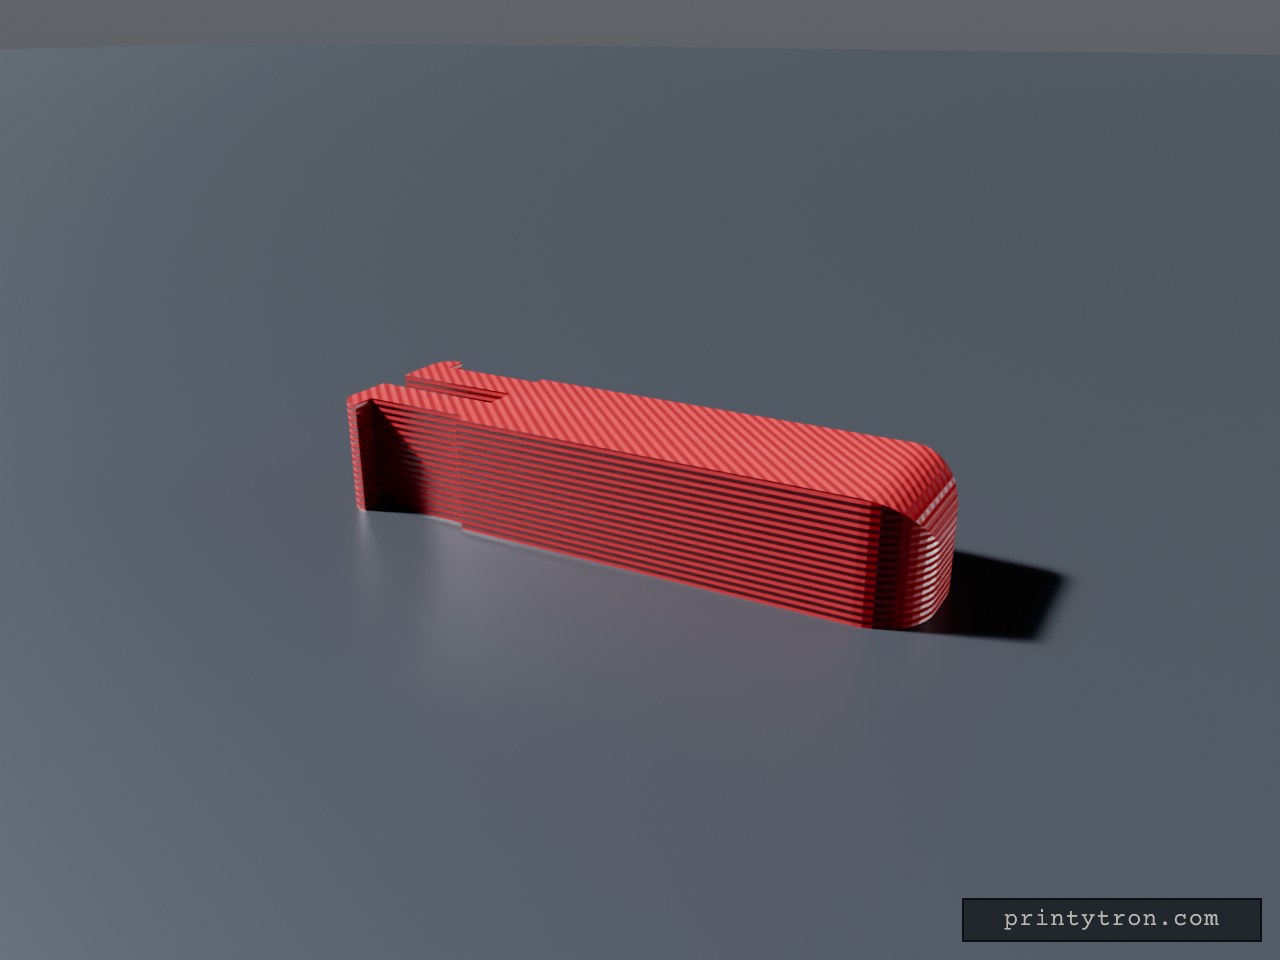
A small rectangular block, 26 mm overall, made of a 20 mm body and a 6 mm slotted end section. A narrow slot is cut into the 7.5 mm end face: 1.5 mm wide, running 6 mm into the length and through the full 5 mm height, so it reads as a thin open channel down that end. The slotted 6 mm keeps the full 7.5 mm width, while the rest of the body is narrowed to 6.5 mm, so a 1 mm shoulder sits on each side where the two sections meet. On the two flat side faces — not on the long corners — a straight rectangular step is cut 1 mm deep over the full 5 mm height. It starts 6 mm in from the slotted end and stops 1 mm short of the end face, so the last millimetre keeps its full width and a small square notch is left at the end. There is no angle anywhere in this cut. The far end from the slot is rounded: both vertical corners and the top edge there carry a 2.4 mm radius, blending into one soft rounded end — about as much as a 5 mm tall block can take before the curve meets itself halfway. The outer corners at the slotted end carry a small 0.9 mm radius; the side steps and the notch itself stay sharp, and the remaining top and bottom edges stay square. It works as a spacer, shim or register that a thin rib or plate edge drops into, with the side step giving that end a shoulder to seat against. Starting values Overall length: 26 mm — a 20 mm body plus the 6 mm slotted end section Body cross-section: 6.5 × 5 mm; the last 6 mm at the slotted end is 7.5 × 5 mm (1 mm shoulder each side) End slot: 1.5 mm wide, 6 mm deep along the length, through the full 5 mm height, centred Side steps: 1 mm deep on both flat side faces, constant depth, running full height, starting 6 mm from the end and ending 1 mm before the end face Far-end vertical corners and top edge: 2.4 mm radius, rounded Slotted-end outer corners: 0.9 mm radius; side steps and notch corners sharp Prints as one piece, no supports needed for any of the features above Remix hooks Body length is the free dimension. The 20 mm is the span between the rounded end and the start of the slotted section — stretch or shorten it to set the gap, and nothing else about the part has to change. The 6 mm slotted section is the fixed end, so all the length adjustment happens at the plain end. The width step is the fit dial. The 6.5 mm body and the 7.5 mm slotted end are two independent numbers: match the narrow body to the channel it slides into and the wider end to whatever it shoulders against. Equalising them removes the shoulder entirely and gives a plain constant-width block. Where the step falls. The 7.5 mm section currently runs the last 6 mm, tied to the slot depth; move that boundary to change how much of the part is full width. Slot width is the tightest tolerance. At 1.5 mm it takes a thin rib, sheet-metal edge or card; resize it to suit whatever it has to straddle, and remember a printed slot usually needs a little clearance over the nominal thickness. Slot depth sets the character. At 6 mm it is a deep open channel relative to the 26 mm part; shorten it to a millimetre or two and it becomes a shallow locating register instead. Side step depth. At 1 mm the relief is shallow and forgiving; go deeper for a part that shoulders harder against a pocket wall, or take it to zero for plain flat sides. The 1 mm land before the end face is what forms the notch — widen or remove it to change how the part locks against a shoulder. The far-end radius is already near its ceiling. 2.4 mm is close to the limit on a 5 mm block, so going rounder means growing the height, not the radius. Drop it to 1.5 mm for a snugger square look, or zero for a sharp end. Slotted-end radius is the tight one. 0.9 mm is limited by the short 1 mm end tab; widening that land is the way to buy room for a rounder corner there. Shape of the relief. Swapping the flat step for a ramp, or cutting the corners instead of the flat faces, turns this into a lead-in wedge or a chamfered block. Through vs. blind. The slot cuts the full height, so it is visible from both the top and bottom faces; make it blind and you get a closed-bottom channel. Obvious pairings. A matching 1.5 mm rib or plate edge for the slot to register against, or a mirrored second block so the two slots face each other and trap a thin part between them.
90 Degree Corner Clamping Jig
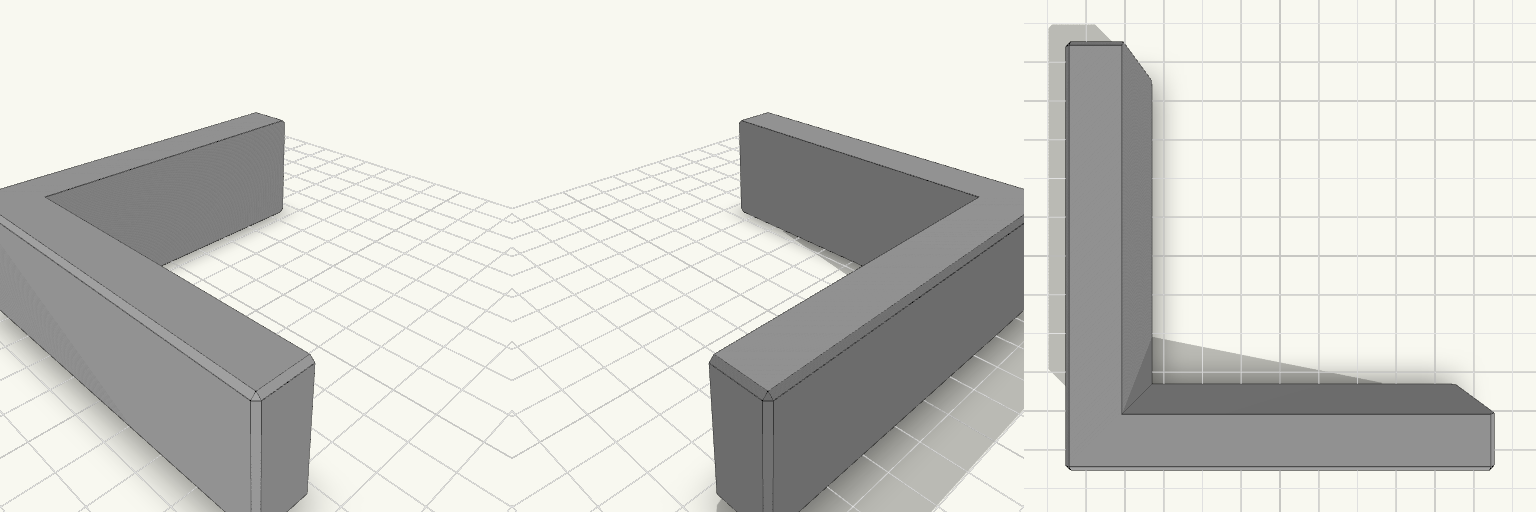
An L-shaped corner jig that holds two boards at a true 90 degrees while glue sets. It is made for picture frame joints, where a loose corner tends to drift into a parallelogram. Each arm has a channel that cradles a board up to 20 mm thick, and the two channels meet at a square inside corner. The 12 mm walls hold their shape under clamp pressure, and the outer edges are chamfered for a clean, easy-to-handle part. Fits stock up to 20 mm thick Square 90 degree inside corner 90 mm arms, 30 mm tall Clamp slots on each arm for squeezing the boards into the corner Flat base prints without supports Print it in PETG or PLA with several perimeters for stiffness. Keep glue off the channel walls, or line them with tape so the jig does not bond to the work.
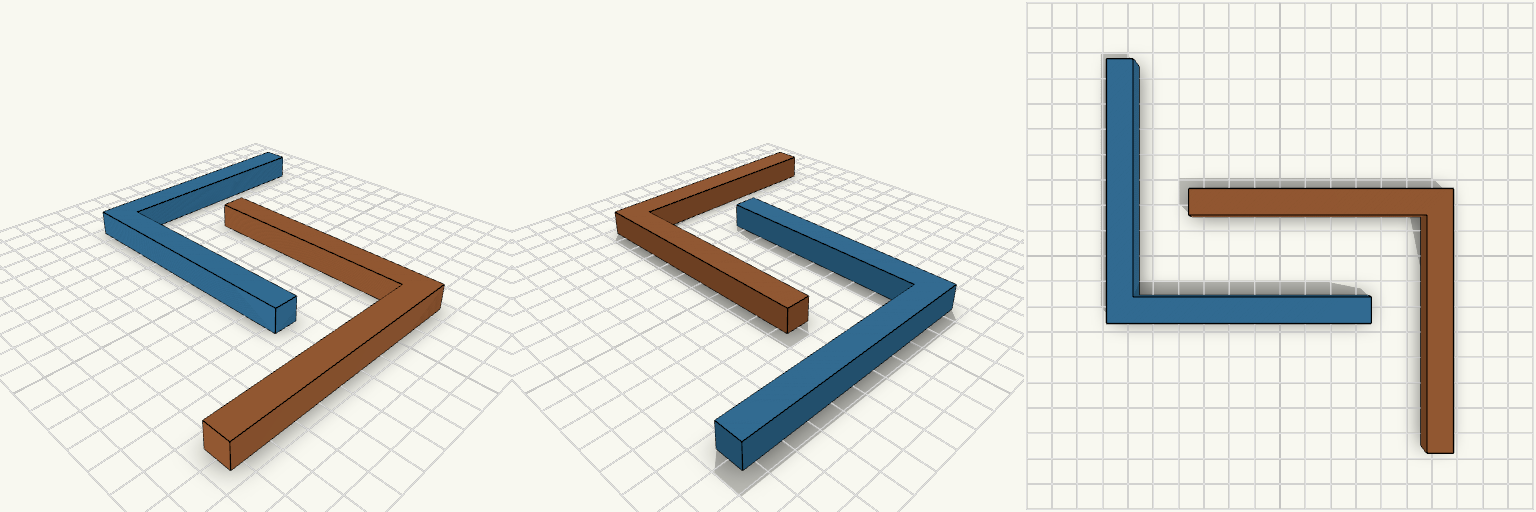
living room plinth
Two 100 × 100 mm L-sections, 10 mm leg width and 10 mm thick, laid flat and nested together to save print-bed space. Fit and layout One piece sits normally; the other is flipped onto its back and turned so the two interlock with a 1 mm gap. Combined footprint: about 111 × 111 mm. Check before printing: the 1 mm gap needs a bed that prints cleanly at that spacing; widen it if the pieces fuse. Not a fit for beds under 115 mm square.
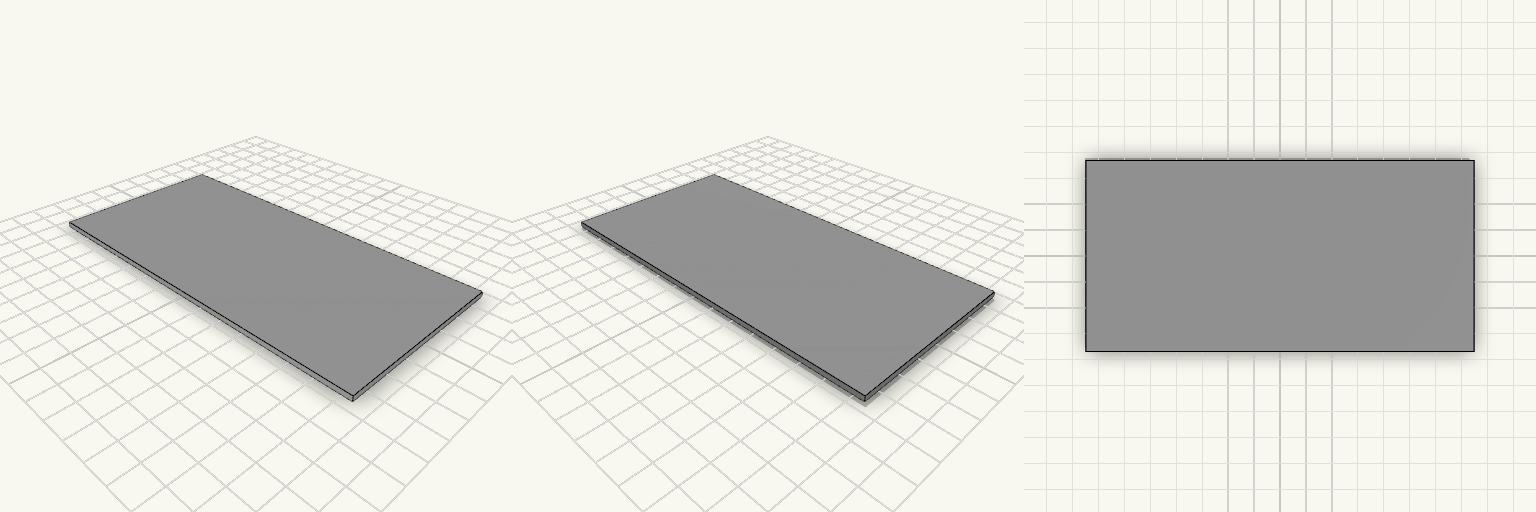
cache moteur araignee
Une plaque plane rectangulaire de 148 × 73 mm pour 2 mm d'épaisseur, posée à plat sur le plateau. Les arêtes sont vives et les faces sont lisses : c'est une base neutre, faite pour être percée, collée, vissée ou redessinée selon le besoin. Elle s'imprime sans support, quelle que soit l'orientation, et sert aussi bien de panneau de fond que de gabarit, de cale ou de renfort. Pistes pour une version à toi Épaisseur (2 mm) : c'est le paramètre le plus utile à faire varier. En dessous, la plaque devient souple et se déforme ; au-dessus de 3 mm, elle devient rigide mais consomme vite de la matière. Garde 2 mm si tu veux une plaque qui se découpe aux ciseaux après impression. Empreinte (148 × 73 mm) : les deux cotes sont libres. La diagonale vaut environ 165 mm, donc la plaque tient dans la plupart des plateaux sans dépasser. Arêtes vives : un congé de 1 à 3 mm sur les quatre coins change complètement le rendu et évite les angles qui s'ébrèchent. Un chanfrein sur le pourtour donne un bord plus doux au toucher. Perçages et découpes : trous de fixation aux quatre coins, rainure centrale, fenêtre traversante — tout se rajoute sans toucher au contour. Ce avec quoi elle s'associe Une plaque comme celle-ci se superpose : deux exemplaires collés font une cale de 4 mm, un exemplaire vissé sur un caisson fait un fond ou une porte, et un exemplaire percé devient un gabarit de perçage. Si tu la destines à un objet précis, indique les cotes de cet objet plutôt que de repartir de zéro : c'est la seule mesure qui compte vraiment.