cache moteur araignee
Created today
Description
Une plaque plane rectangulaire de 148 × 73 mm pour 2 mm d'épaisseur, posée à plat sur le plateau. Les arêtes sont vives et les faces sont lisses : c'est une base neutre, faite pour être percée, collée, vissée ou redessinée selon le besoin. Elle s'imprime sans support, quelle que soit l'orientation, et sert aussi bien de panneau de fond que de gabarit, de cale ou de renfort.
Pistes pour une version à toi
- Épaisseur (2 mm) : c'est le paramètre le plus utile à faire varier. En dessous, la plaque devient souple et se déforme ; au-dessus de 3 mm, elle devient rigide mais consomme vite de la matière. Garde 2 mm si tu veux une plaque qui se découpe aux ciseaux après impression.
- Empreinte (148 × 73 mm) : les deux cotes sont libres. La diagonale vaut environ 165 mm, donc la plaque tient dans la plupart des plateaux sans dépasser.
- Arêtes vives : un congé de 1 à 3 mm sur les quatre coins change complètement le rendu et évite les angles qui s'ébrèchent. Un chanfrein sur le pourtour donne un bord plus doux au toucher.
- Perçages et découpes : trous de fixation aux quatre coins, rainure centrale, fenêtre traversante — tout se rajoute sans toucher au contour.
Ce avec quoi elle s'associe
Une plaque comme celle-ci se superpose : deux exemplaires collés font une cale de 4 mm, un exemplaire vissé sur un caisson fait un fond ou une porte, et un exemplaire percé devient un gabarit de perçage. Si tu la destines à un objet précis, indique les cotes de cet objet plutôt que de repartir de zéro : c'est la seule mesure qui compte vraiment.
Images
More like this
Explore more in Workshop & Tools →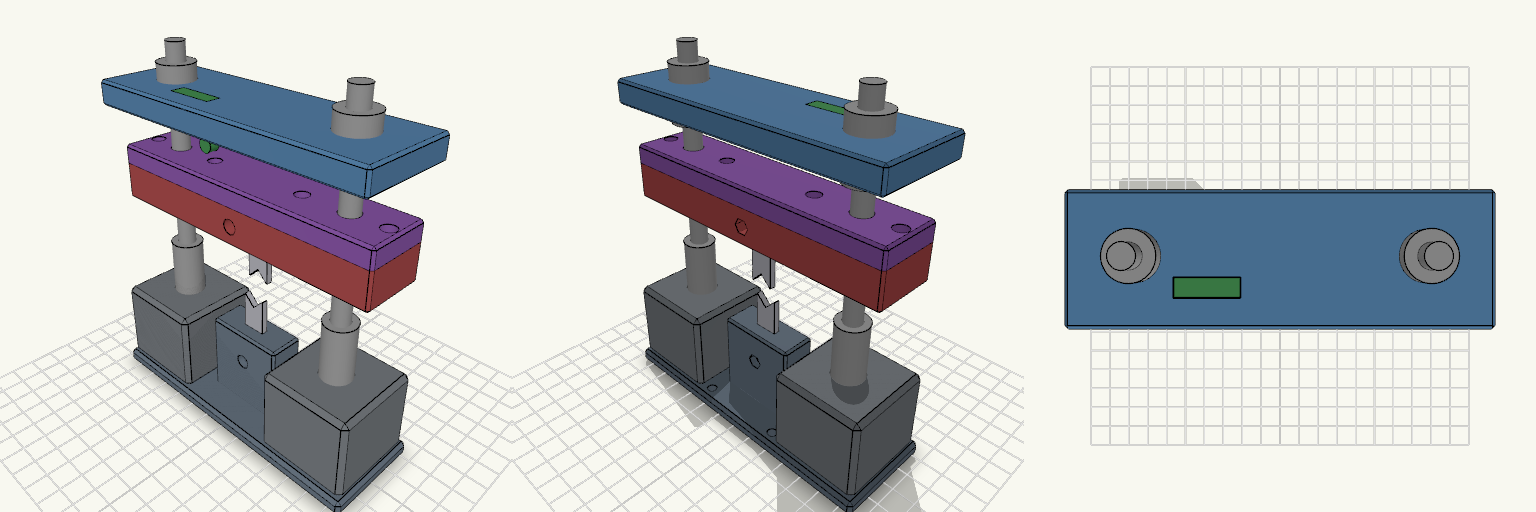
Twin-Screw Guillotine Wire Cutter
A guillotine wire cutter in the spirit of a workshop shear: two V blades pass each other with no face gap, driven by twin 8 mm lead screws on NEMA 17 motors. Design notes Base and bottom blade holder print as one upright piece. Split carriage captures the flanged nuts between two halves. Hex nut traps are 7.0 mm; blade holes sit 4 mm from the held end. Assembled view shows black motors, screws, nuts, blades and limit switch for visualisation only.
Korong
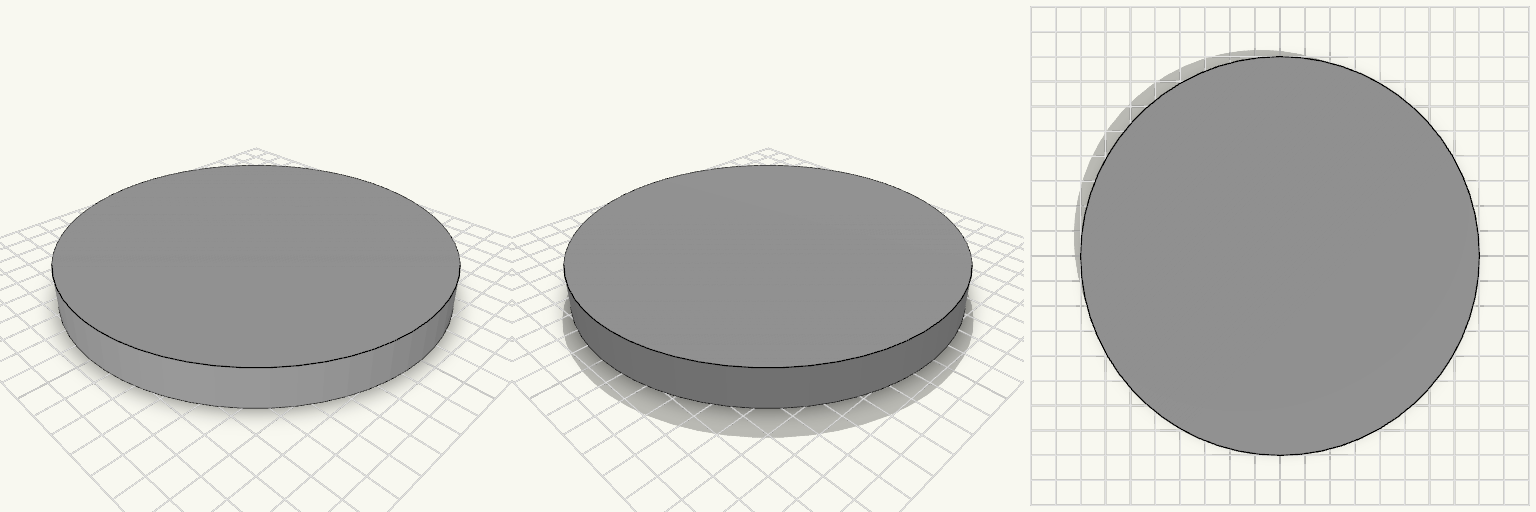
Egy teljesen sima korong: 80 mm átmérő, 10 mm magas, felirat, furat és bemélyedés nélkül. Szándékosan üraes — ez egy kiindulópont, amiből bármi kerek és lapos válhat: alátét, távtartó, sapka, fedél vagy egy nagyobb darab talpa. Mit érdemes rajta módosítani Átmérő: a 80 mm a stabil alap; ha kisebb korong kell, ezt állítsd át elsőként, a magasságot hagyhatod. Magasság: a 10 mm biztonságosan nyomtatható; 4–6 mm-re csökkentve lapos alátét lesz belőle, 20 mm fölé növelve inkább henger, mint korong. Él: a mostani él éles — 1–2 mm-es lekerekítés kényelmesebb fogást ad, és kevésbé hajlamos a peremfelpúposodásra. Középfurat: egy 4–8 mm-es átmenő furat távtartóvá vagy csavarhüvellyé alakítja, és felhasználás előtt nem kell átfúrni. Felület: a sima tető kínálja magát gravírozott felirathoz, logóhoz vagy mintázathoz; ehhez nem kell új geometria, csak egy sekély bevonat. Amivel jól működik Több példány egymásra rakva pontos vastagságot ad, így kiegyenlítéshez és rések kitöltéséhez is használható. Egy csavarral vagy csappal a közepén távtartóból rögzítőelem lesz, két korong közé szorítva pedig bármilyen vékony lapot merevíteni lehet. Nyomtatás: 80 × 80 × 10 mm, laposan fekszik a tárgyasztalon, támasz nélkül nyomtatható. Ragasztás vagy összeszerelés nem kell hozzá, egy darabból készül.
Drill Bit Index for 1–6.5 mm Bits
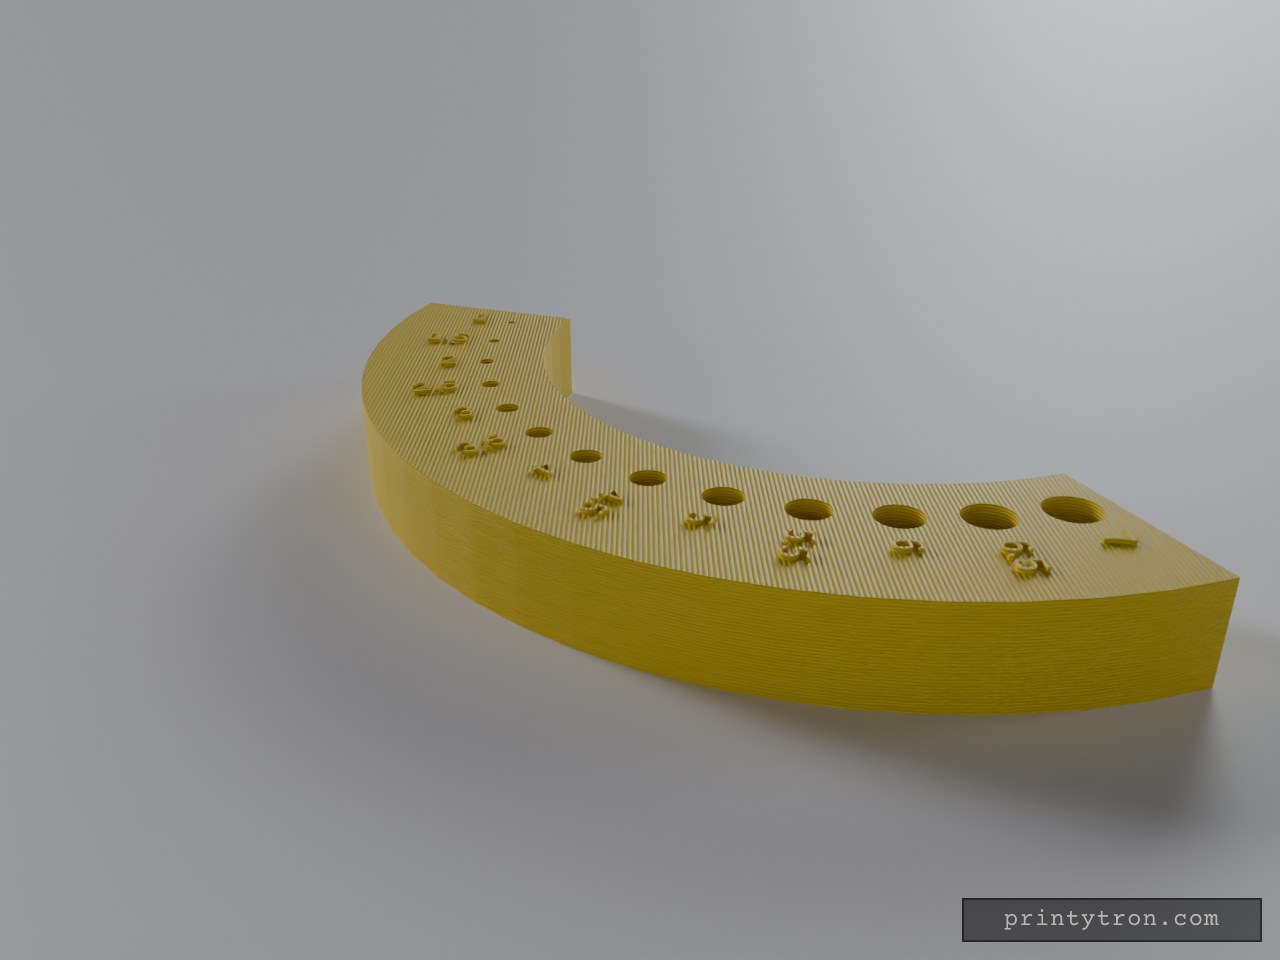
A drill bit index that stops you digging through a drawer to find which bit is a 4 mm. Thirteen sized holes fan out along an arc, each with its size embossed beside it, so you can read the number and pull the bit without guessing. Each hole is cut 0.3 mm over the nominal bit diameter. That is enough for the bit to drop in and lift out, and tight enough that it does not rattle around. Numbers that decide fit and print Bits: 13 holes, 1 mm to 6.5 mm in 0.5 mm steps Clearance: +0.3 mm on every hole (a 1 mm bit gets a 1.3 mm hole) Hole depth: 12 mm Layout: 60 mm radius arc, 10° between holes, fanned like piano keys Overall size: about 144 mm wide, 58 mm deep, 14 mm thick Labels: raised 0.6 mm, with the left-half labels flipped to read upright Printing Print flat with the labels facing up. No supports are needed. Use a 0.2 mm layer height or finer so the 1.3 mm hole stays open. Ream the smallest holes with the bit itself if your printer shrinks them. The labels are a separate colour region, so they suit a filament swap at layer 14 mm.
Mini Pry Bar for Stuck Edges and Gaps
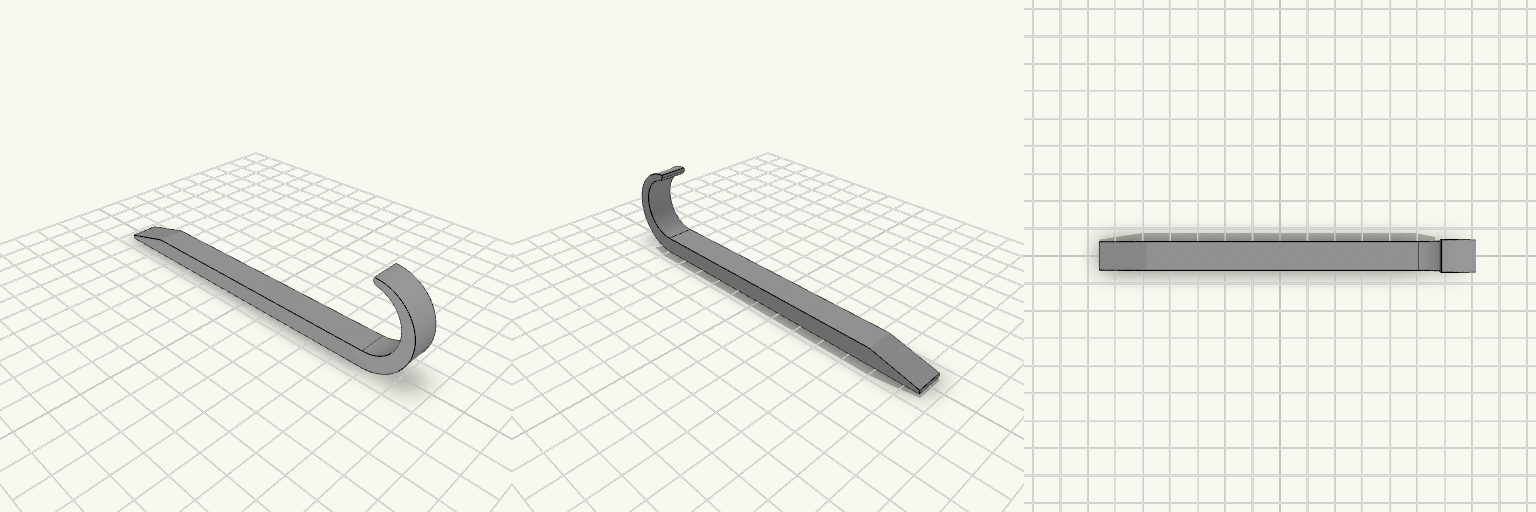
A mini pry bar for the gap that is too tight for a fingernail and too shallow for a real crowbar — nothing gets under the edge, so the lid stays shut, the panel stays seated, the trim stays put. It is a flat 4.5 in bar, 2/5 in wide, with a chisel-bevel straight end to start the lift and a 175° claw hook at the other end to catch and hold what you have opened. What it does at each end Chisel-bevel straight end: taps into a seam and starts the gap. 175° hook: wraps the edge you have lifted so it does not drop back. Slanted claw tip: cut at a 35° slant like a crowbar claw, so it bites instead of skating off. Full-width hook: the hook stays 2/5 in (10.16 mm) wide from the handle to the tip, so it catches the full edge instead of narrowing away. Sizes that decide fit Bar length: 4.5 in (114.3 mm), with the hook adding to the overall footprint Overall width at the handle: 2/5 in (10.16 mm) Bar thickness: 6 mm at the handle, thinning to about 2 mm at the hook tip Hook curl: 175° around a 14 mm centerline radius — check this against the edge you want it to wrap Printed footprint: about 130.5 × 10.2 × 31.9 mm, lying flat Printing One piece, straight off the plate — the bar and the curve share solid material at the joint, so there is no slip fit, no glue, no assembly. Lay it flat as it comes and print; the flat bar and the curl sit on the plate without supports. Check the curl radius and the 2/5 in width before you start; those two decide whether the hook wraps your edge or rattles around it. Look over the joint between the bar and the hook in the preview first, since that is where the two shapes meet.
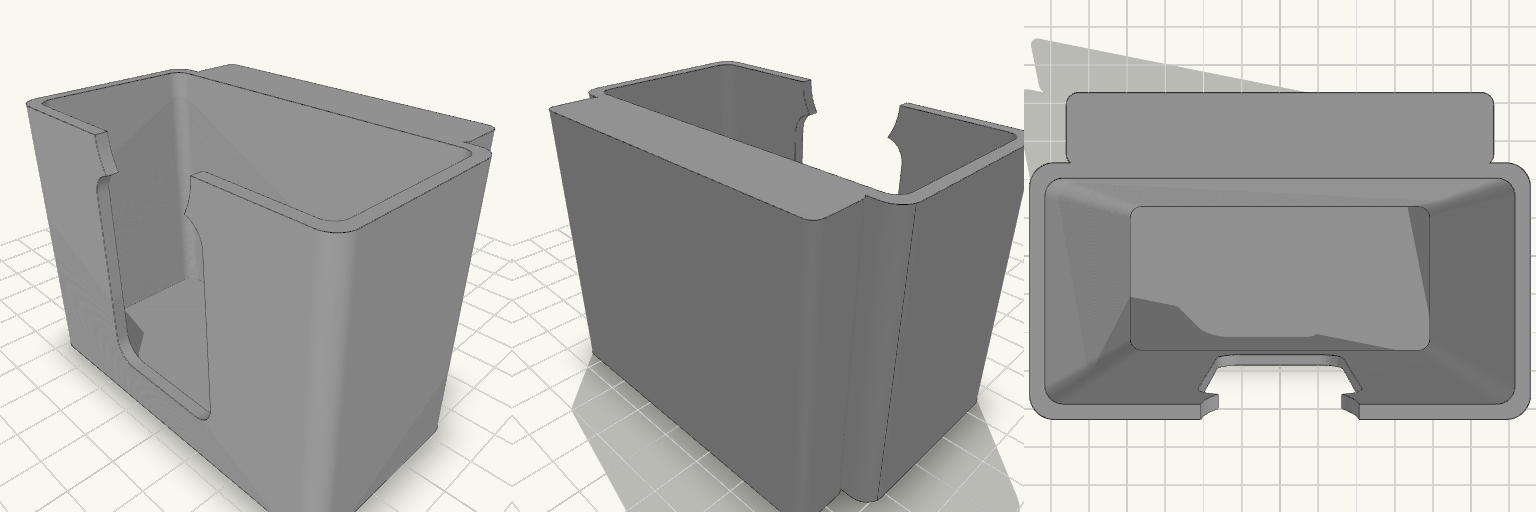
Tape Measure Holster with Label Window
A belt-worn holster cup for a 5 m tape measure, sized for a body of about 75 × 75 × 35 mm with 2 mm of total clearance. A vertical window in the front lets you read the size label without pulling the tape out, and a round thumb scoop at the top edge makes it easier to grip and lift. A loop on the back takes a belt. The cup is open at the top and covers the lower 80% of the tape (60 mm). Outer size is 82 × 42 mm, with 2.5 mm walls and a 2.5 mm floor. Remix hooks Tape size: the tape width, height and thickness (75 / 75 / 35 mm) and the 2 mm clearance are the main numbers. Change them and the cup, loop and window all follow. Other tape brands or 3 m / 8 m sizes are a quick swap. Cup height: set at 80% of tape height (60 mm). Lower it for easier draw, raise it for a more secure hold. Label window: 30 mm wide, with rounded ends, centred on the front. Widen it for a bigger label, or move it to the side for a tape with an offset label. Thumb scoop: 26 mm diameter cut at the top front. Shrink it for a snugger hold. Belt loop: the slot is about 5 mm deep and the loop spans the back at 70 mm wide. Thicker or wider belts need a deeper slot, which is the first thing worth testing against your own belt. Wall thickness: 2.5 mm. Go thicker for rigidity, or thinner to save material. Pairs well with A flexible filament such as TPU for a grippier cup, or PETG for a stiffer loop. A second window on the back or side if you want to read the metric scale as well. A small retention tab or friction bump inside the cup rim if the tape needs a firmer hold.
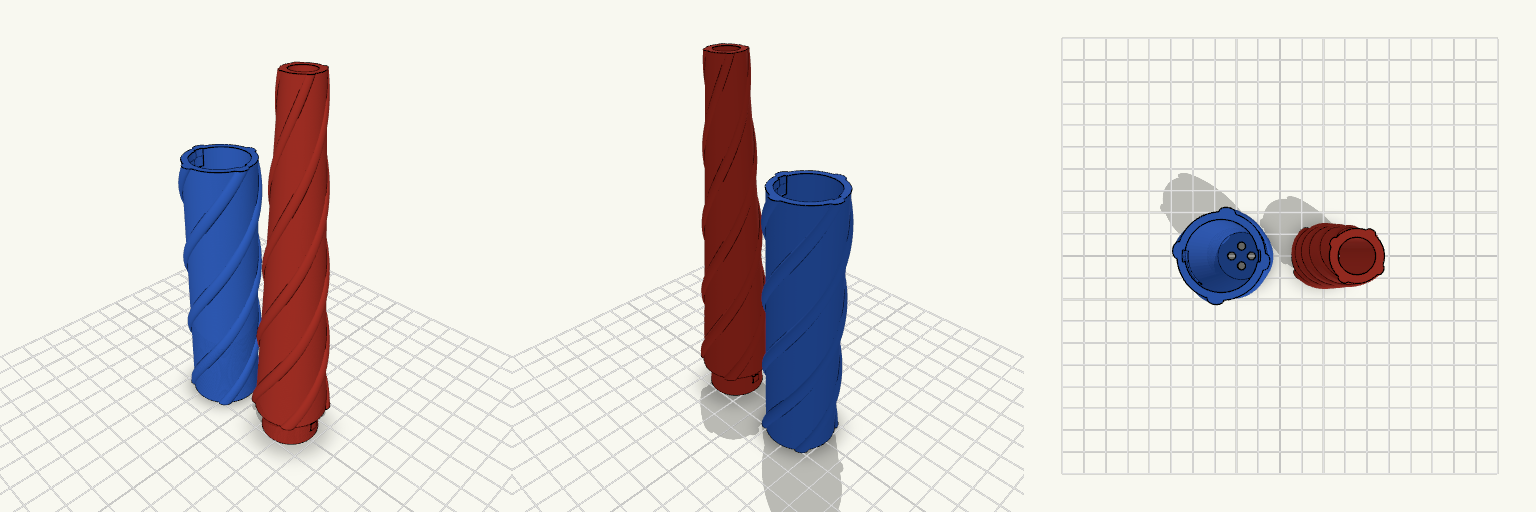
Zauberstab final
What it's for Zweiteiliger Zauberstab aus Griff und Spitze, gebaut für eine UV-Taschenlampe im Griff. Der Griff bietet 97 mm Innenhöhe, sodass die Lampe vollständig unterhalb des Bajonettverschlusses sitzt; die hohle Spitze lässt das UV-Licht oben austreten. Außen liegt ein glatter Kern mit vier runden, spiralförmig aufgelegten Teigsträngen, die wie um den Stab gelegte Teigbahnen wirken. Ein innenliegendes Bajonett mit Rastnocke hält die Teile bündig zusammen und sichert gegen unbeabsichtigtes Aufdrehen. Vier Bodenlöcher im Griff erlauben den Zugang zum Druckknopf der Lampe. Dimensions Griff: 99 mm hoch, 97 mm Innenhöhe, Innen-Ø 21,8 mm; Lampe sitzt unterhalb der Bajonettnut. Spitze: 135 mm inkl. Zapfen; Lichtkanal von 18 mm unten auf 9 mm oben; Wand im Bajonettbereich mindestens 1,5 mm. Außen: glatter Kern Ø 26,4 mm; vier Stränge unten ca. 5 mm breit und 1,4 mm hoch, nach oben ca. 2,5 mm breit und 0,7 mm hoch; größtes Außenmaß ca. Ø 29,2 mm. Bajonett: innenliegende Nut im Griff, Nasen an der Spitze, Rastnocke; Einführschlitz bis zur Oberkante; Muster auf die 45°-Endstellung abgestimmt. Boden: vier Löcher Ø 3,75 mm, enger zur Mitte gesetzt. Print notes Griff und Spitze werden getrennt gedruckt und über den Bajonettverschluss verbunden. Die Außenkontur ist glatt ausgelegt; das Relief der Teigstränge liegt als aufgesetzte Struktur darüber. Für eine saubere runde Außenwand ist eine feine Auflösung sinnvoll. Die Rastnocke ist als spürbarer Widerstand ausgelegt; je nach Drucker und Material kann der Eingriff straffer oder weicher ausfallen. Remix ideas Anzahl der Stränge oder Windungszahl über die Höhe ändern. Strangquerschnitt dicker für kräftigeres Relief oder dünner für eine glattere Oberfläche. Griffhöhe und Lichtkanal an eine andere Taschenlampe anpassen. Rastnocke stärker oder schwächer auslegen.