220x90mm Max-Length Duct Offset
Created 1 months ago
Description
What it's for
A duct adapter designed to offset a 220x90mm rectangular ventilation run, allowing it to hug the ceiling tightly or bypass an obstacle.
Dimensions
- Inner profile: 220x90mm on both ends.
- Wall thickness: 2mm.
- Offset: 90mm lateral shift.
- Total height: 240mm (designed to max out a 250mm print volume for the smoothest possible airflow).
Print notes
Print vertically. The internal transition angles are kept under 30 degrees to minimize flow restriction and should print cleanly without internal supports.
Images
More like this
Explore more in Home & Fixtures →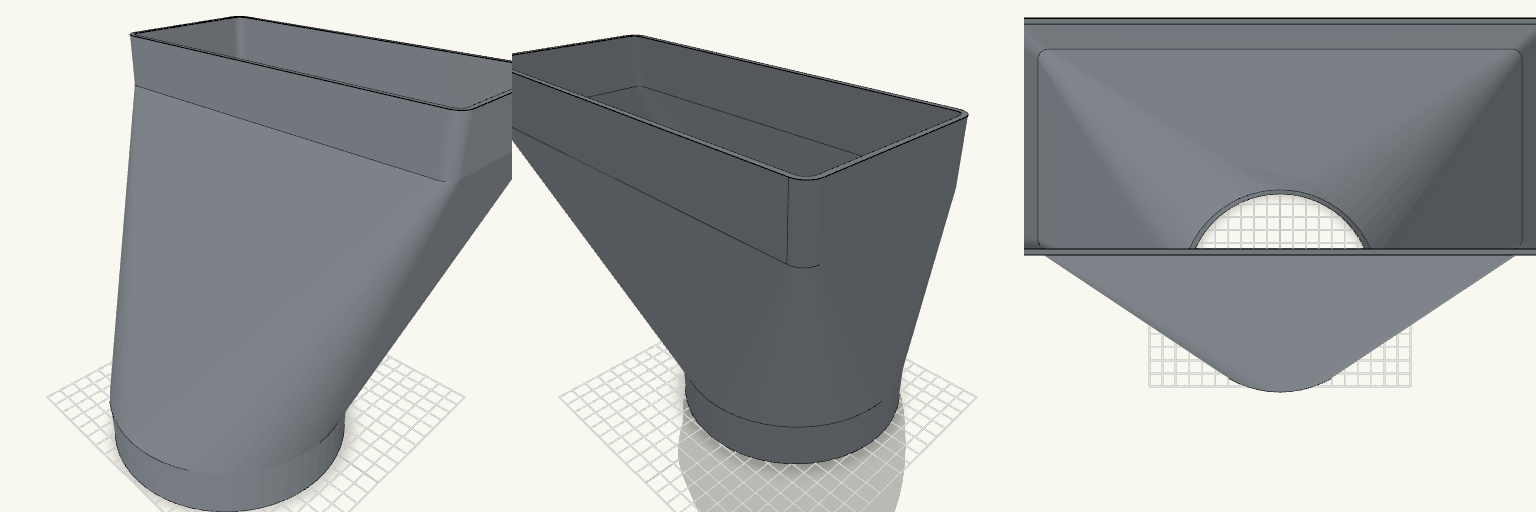
Eccentric Duct Adapter 125mm
What it's for Bathroom duct adapter that connects a round duct to a flat rectangular duct. Both ends are female sockets, and the airflow passage is fully open. The round socket has a wide bore for a loose, free fit. Dimensions Round socket: Ø142.5 mm inner, Ø147.3 mm outer, 30 mm long, 1.5 mm entry chamfer Flat socket: 222 × 92 mm inner, 5 mm corner radius, 30 mm long Transition: 160 mm, smooth round-to-rectangle loft Vertical offset of the flat socket: 72.5 mm Wall thickness: 2.4 mm Overall length: 220 mm Remix ideas Change the bore diameter to tune the fit for a different duct. Adjust the vertical offset for another mounting position. Lengthen the sockets for a deeper grip.
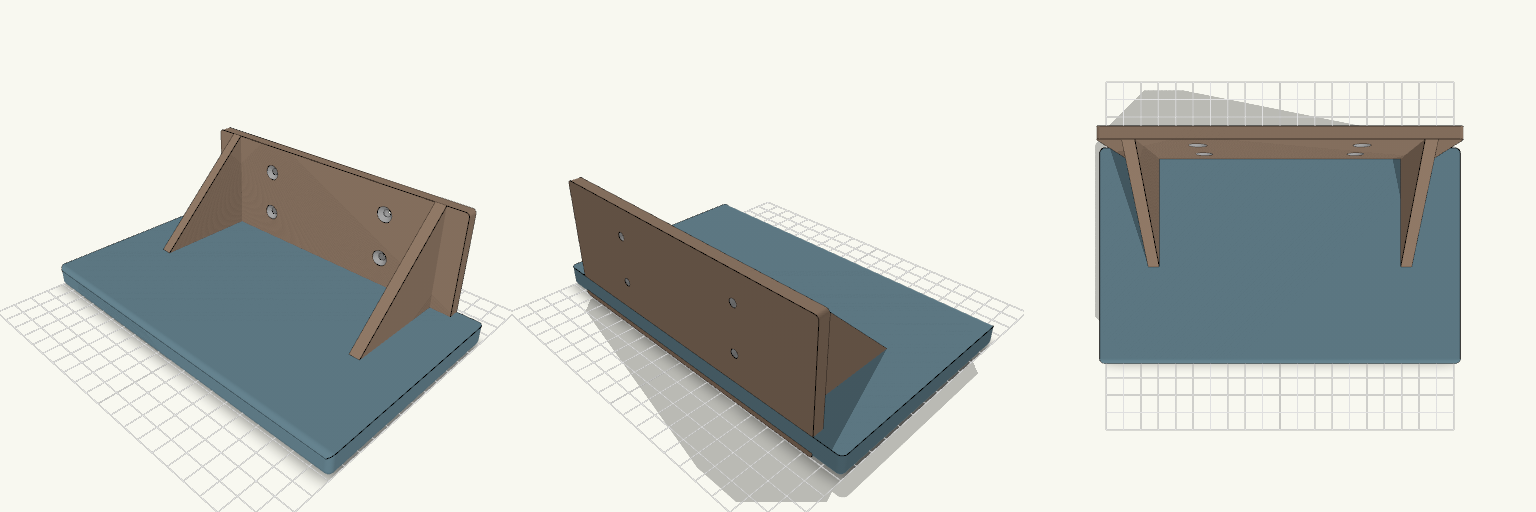
Wall-Mounted Bedside Floating Shelf
What it's for A sleek floating shelf for beside the bed at about head height, sized for an ornament or a small potted plant. A back plate with four countersunk screw holes fixes it to the wall, and two triangular brackets support the top. The design is symmetrical, so printing two gives a matching pair for each side of the bed. Dimensions Shelf top: 200 × 120 × 12 mm, rounded edges Back plate: 170 mm wide, 6 mm thick, 70 mm tall including the shelf Screw holes: four, 4.5 mm shank with 9 mm countersink, set 80 mm apart, the upper pair just below the shelf Brackets: two, 6 mm thick, at X ±70 mm Print notes Prints with the top face on the bed, with no supports needed. Use wall plugs suited to your wall type and countersunk screws with heads up to 9 mm. Remix ideas Narrow the shelf for tighter spaces. Add a small front lip to keep ornaments from sliding off. Add a cable notch for a bedside lamp.
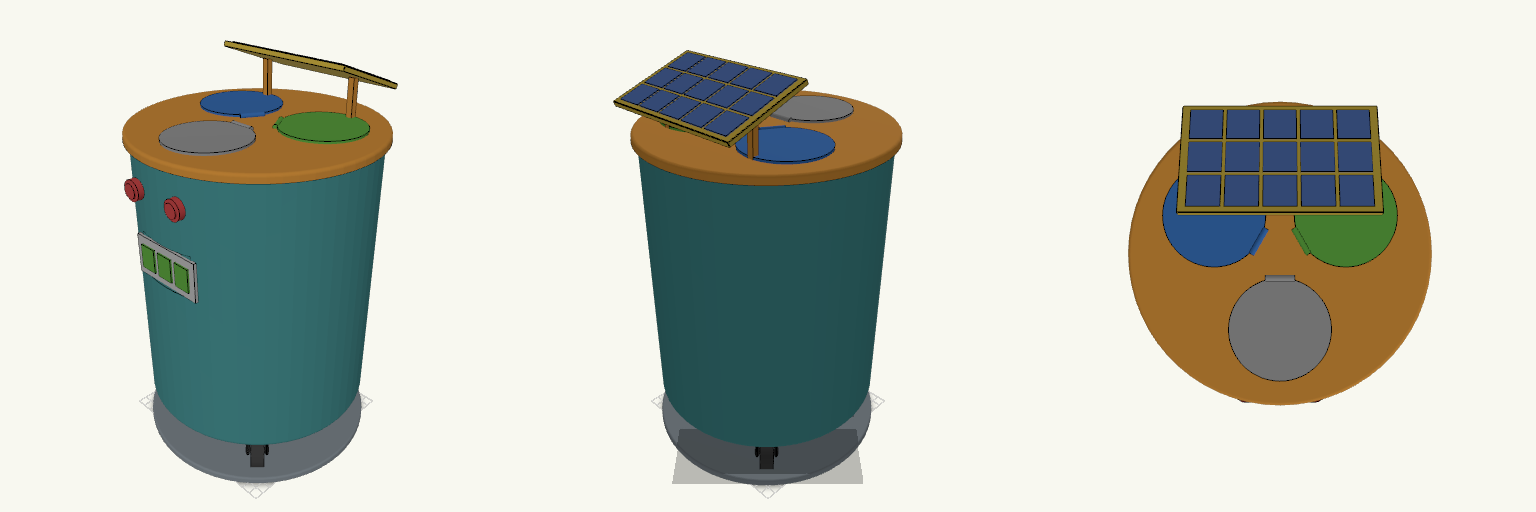
Bote de basura innovador
Bote de basura con tres compartimentos para orgánicos, reciclables y basura general. Evita que todo termine mezclado en una sola bolsa y que haya que tocar la tapa con las manos sucias. Cada compartimento tiene su propia abertura con trampilla de color. Dos sensores al frente detectan a la persona que se acerca, una pantalla indica el nivel de llenado, un panel solar inclinado en la parte trasera alimenta la electrónica y cuatro ruedas permiten moverlo. Datos clave Diámetro del cuerpo: 240 mm; altura total sin panel: unos 346 mm Tres sectores de 120° separados por divisiones de 3 mm Aberturas de 76 mm de diámetro, una por compartimento Ruedas de 36 mm en cuatro soportes Impresión por piezas: cuerpo, tapa, chasis, ruedas y panel; paredes de 3 mm, sin soportes en el cuerpo La electrónica (sensores, pantalla, motores) no está incluida: el modelo solo aporta alojamientos y forma
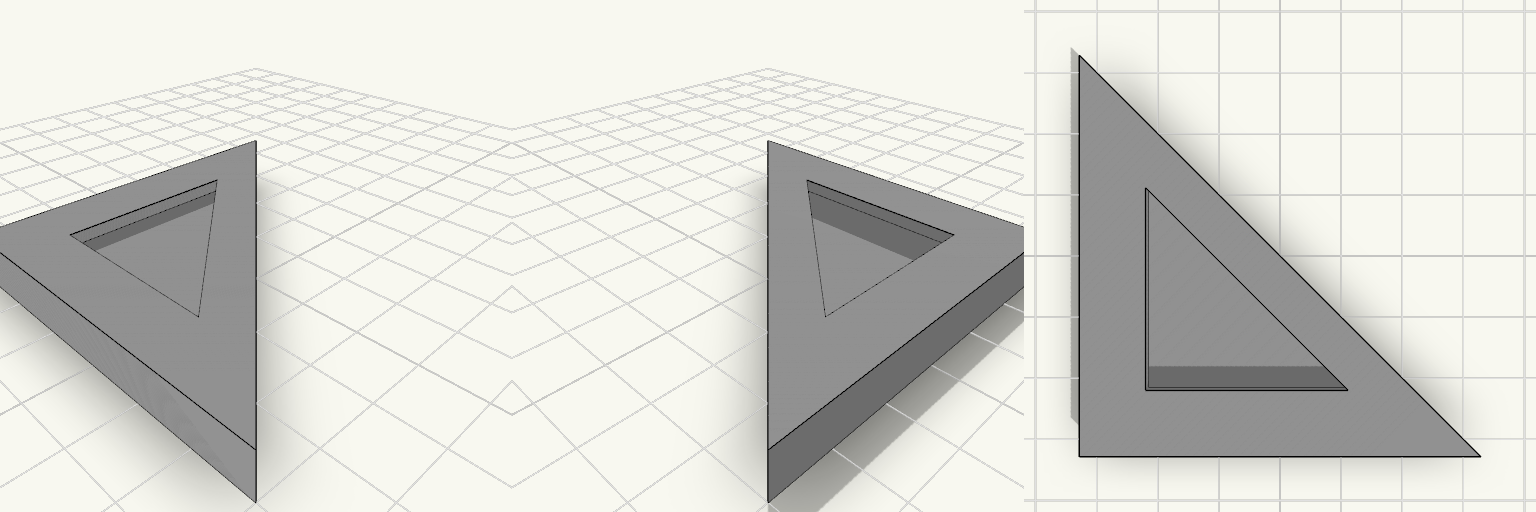
Cardboard Sign Corner Holder for Wall
A cardboard sign corner holder that ends the problem of taping or tacking a sign to the wall. The triangular pocket slips over a corner of 3 mm cardboard, like a photo corner, and the flat back takes a removable adhesive pad. Slot height: 3.4 mm for 3 mm cardboard Leg length: 40 mm per corner Back plate: 2 mm, flat side faces the wall Front lip: 1.6 mm, with a cut-out window Print: flat on the back, no supports, one per corner (4 for a sign)
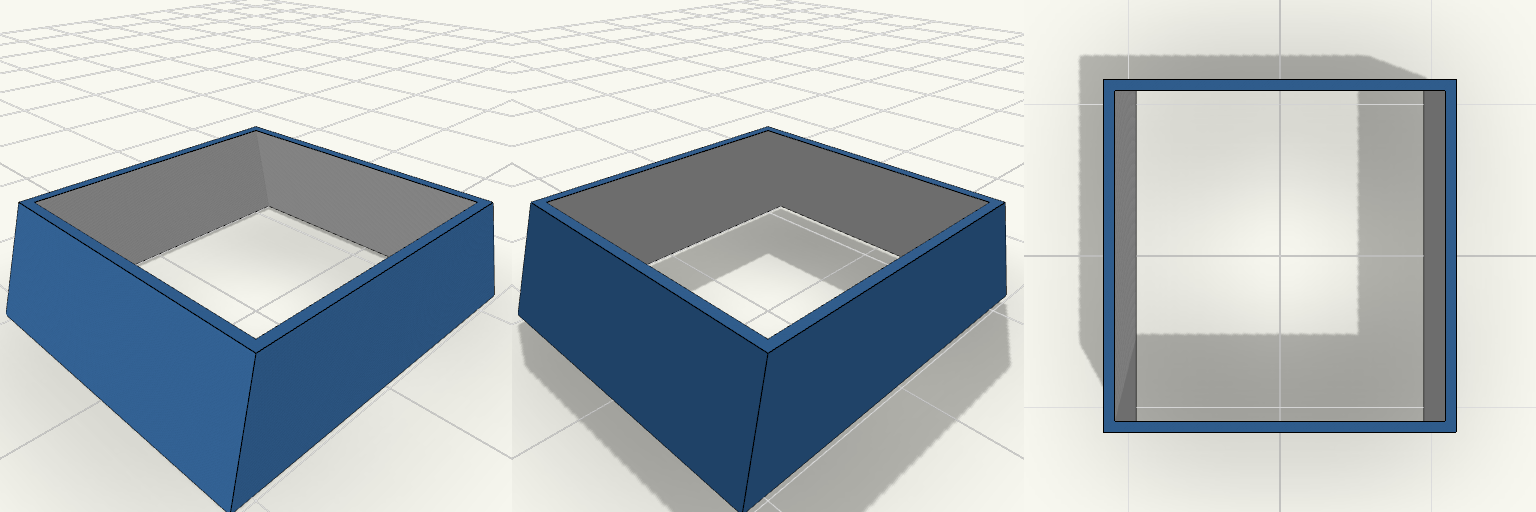
Tapered Tunnel Adapter 20x23 to 19x19
A short tapered sleeve for a hole that is too big or the wrong shape for what goes in it. This one is 7 mm long with thin 0.6 mm walls, so it slips in without eating the opening. Key numbers Large end outer size: 20 x 23 mm Small end outer size: 19 x 19 mm Length: 7 mm Wall thickness: 0.6 mm Open all the way through Printing Print standing on the large end, no supports needed Walls are about 1-2 nozzle widths thick, so use a 0.4 mm nozzle and 1-2 perimeters No clearance is added; scale slightly if the hole is tight
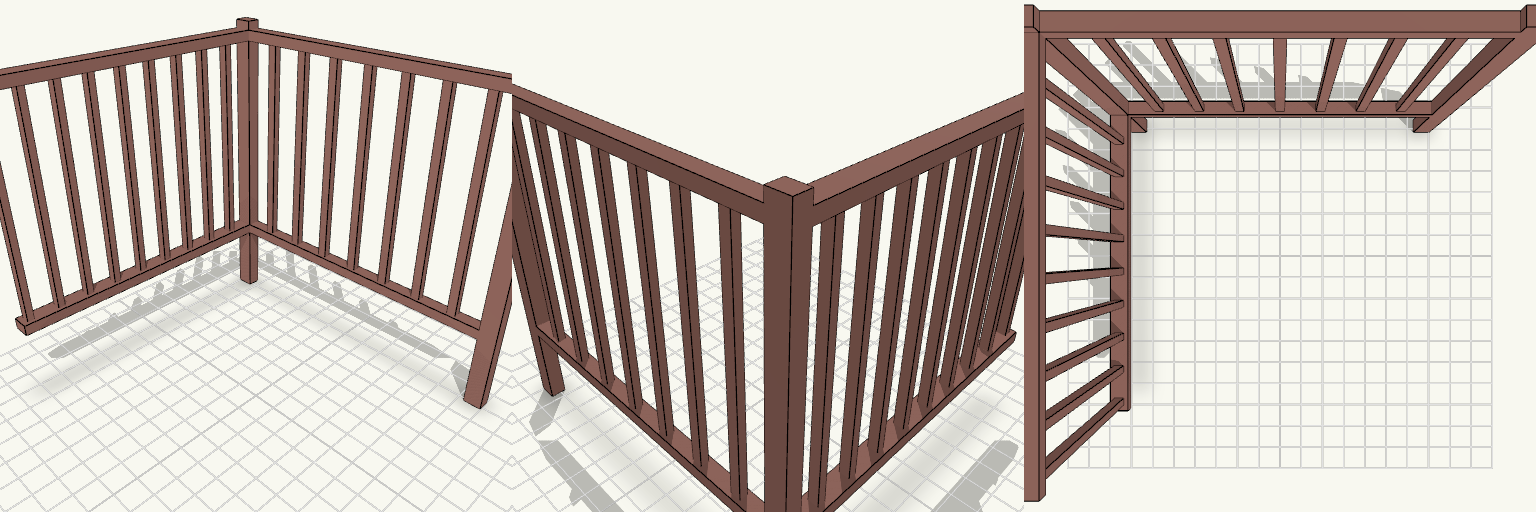
Veranda Back Railing Bays
Railing section for the back half of the veranda, made to print separately from the deck base. It covers the long left side and the short end, with pickets running between a lower and a top rail. Left side bay with end post, plus the end-span railing across the back Pickets about every 110 mm at full scale Posts sit flat on the deck surface for gluing Same scale and position as the deck base, so the pieces line up