Description
A simple, well-proportioned rectangular block designed to act as a miniature swing seat or hanging platform.
Remix Hooks
- Footprint: Currently 59mm wide and 40mm deep, but completely scalable for different dioramas.
- Thickness: 19mm thick.
- Rope holes: 5mm diameter holes spaced 6mm from each end, ready for string or paracord.
- Finish: Features a 2mm rounding on all edges so it isn't sharp to the touch.
Images
More like this
Explore more in Decor & Display →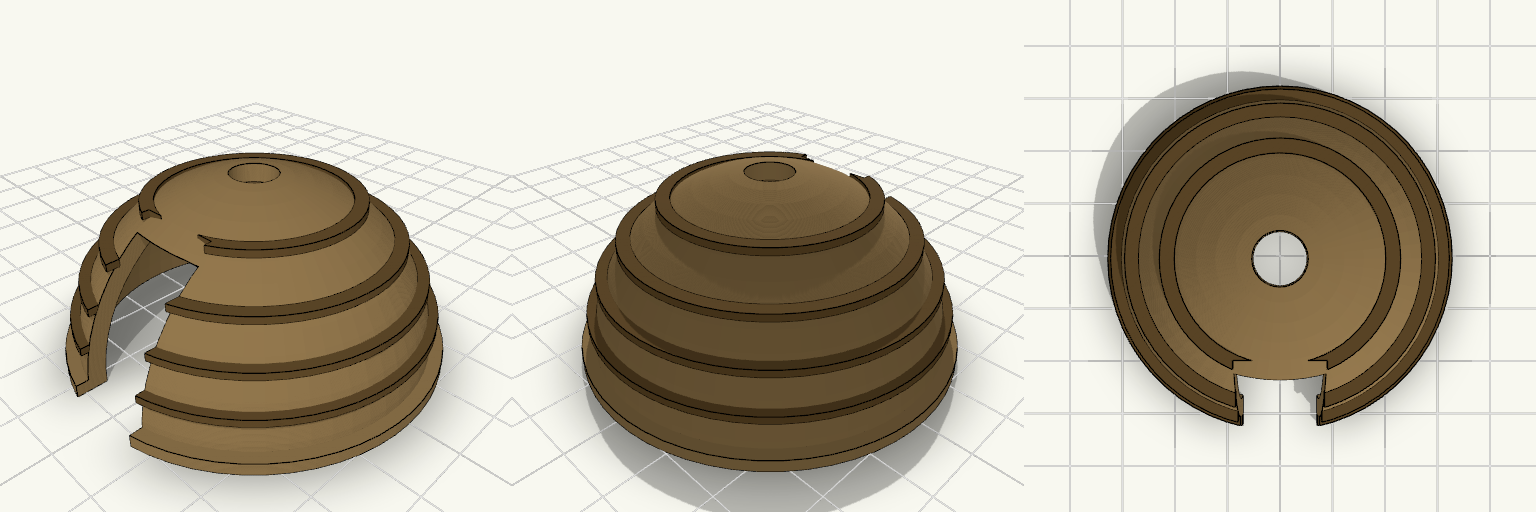
Wickiup — Domed Hut Miniature
Wickiup is a small domed hut miniature inspired by the Apache wickiup shown in the linked reference image. A hollow dome with an arched doorway and a roof smoke hole, wrapped in raised bands that suggest woven thatch. Features Hollow dome, about 60 mm wide and 30 mm tall Arched doorway facing the front Smoke hole at the top Raised thatch bands in a second colour Print notes Flat base, so it prints without a raft Door arch is small; supports are rarely needed
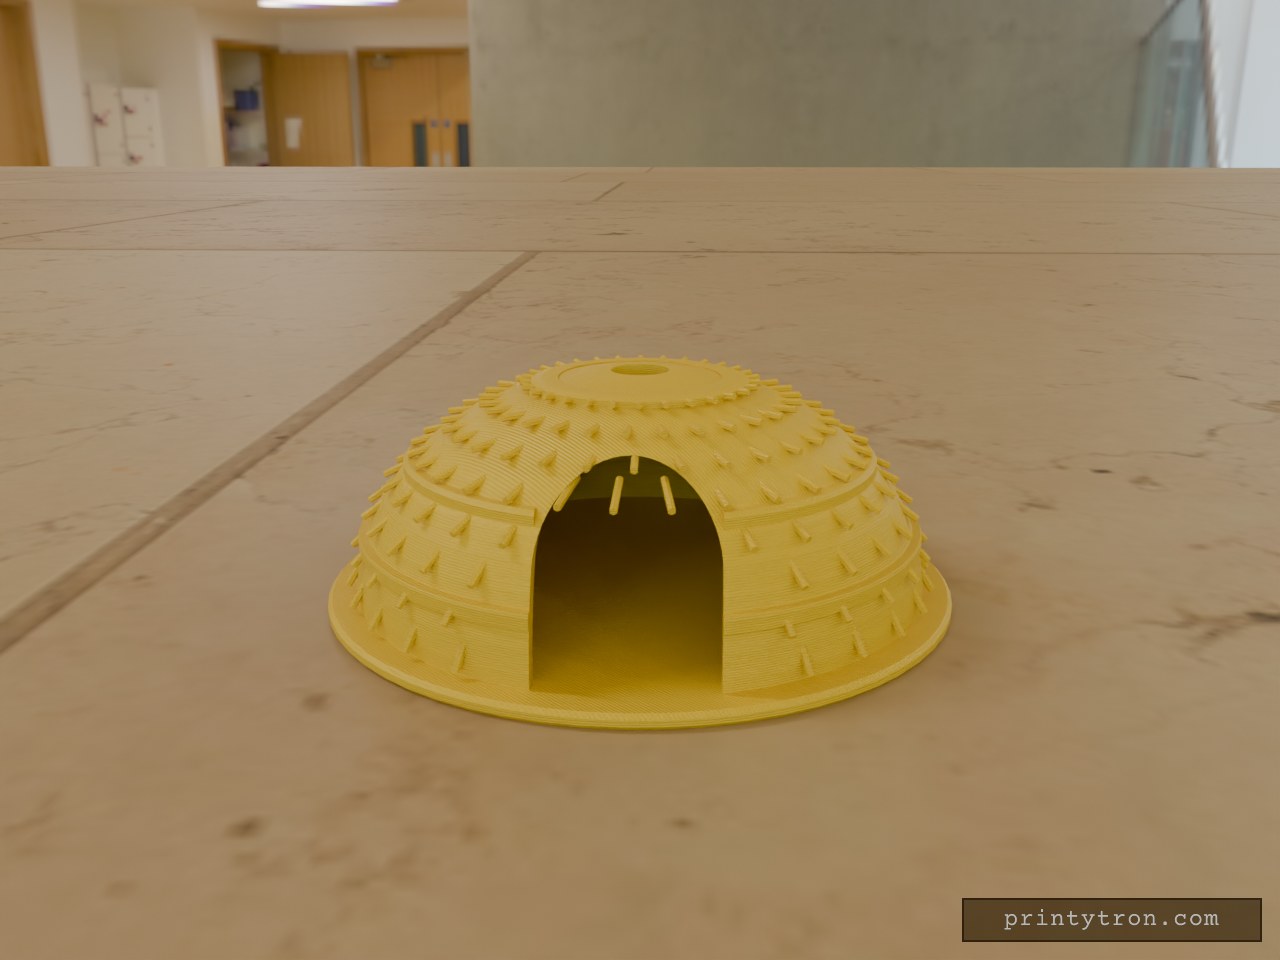
wigwam
Scale model of a wigwam-style domed hut on an 88 mm round base, with an arched front doorway, a top smoke hole, three binding bands and hay thatch strands angled down the dome. Fit and dimensions Base disc: 88 mm diameter, 2 mm thick Dome: about 80 mm wide, roughly 32 mm tall overall Doorway faces -Y; thatch is left clear of it Check before printing Hay strands are about 1 mm thick. Use a 0.4 mm nozzle and expect fine, fragile detail. Not a functional enclosure, and not scaled to fit any figure or miniature line.
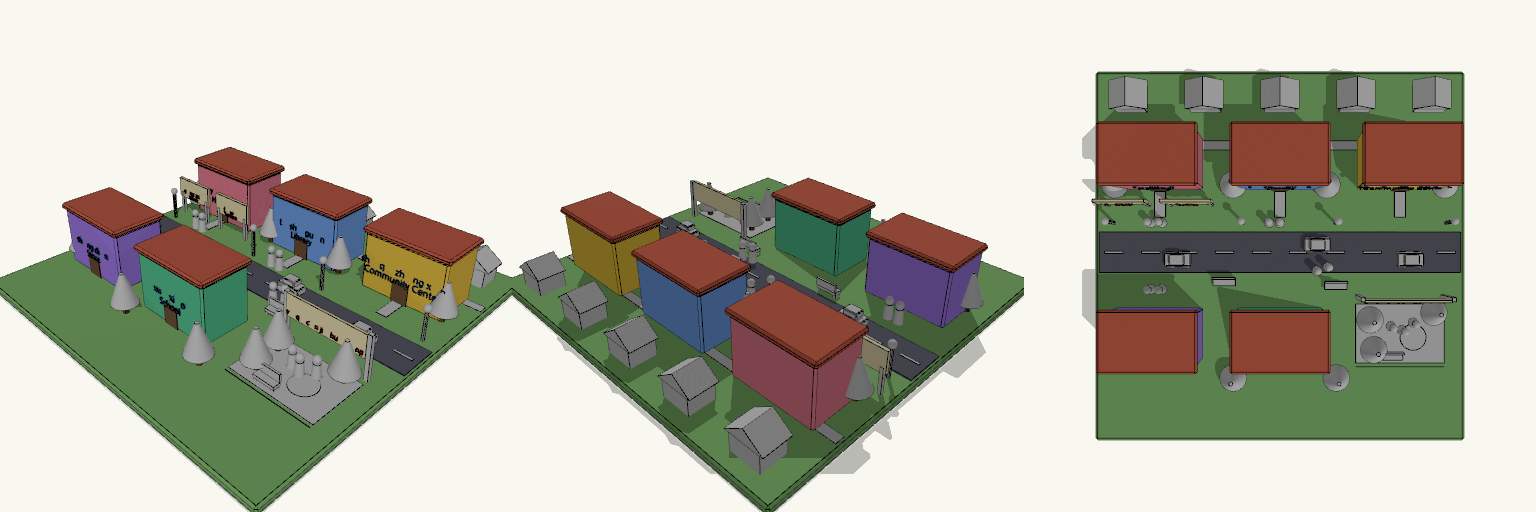
Mandarin Town — Colorful Community Scene
A bright miniature town for learning Mandarin community vocabulary. Each building carries its name in Chinese, pinyin and English, and every main building has its own wall colour. Signs, a park, a pond, houses, cars and people fill out the scene. Features Hospital, library, community center, store and school, each in a different colour Park with pond, benches and trees, plus a banner reading 一起参加活动 Road with cars, footpaths, lamps and neighbourhood houses Work and Service signs with people at the buildings Dimensions 200 × 200 mm base plate, 4 mm thick
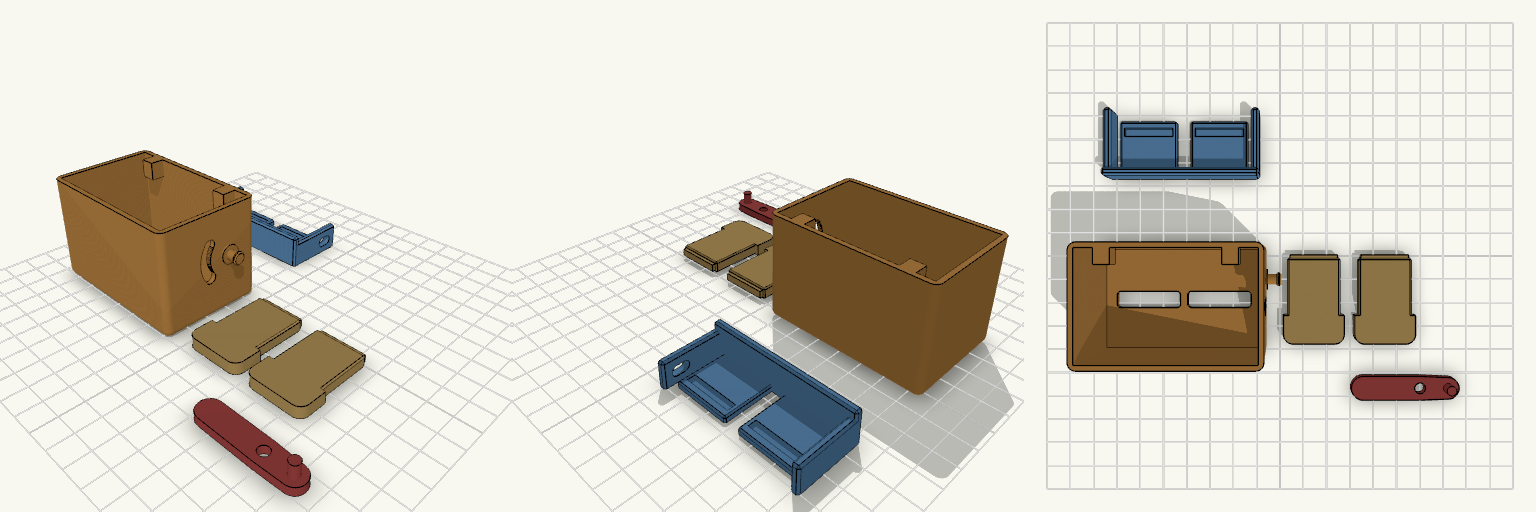
Miniature Pop-Up Toaster, 70x46x45 mm
A small mechanical toaster printed as separate parts: body, toast carriage, two toast slices and a side lever. Pressing the lever handle down raises the carriage and pops both slices up out of the slots. No springs are used. Lowering the lever pulls the toast back down. How it works The lever pivots on a pin moulded into the right side wall. A peg on the lever passes through an arc slot in the wall into a horizontal slot in the carriage side plate. The peg's travel lifts the carriage about 14 mm. The ends of the arc slot are the up and down stops. Two floor blocks inside the body act as backup low stops. Each toast slice has a tenon that locates in a pocket on its carriage tray. Specs Body: 70 x 46 x 45 mm, open bottom. Print it upside down with the top plate on the bed. Overall assembled size: about 76 W x 52 D x 60 H mm with the toast raised. Carriage: 1 mm side clearance to the walls. Slice tenon clearance 0.3 mm per side. Slots: 27 x 7 mm for slices 25.5 x 5 mm. Print settings: PLA, 0.2 mm layers, 3 walls, 10-12% infill. No supports are needed. Estimated filament: roughly 35-45 g. This is below the 50-60 g target, so walls can be thickened if more weight is wanted. Assembly Slide the carriage into the body through the open bottom. Slice tenons face up. Press the lever hub onto the pivot pin, feeding the peg through the arc slot into the carriage slot. Add a dab of glue to the pin head if the snap fit is loose. Drop the slices into the slots.
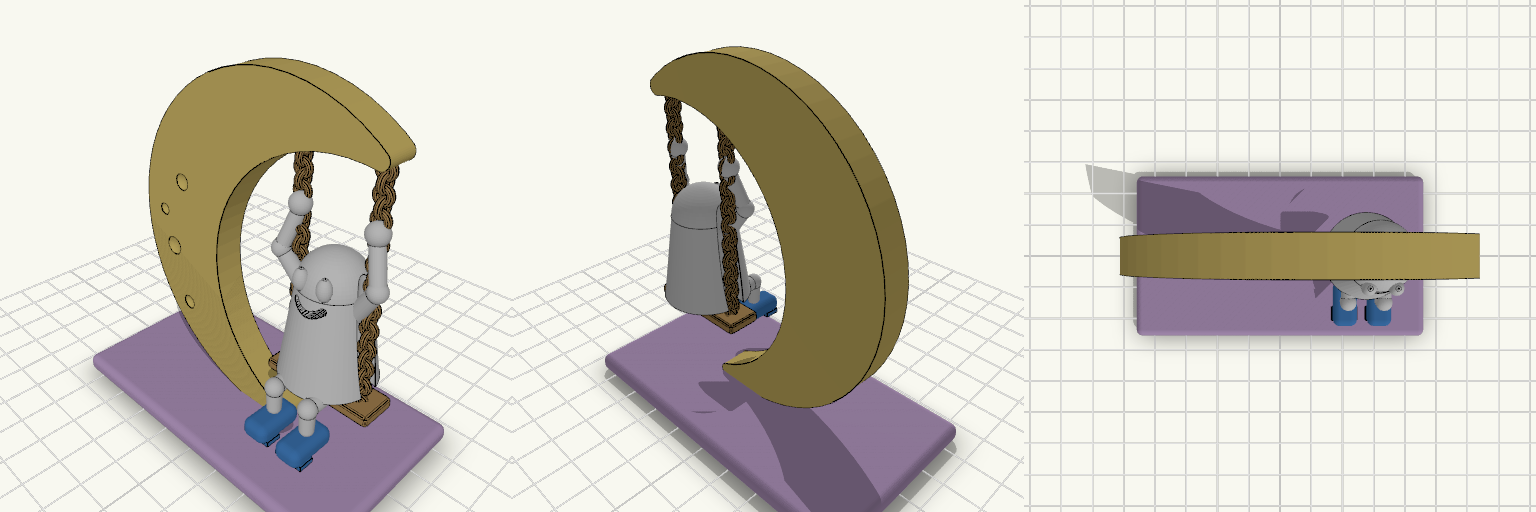
Moonlit Ghost Chain Swing Display
A friendly sheet-wearing ghost sits on a chain swing hanging from the horn of a crescent moon, in the spirit of a Halloween nursery rhyme. His blue tennis shoes dangle below the sheet and his hands grip the chains above his head, the way a kid holds on mid-swing. Crescent moon with shallow craters Chain swing with a rounded seat Cut-out eyes and a recessed smile Flat rounded base keeps the whole scene standing upright Sand the edges before handing it to a child.
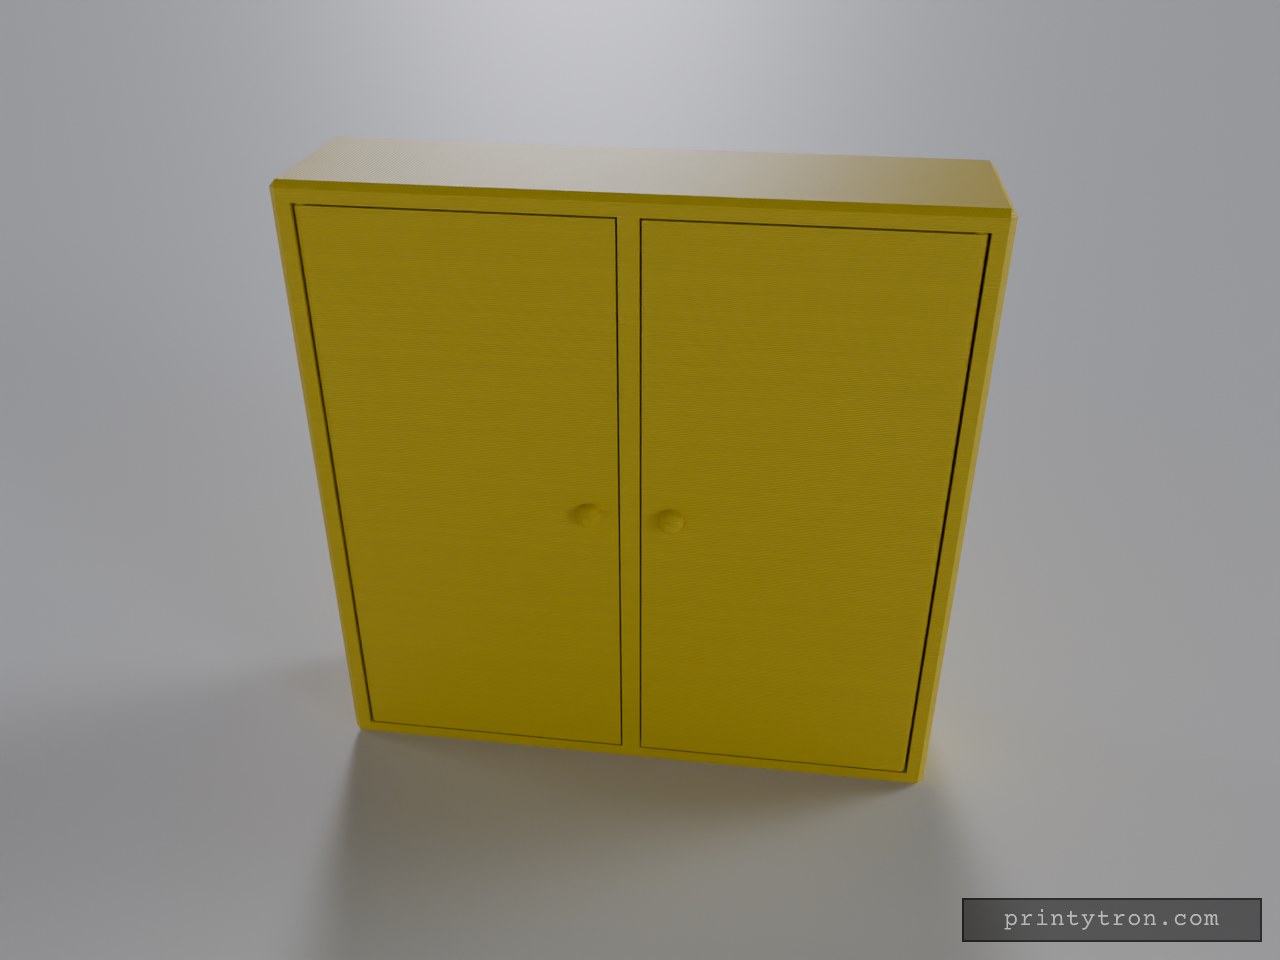
Doll Wardrobe With Opening Doors
Doll wardrobe whose doors stay shut and never swing, because they are glued-on slabs. This one has two doors on pin hinges that actually open, with a centre divider and a hanging rail inside. Key numbers Overall size: 200 mm long x 50 mm deep x 200 mm high Walls and shelves: 6 mm; back panel 4 mm Doors: 4 mm thick, sit flush in the front opening with 0.6 mm clearance Hinge pins: 3 mm, in 3.8 mm sockets in the top and bottom panels Hanging rail: 5 mm round bar, 30 mm below the top Printing Print the body upright, open front facing you. Print the doors standing on their long edge, pins pointing up and down; pin ends need no supports. Drop each door's lower pin into its socket first, then tilt the top pin in. Rail and knobs are separate pieces to print and glue in place.